Self-Expression with Gelli Plate
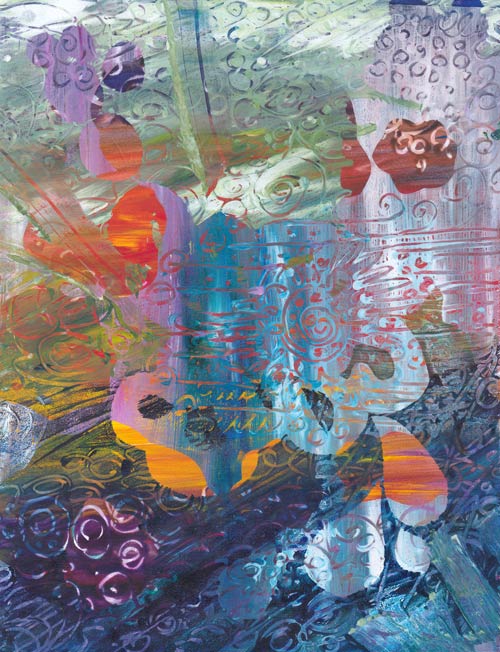
Printing with a Gelli plate was one of the things that popped up from the reader’s survey. As I happen to love mono printing techniques, it was quickly selected for the theme of the week!
Glass Plate
Almost 30 years ago, long before Gelli plates, I used glass plates for mono printing. I usually made a sketch first and then added each color as a separate layer.
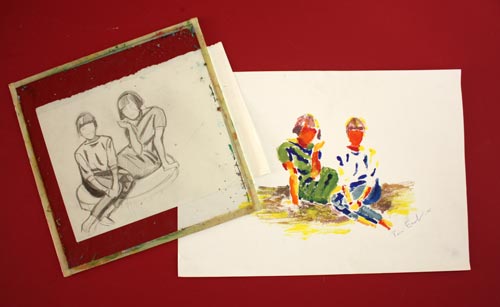
This monoprint was made in 1988, and it represents my sisters.
Gelli Plate
Gelli plate is a great invention, and it’s available in various sizes and shapes. My plate is 8 x 10 inches in size. Acquiring one is not a necessity. Glass plates work fine even today. You can also use any plastic transparent like overhead projector transparencies. The advantage of Gelli plate is that it has a flexible and sticky surface. That makes the using of masks easier. So if you fall in love with mono-printing, I would recommend purchasing the Gelli plate.
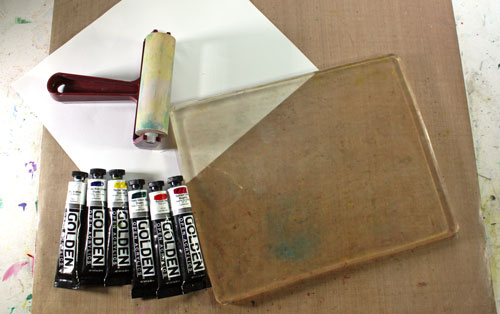
In addition to the plate, I have Golden Open acrylic paints. These paints have extended drying time, so they are especially suitable for mono-printing. I only have six colors, but by mixing them, I can get a huge variety of colors.
To create monoprints that include self-expression, I have 6 tips for you.
Tip 1: Use brushes instead of a brayer
The most common tool with the Gelli plate is a brayer. I have a Speedball brayer, but I often use brushes instead. They make the prints much more artistic, unique and expressive. With brushes, you can easily create non-repeating details and large color areas – the elements that contain more communication than monotone repeats.
Tip 2: Use a variety of tools
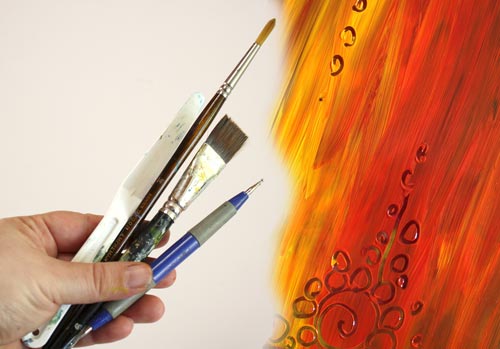
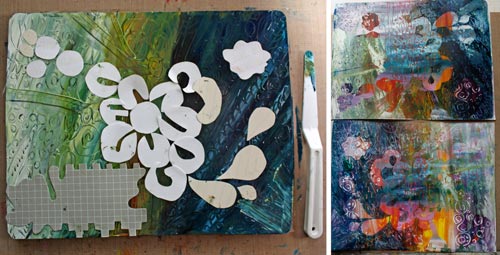
Your artwork is much more interesting if you use a variety of tools. For this post, I have used two different brushes, a double-ended embossing needle for doodling and a long palette knife for wider strokes. Your imagination is the only limitation when tools are considered. Just remember to avoid sharp objects!
Tip 3: Use hand-cut shapes for masks
When combining a variety of colors and surface patterns with hand cut shapes, the result is much more organic than using one color and cutter-cut shapes. The temptation to create a repeated design is bigger than when using freely cut unique shapes.
Here are some patterned papers that I printed from machine-cut shapes.
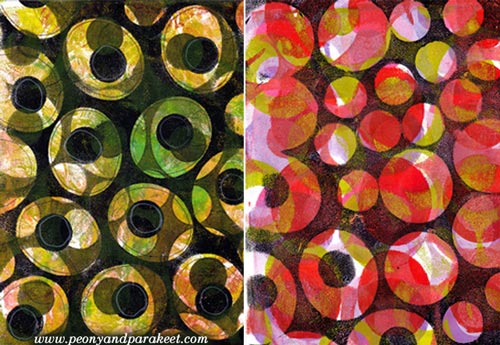
But with freely cut shapes, I avoided repeating the same motif.
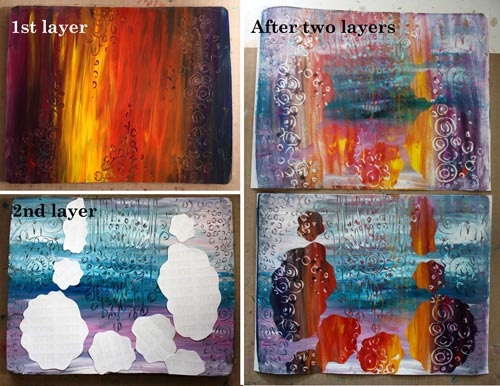
Tip 4: Let each layer bring something new to the artwork
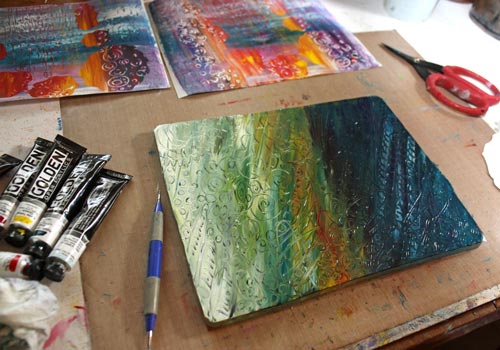
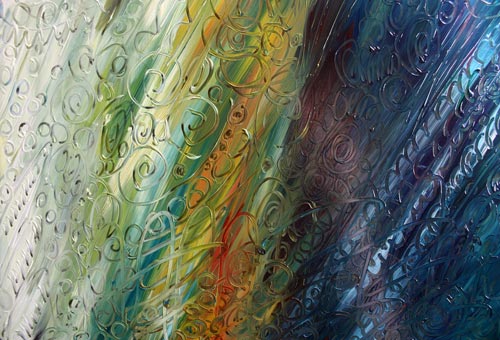
When creating a new layer, I do not mix and match colors too much. Sometimes colors look even more amazing on a plate than on a print, so I had to take a close-up from the plate!
I also think that cutting new shapes for each layer can really pay off. Add new and different with each layer, still letting the lower layers show too!
Tip 5: Create at least two monoprints at the same go
If you use slowly drying acrylics, you can get at least two monoprints from the same layer of paint. You can also experiment with that by creating two different artworks by changing the printing direction. I have turned the last layer upside down in the second monoprint. Thus the two prints differ slightly.
Tip 6: Doodle and color over
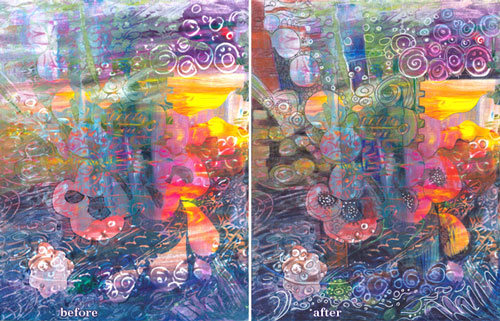
I doodled over the other of the two monoprints created for this post. Besides a white gel pen and a black thin tip marker, I also used colored pencils to fine-tune the colored areas slightly.
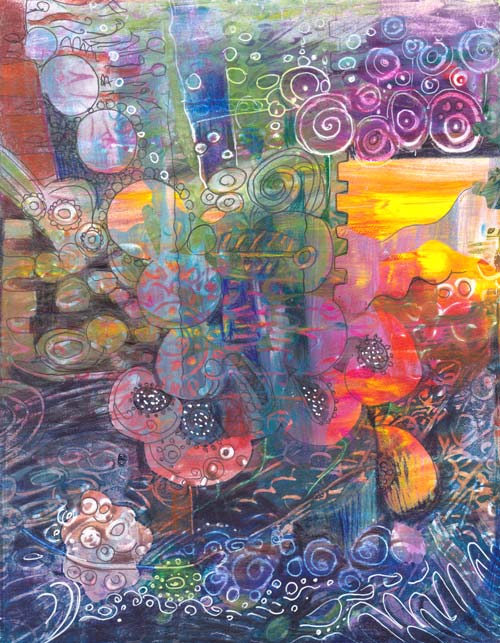
Here’s the bigger picture of the decorated print:
Finished Prints
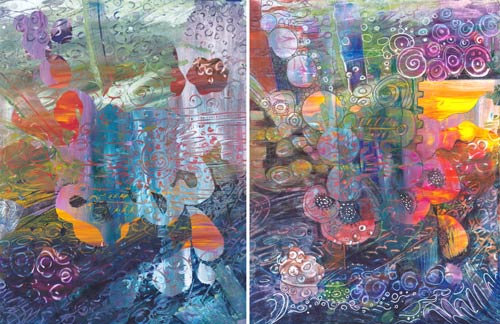
Here are the two finished pieces. Which one do you like more, the one that is not decorated or the one that is?
My husband asked after seeing these: What are you thinking while making these? – I try to think of nothing while creating, I said. I believe that you have to think before you create, not while you create. However, after a vivid discussion, I named these: the one on the left is Humanity, and the one on the right is Technology.
Gelli Printing Project in a Video – Apples and Tomatoes!
In this video, I talk about how and why to add diversity to your art. At the same time, I am creating a monoprint with a Gelli plate showing easy techniques to create an image.
All Gelli Posts
Let me be your mentor in art: Subscribe to my weekly emails!
29 thoughts on “Self-Expression with Gelli Plate”
Comments are closed.
These prints are so gorgeous. I have never tried brushes on my gelli plate but you can bet I will now! Thank you.
Thanks, Sandi! I do not know why most of the tutorials are made with a brayer, I have always loved to see brush strokes in print! Have fun!
Thanks for the Video. I often sit and contemplate and study your art, There is so much to see. Now I have a better idea on the “how to” of you art work. Thanks again and keep them coming.
I wrote on the wrong comment reply. I love this one also. Sorry
Thanks Nancy!
Paivi you never cease to amaze me! I recently got a gelli plate and have only tried it once. I have spent far too much time watching YouTube videos trying to learn all about the different techniques. in one posting on your blog with only 6 tips you have opened my eyes! not only is your art fantastic you are a great communicator! All I can say is , love it! Both are gorgeous, but your “decorated” one is my favorite!
Thank you, Gina! Wait for this week’s second blog post, which is a video!
I am always looking for new strategies and techniques. I will be trying the brushes and checking my results. Can’t wait!
Thanks, Patricia!
I get so intimidated by my gelli plate! I watch. I play. Too dark. Not enough color variation for my liking. Mud. My “thinking” gets in my way every time. Your prints are beautiful.
Jennie, have you tried using brushes instead of a brayer? One more tip to prevent “mud” is to use acrylic paint more sparingly so that instead of one mix of colors, you will make several mixed with a little paint. Wait for this weeks second blog post and you will see a video of how much I use paint on each layer. I prefer too little paint to too much!
gorgeous – I guess if I had to choose I would pick the decorated one
Thanks, Gina!
Love these prints, and your recommendations for the process. thanks so much!
Thanks, Win!
Thank you for these tips; I used a foam brush once when my brayer was not working and found it worked fine. ALSO I’ve been using a sponge roller and really liking the feel of it. CAn you share the 6 colors of Golden open that you use?
Thanks, Claudia! Spnge roller is a great tip, thanks!
The colors are Hansa Yellow Opague, Pyrrole Red, Quinacridone Magenta, Phthalo Green (Blue Shade), Phthalo Blue (Green Shade) and Titanium White. They come in fairly economic introductory set, I edited the blog post and linked the set, thanks so much for asking!
I love the one where you doodled over it. My eyes can’t stop looking! It is what I think of when I think of your art. Gorgeous!
I see that word “gorgeous” coming up and it was the first word out of my head, except with absolutely in front of it. Absolutely gorgeous! I have been prepared to explore mono printing for a couple of months, just short of the right information. And here it is all simply stated with gorgeous prints to inspire. Thank you!
Thanks, Nea! Have fun!
Thanks a lot for all the tips. I have never used brushes with my gelli plate and seeing what you’ve done I must say the result is awesome! Can’t wait fir the video!
Hi Muriel, thanks! I will publish the video tomorrow, on Thursday 18th!
Thanks so much for sharing your Gelli plate technique. I love my Gelli plate and can spend hours with it but always with a brayer. I will definitely try this technique – the results are so beautiful! Appreciate very much your posts and tutorials – always learning something new from you Paivi!
Colleen, thanks! Have fun!
I agree. Gorgeous prints. And I love how you use handmade cutouts. So many of the online tutorials use expensive stencils and all sore of equipment. Using brushes and cutout paper, you have made the most creative and unique prints I have seen so far. Thank you for the inspirations, as always.
Thank you, Lynn! I feel that for self-expression ready-made products like stencils are not really the best. If you want to leave your own signature to the work and create unique art, the more you create yourself, the better. I love handcutting and cherish all my handcuts, even if they are not perfect. I have actually blogged about my love for hand cutting, check this blog post – 5 reasons to enjoy cutting paper with scissors! http://www.peonyandparakeet.com/5-reasons-to-enjoy-cutting-paper-with-scissors/
Evening! This will be a new adventure to add to my growing list!!! (quilting, mosaics, art journaling, etc….) I like print on the right the best….the way the yellow pops out at me! Lisa
Awesome! Love the idea of the brush. . . . and the colors…. so wonderful.The Technology one is my favorite.
This post was really interesting. The last two prints were hard to pick a favorite. The one on the left made me feel like I was looking into a doorway or window and my eyes kept looking further. The print on the right was opposite – seemed like the painting was coming towards me instead of me peering into it. If I saw them in person, I’m sure they would have a greater impact but they are so interesting to watch and let my brain explore.