Watercolor Wisdom – 6 Techniques that You Need to Try Before Giving Up!

This week I am writing to you who have always liked the idea of using more watercolors but whose experiments don’t often last long. Try these techniques to keep going and not giving up!
1) Doodle with a Brush
Dip a thin brush into the paint and start doodling! Add more paint to some areas so that the thickness of the line varies and evokes new shapes.
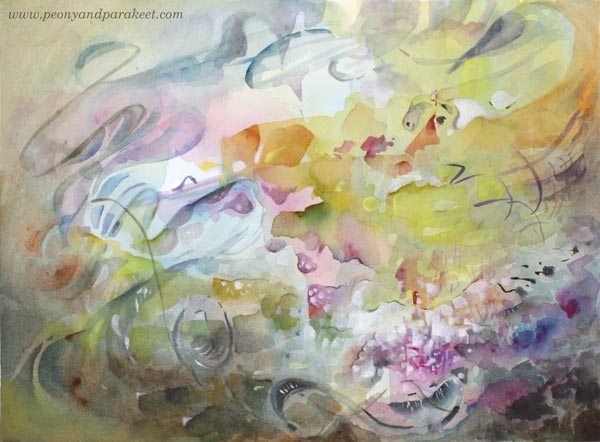
I have also used acrylic paints for finishing this piece called “Netfishing.”
2) Doodle with Masking Fluid
I don’t often recommend purchasing more art supplies to boost the motivation, but with watercolors, I highly recommend buying masking fluid. For example, Daniel Smith has a masking fluid that comes with handy applicators. You can just pick the bottle and start doodling. And while you are doing that why not fill the whole paper with them! Then add several layers of paint and remove the fluid gradually.
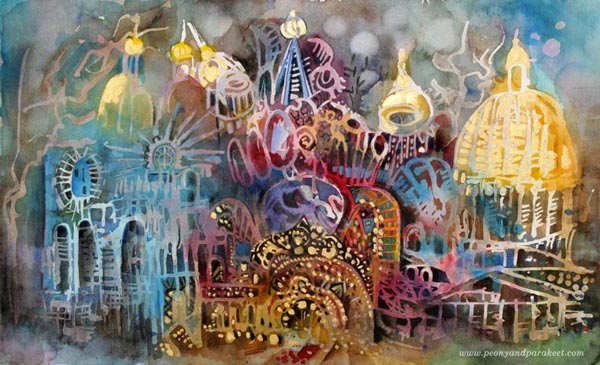
I have also used golden acrylic paint and colored pencils in this piece, called “Three Churches of St. Petersburg”.
3) Add Geometric Shapes to a Scenery
If all the elements are realistic, defined and “make sense,” you are underestimating the potential of watercolors. An easy way to push beyond the conventional is to add geometric shapes to a realistic theme, for example, to a scenery.
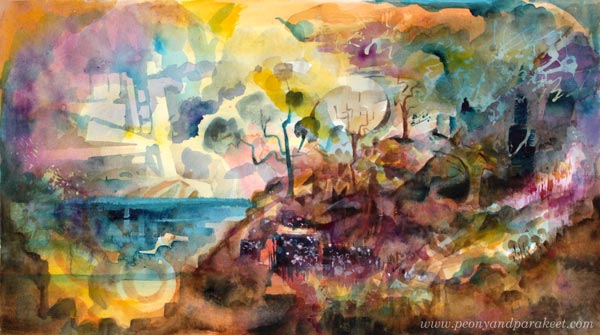
You can also paint vice versa: start with the geometry and then make it look like scenery.
4) Leave Blank Spots to Express the Light
Think about your painting as a collection of layers. Paint 6-10 layers so that every layer is a bit smaller than the previous one. Leave blank spots when painting the first layer. Focus on tiny details in the last layers. Let every layer dry before adding a new one.
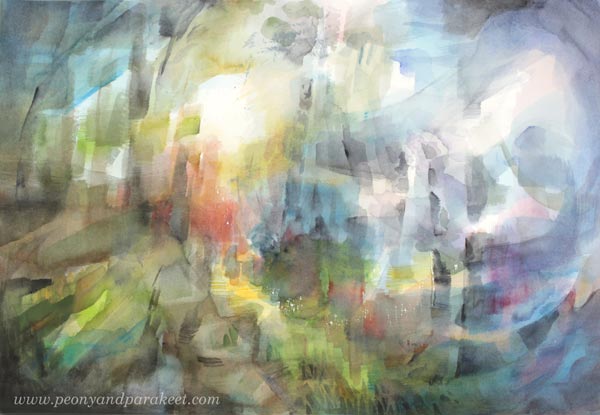
5) Add Muddy Colors to Make the Brights Shine
Don’t be afraid of dark areas. If your work looks unfinished or the colors don’t shine no matter how much you add them, the solution is to add more really dark areas.

There are a lot of browns, greys, and blacks in these two small sceneries which make the color glow!

6) Pick One Dominating Color, but Use Many Tones of It
When applying paint on paper, add small drops of other colors too. Use the transparency of watercolors to get new tones: add watery paint, let dry, repeat!
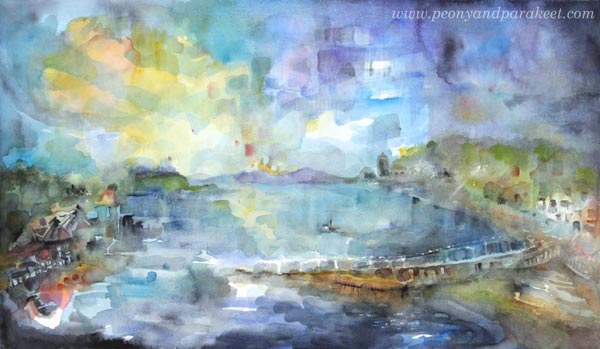
“Oban,” a small town in Scotland that left an impact on me. I could have painted the sky solid blue, as well as the water, but adding more variation of the color makes this painting.
Watercolor Journey – More Watercolor Wisdom for Self-Study!
The pictures and tips of this blog post are picked from my class Watercolor Journey. In this class, you will learn how to use the techniques and the imagination to express energizing sceneries. The fun thing is that these sceneries can be either realistic, or imaginative, or anything between. Sometimes the scenery is born with the technique. Other times painting is more about reconnecting with a happy memory. I have tried to make the videos as inspiring as possible so that you and your watercolors become a better match after each one.
>> Buy Watercolor Journey!
