Dolls in a Gallery – Paper Collage Step by Step!
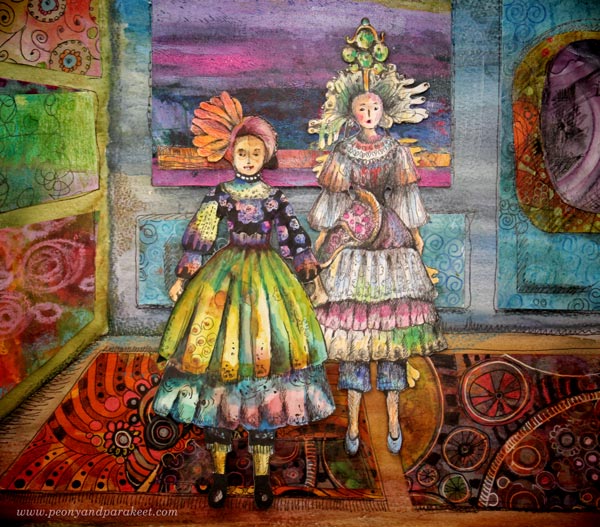
Last week, I published a video about drawing a paper doll. Now when you have the dolls, what’s next? Let’s take them to an art gallery, and show them all the other art that you have created! Follow me step by step to create a fun paper collage!
1) Draw Lines to Define the Space
Take a ruler and divide the paper so that it has two walls and the floor.
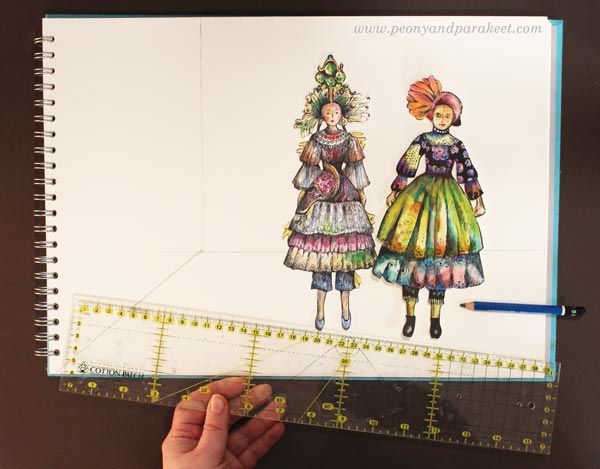
Start with the horizontal line and make sure that there’s enough room for the dolls to wander around the space. Then draw a vertical line approximately one third from the edge, and finally a diagonal that completes the side wall.
2) Paint The Floor and The Walls
I used watercolors to paint the background, but you can use any medium. Because you will add art on the walls and carpets on the floor, the interior can look quite plain at this point. Empty galleries usually are pretty sad-looking but that’s going to change in the next step!
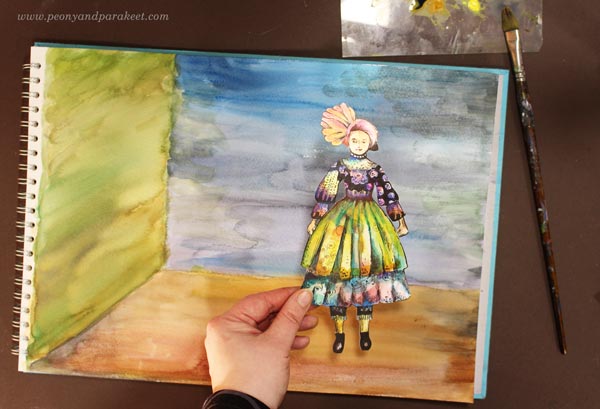
To make the gallery look more 3-dimensional, I used cooler colors on the back wall.
3) Decorate by Making a Paper Collage
Now the fun can begin. Turn your painting into a paper collage! Start by picking collage pieces to decorate the gallery. Hang art on the walls and make carpets on the floor. Go to your box of hand-decorated papers and use those! If you don’t have any, you can print some or cut images from magazines. But I think this project is the best if you can hang your art on the walls, and be the star of the gallery!
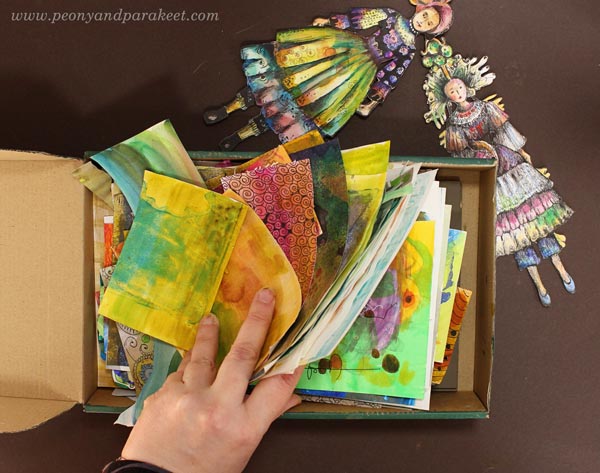
I also have a class called Collageland where I show how to make and use hand-decorated papers.
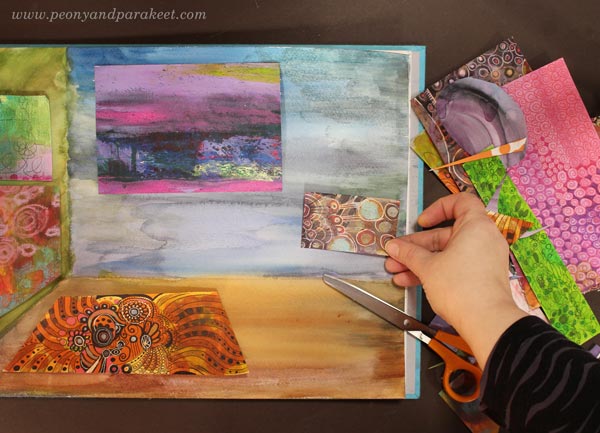
The back wall is the easiest to decorate because the papers can be rectangular there. But when cutting the pieces for the side wall, and the floor, make them inclined so that they follow the perspective.
To Glue or not to Glue?
I glued all the decorations with gel medium. If you make a pile of paintings and carpets, maybe some other furniture too, you may not want to attach them permanently so that you can change them. I didn’t glue my dolls in Step 5, but you can glue everything to complete the image.
4) Add Details with Pens
You can add fringes on the carpets, shadows near the paintings and panels, and adjust colors.
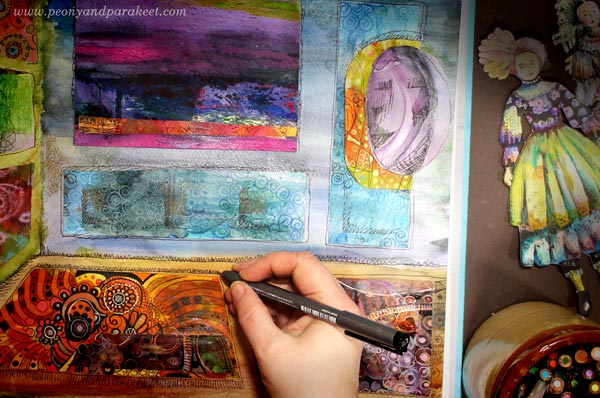
I use a black thin-tipped drawing pen (Copic Multiliner) and colored pencils in this step.
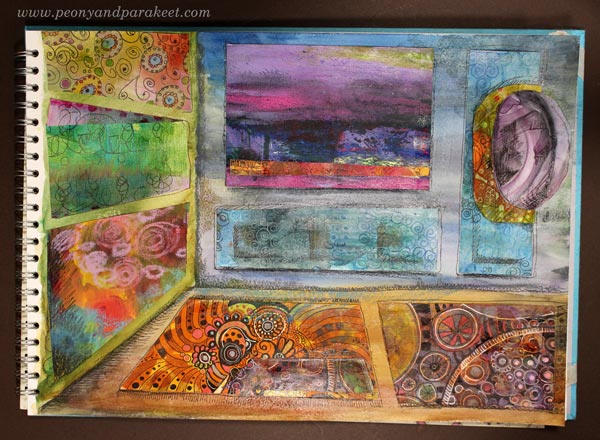
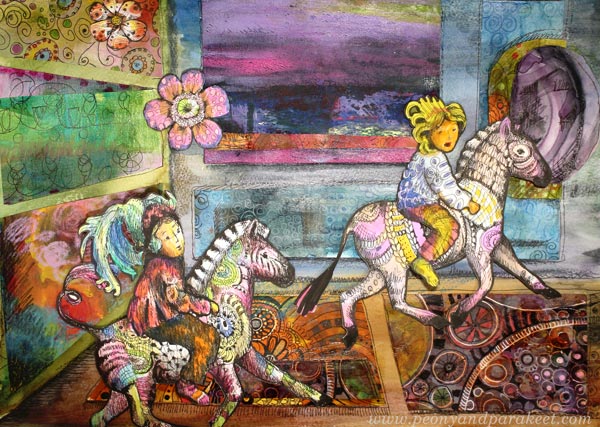
Here’s how my gallery looks when it’s finished. Because I love to take a step away from reality, I made a magic mirror on the wall. I made this paper collage on one of my A3-sized sketchbooks that has watercolor paper.
5) Let the Dolls in and Play!
Now invite the dolls to the opening! My dolls got so excited that the magic mirror became activated. It opened a door for the whole wild world!
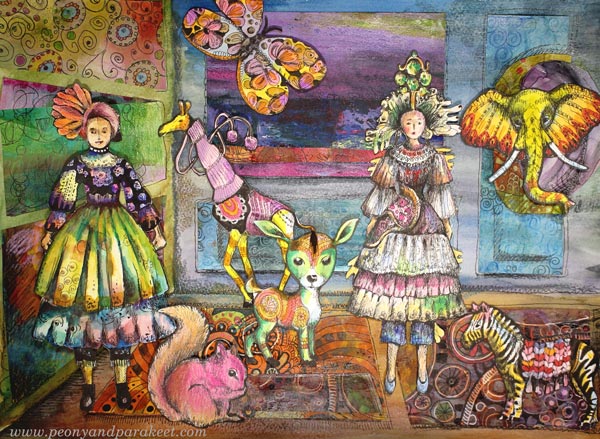
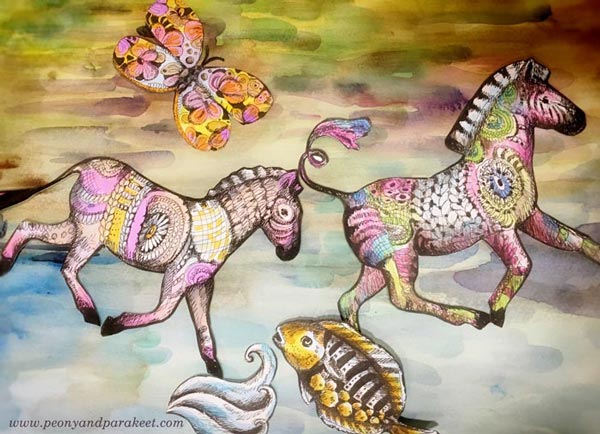
And after the opening was over, a couple of the guests decided to take an adventure through the mirror with zebras!
Drawing and Playing in Animal Inkdom
Take the paper doll with you, and come to draw and decorate animals with us in Animal Inkdom! You will get the published lessons immediately after the registration, and you can start drawing right away. Sign up for Animal Inkdom here!
8 thoughts on “Dolls in a Gallery – Paper Collage Step by Step!”
Comments are closed.
Your creativity never ceases to amaze me!
Thank you, Rae Lynn!
Stunning! Thanks for the how-to
Thank you, Bev! Have fun!!
Beautiful, Paivi. Thanks for sharing your incredible creativity. These images would look wonderful in a children’s story book…..your next adventure?
Best wishes, Rose
Thank you, Rose! I think of these more like the grown-ups’ plays but you never know!
Amazing, another way of making art. I think one must have very inventive brains to develop artwork like this!
Thanks for sharing, dear Paivi .
Thank you, Nel!! I made Christmas postcards with this idea and it grew from there.