Torn Paper Collage for Artistic Exploration
Torn paper collage – do you remember making them as a child?
This project is not so much about the resulting image, but about the process.
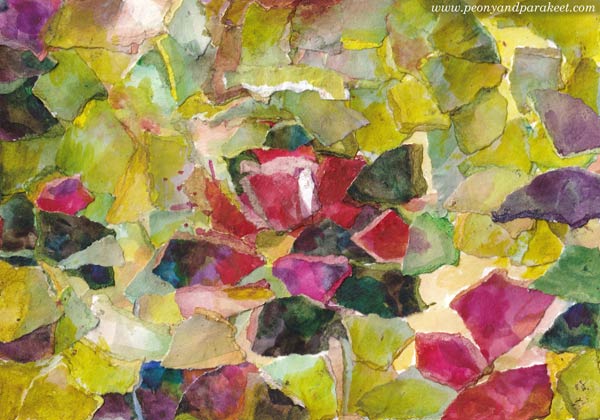
You will need watercolors, thick drawing paper, and paper glue.
I have used Fabriano Accademia Drawing Paper (200 gsm/94 lbs). It’s not as thick as most watercolor papers but holds water well and is nice for collages. I bought this paper for the course Joyful Coloring, and it has become one of my favorites because it’s so versatile.
Step 1 – Paint the Papers
One of the best ways to grow your artistic skills is to move away from ready-made images and make the material for collages yourself.
While creating, think about this!
There’s a hidden miracle in every brush stroke, even in the ugliest ones. The potential of them is huge. Your artistry grows when you keep creating.
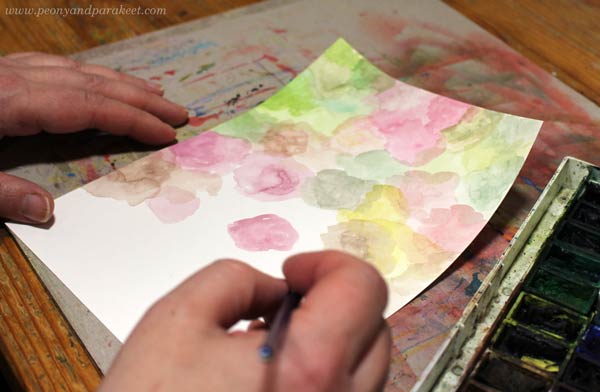
When you make the papers yourself, you can choose colors and add variation that will make every torn paper piece unique.
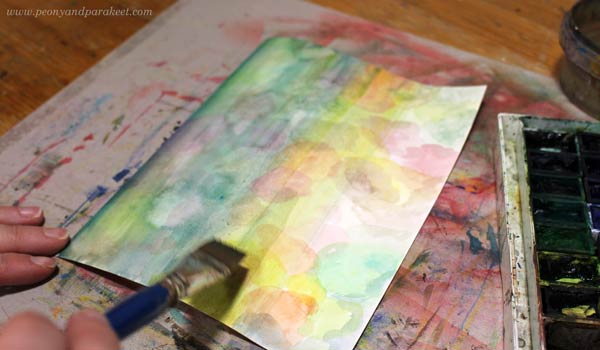
With watercolors, you easily achieve translucent effects and get great pastel tones. But also make a paper with darker and more vivid colors!
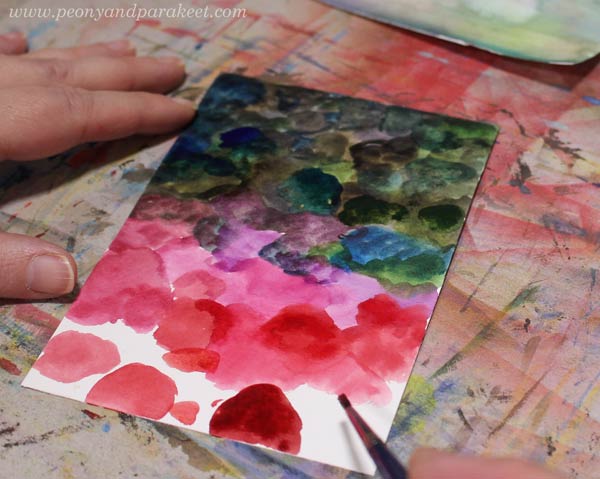
Check that you have all these variations: light, bright, and dark!
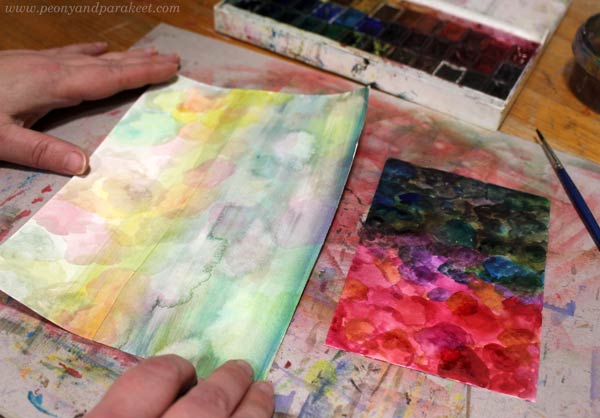
For a small collage, not so many papers are needed. My papers are 1,5 times the size of the final artwork.
Before continueing, think about this!
The papers are precious treasures. Handle them carefully like they would be glass!
Step 2 – Tore the Papers into Small Pieces
Next, let’s “break glass”! With fingers, tore the papers into pieces.
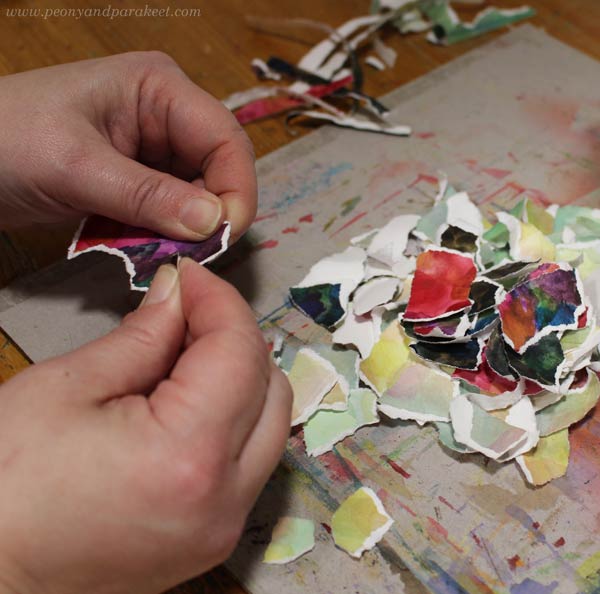
While creating, think about this!
Art is born, when you question what you see, experience, and own. While tearing the paper, let go of pre-assumptions of what you are going to create.
Step 3 – Paint the Torn Edges
The edges are the best part of torn paper collages, but especially when you paint them too. This way you don’t get too much distracting white to your collage, but the result will more colorful and atmospheric.
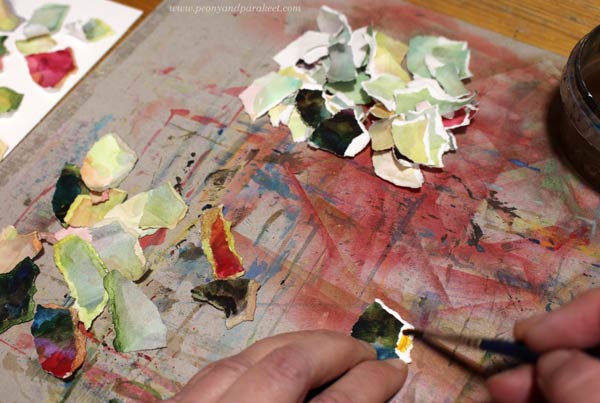
While creating, think about this!
Some people like to think a lot, some are more hands on. In artistic exploration, finding the balance is the key. This exercise is especially for thinkers. Look at the torn pieces – so many new beginnings, seeds for new ideas!
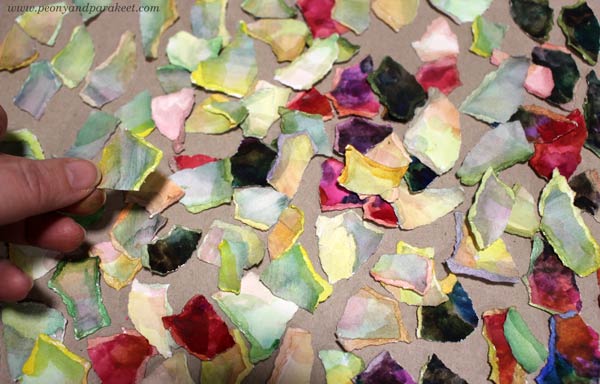
You can also spread the paint partly over the piece so that the color transition is less dramatic and the piece gets more depth. Some of my pieces have more colorful and some more blended edges. Variation is always good!
Step 4 – Glue the Pieces
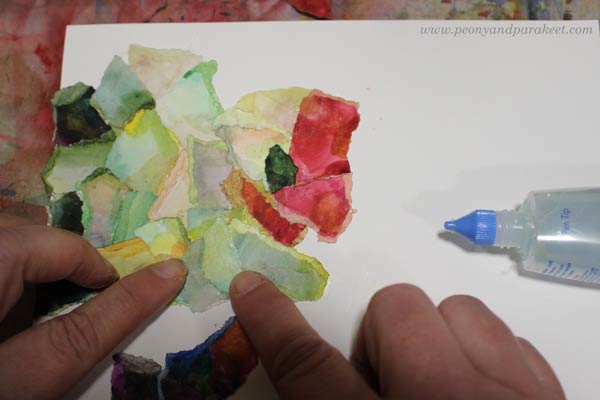
Pick a blank background paper and glue the pieces on it. My background is fairly small, about 6 x 8 inches. I use Towbow Aqua Liquid Glue. It’s not perfect because it’s a bit brittle when it dries, but I like it because it doesn’t make my fingers sticky.
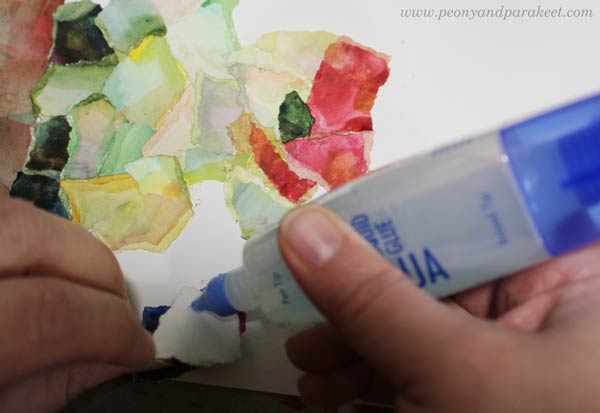
Start from one edge and work towards the center. Save most of the brights for the center and keep the edges less colorful. Create clusters and look for happy accidents.
While creating, think about this!
Papers that have been destroyed now get a new beginning. It’s like a window has been shattered and a new stained glass one gives a new view. Always when you create is some kind of distortion. But that’s not a bad thing at alll. We need these new views to make a shift in our lives, to see beyond the obvious.
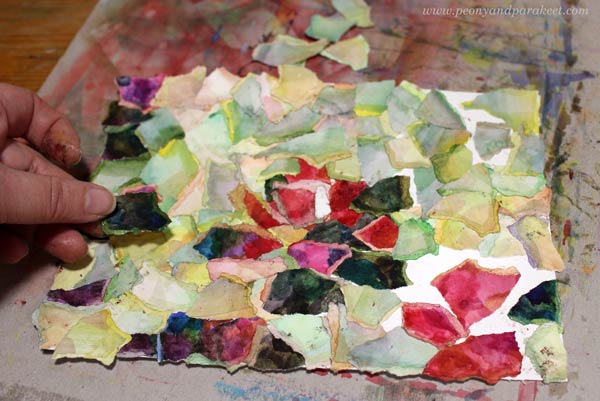
Notice, that you can leave the background partly visible here and there.
Step 5 – Finish with Watercolor
You can still adjust the collage by painting over the pieces.
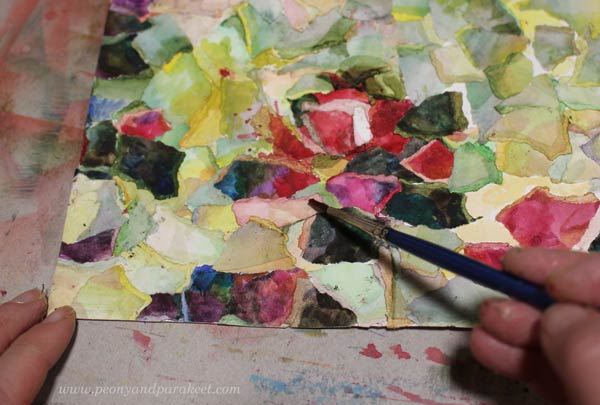
You can add details, but more than that I would recommend adding a thin color layer on most of the pieces so that you get a more unified look. I added yellow over most of the pale greens, and also to the areas where I left the blank paper visible. I like to have white as a highlight color only, and not everywhere.
While creating, do this!
Take a break! Don’t try to do everything in one sitting. Rest and give your mind some time to process what you have been doing!

The collage is now finished, but the process is not. So, proceed to the next step!
Step 6 – Explore Your Torn Paper Collage
Take photos of your torn paper collage. Don’t just take the realistic photo to your archive but get creative! Think about the light and the air and how they create a new layer to everything we see. Take the collage to a place where you get strong sunlight and dark shadows to get a new puzzle over it.
Or if you have a DSLR camera, do what I did: take the collage to a dark room, legthen the exposure so that taking the photo lasts many seconds. Then move the flashlight around the picture and its surroundings.

With the long exposure, you can also move the collage around to get an artistic photo.
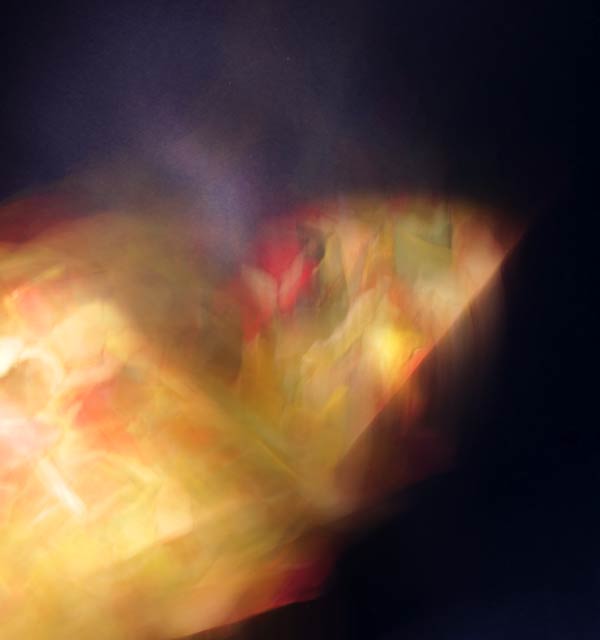
You can start with a blank paper, but end up with painting with light.
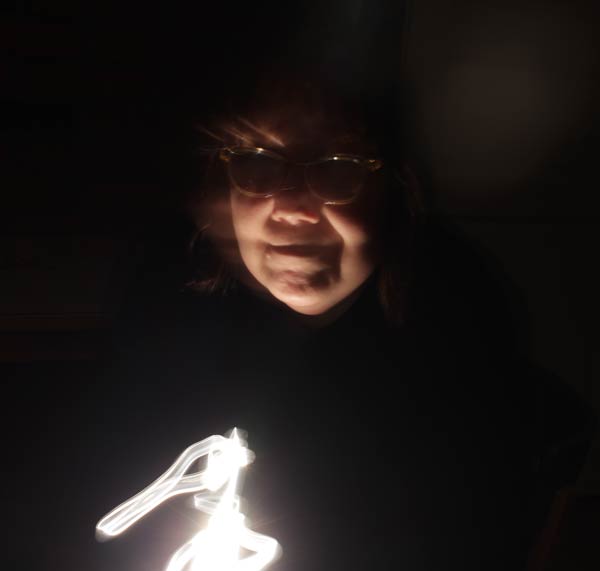
Creating art is not only about mastering techniques or imagining things. Artistic exploration is where freely practice both.
Torn Paper Collage – Where Did This Idea Come From?
The oil painting that I am currently working on, is influenced by my artistic explorations. And, it’s also vice versa. When I looked at the painting that is still in progress, I felt the need to tear some paper, and so the torn paper collage was born.
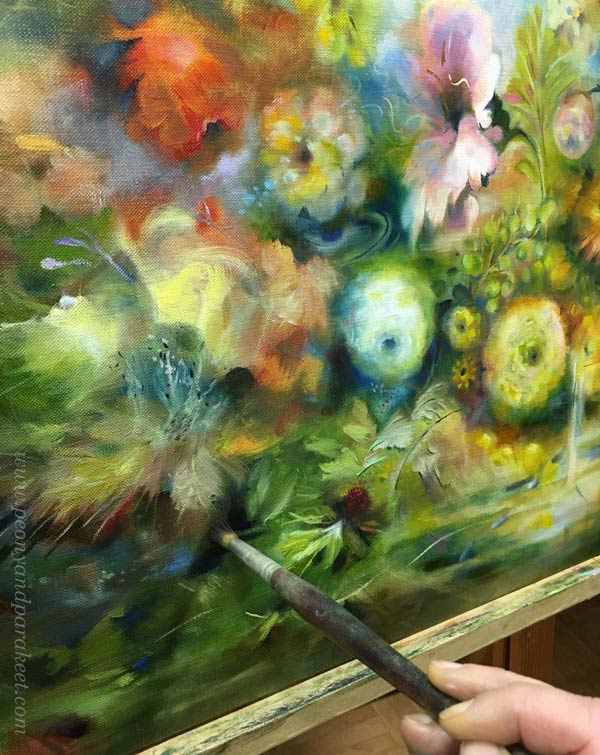
I like to explore movement, so moving the collage under the camera produced an image that is related to this painting. That photo will inspire me when I am adding finishing touches to the painting.
I believe we have to explore to move forward in the path.
What do you think?
8 thoughts on “Torn Paper Collage for Artistic Exploration”
Comments are closed.
Although I cannot paint like you, I can paint papers with watercolour so I can make a collage! I love your idea of painting the torn edges; I am wondering what the effect would be if I used silver and gold paints on the edges. The idea of using a paint to unify the piece is also very thought provoking. Perhaps these seem basic ideas to you, but I’ve barely stepped out on my journey and find these ideas so. helpful. Thank you for sharing your ideas and your beautiful art.
Jakki
Thank you, Jakki! It’s wonderful to hear that the post inspired you to create.
I love this idea. I can’t wait to try it. It reminds me of my childhood where, in my school art classes, I enjoyed collage, using tiny pieces of torn magazine papers, organizing them into colors and shades and using them to make designs.
Thank you for the suggestion.
Thank you, Debbie! Yes, those school projects bring back many memories, and it’s inspiring to be that child again.
When I read your words:
“There’s a hidden miracle in every brush stroke, even in the ugliest ones. The potential of them is huge. Your artistry grows when you keep creating. ”
They reminded me of something a voice teacher once told me, in fact she started the lesson with: Every sound we can make is music to some culture somewhere in the world. It made me relax and not judge my voice.
I love your two watercolor sheets, they are lovely.
Thank you, Tammie! I love that “every sound is music” – so well said, thanks for sharing!
thank you for this inspiring lesson…..a geat thing to do on a cold rainy winter day……
Thank you, Joanne! Have fun!