5 Tips for Quick Abstract Flowers
This week, we paint quick abstract flowers freely without any references.
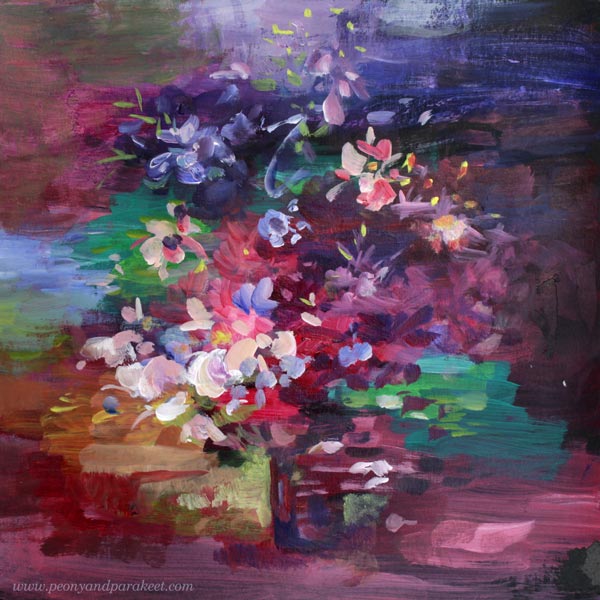
I have a black Dylusions Creative Journal and make small paintings there occasionally. It is especially good when there’s still paint left on the palette at the end of the painting session. I think it makes sense to use all the paint, and not throw the leftovers in the trash.
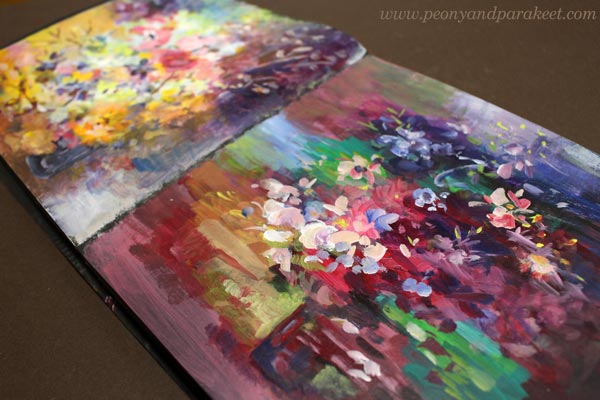
I don’t use any gesso but paint directly on the page.
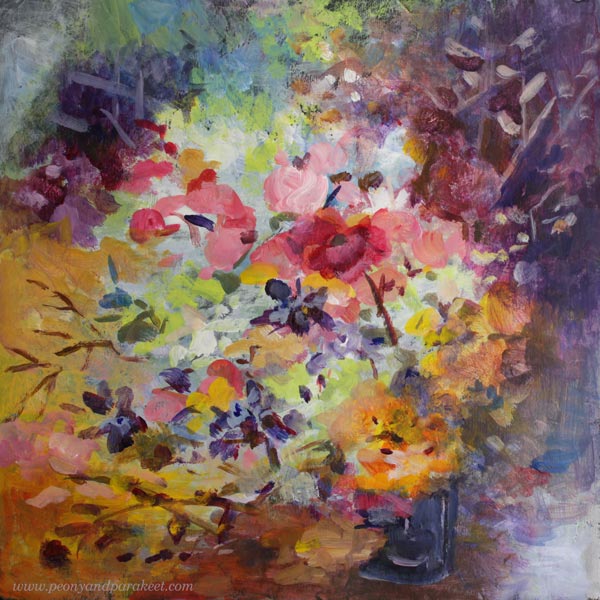
When I painted pieces for the course Liberated Artist Revisited, I noticed that there had been a long break in acrylic painting and some of the tubes had started to harden.
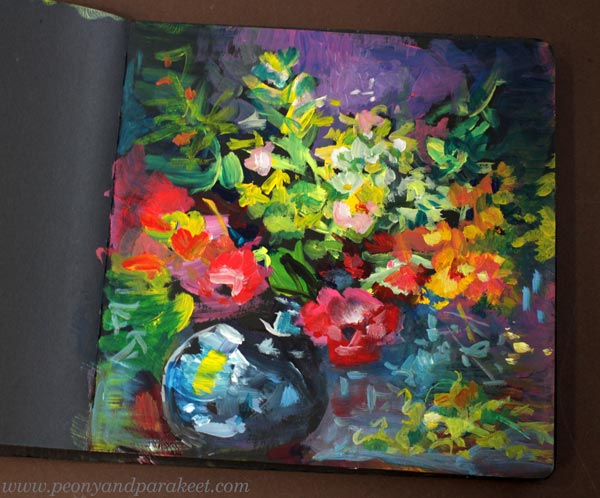
It motivates me to paint in the black art journal again because I don’t want those paints to go to waste. And sometimes it’s nice to paint something small quickly and see what comes out most effortlessly.
Quick Abstract Flowers – Five Tips!
I like painting abstract flowers, and thick paints are very suitable for abstract flower paintings. Here are my five tips for painting flowers quickly.
1) Start from the Old Mess
The fastest way is to start from an old painting.
I have a lot of pages in my journal where I’ve hastily painted shapes with leftover paints.
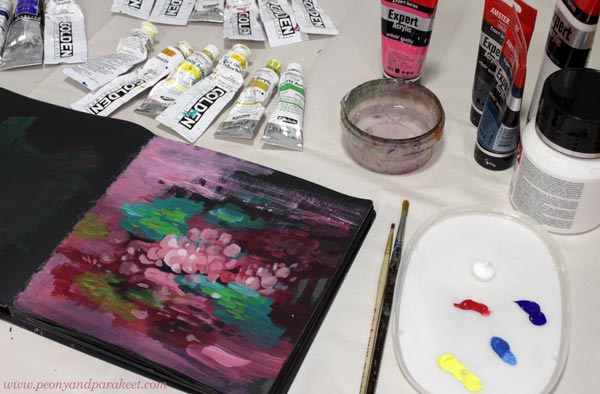
Continuing the beautiful mess feels much more effortless than starting a new one from the beginning.
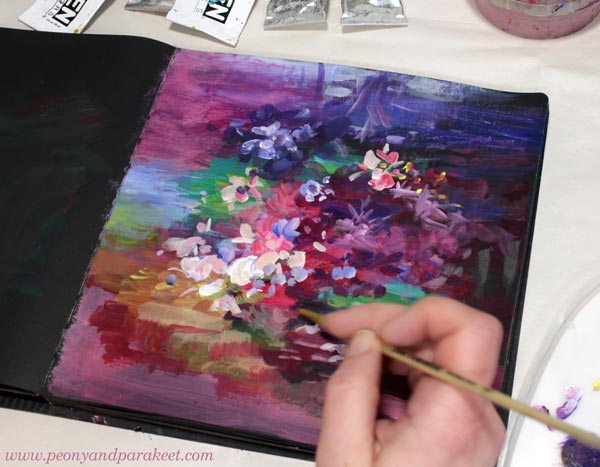
For example, here’s one page that still waits its turn to become a finished painting.
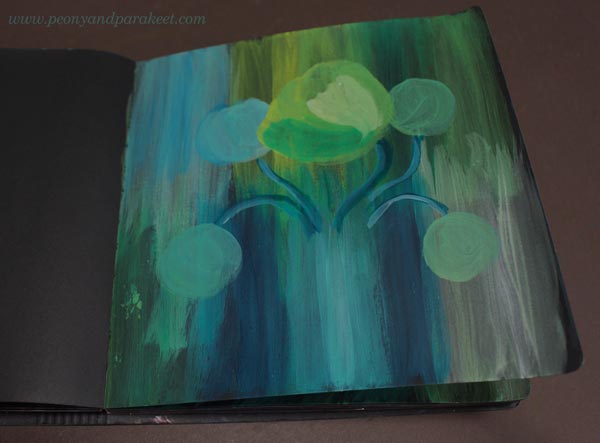
Most of my beginning messes are much more messy though!
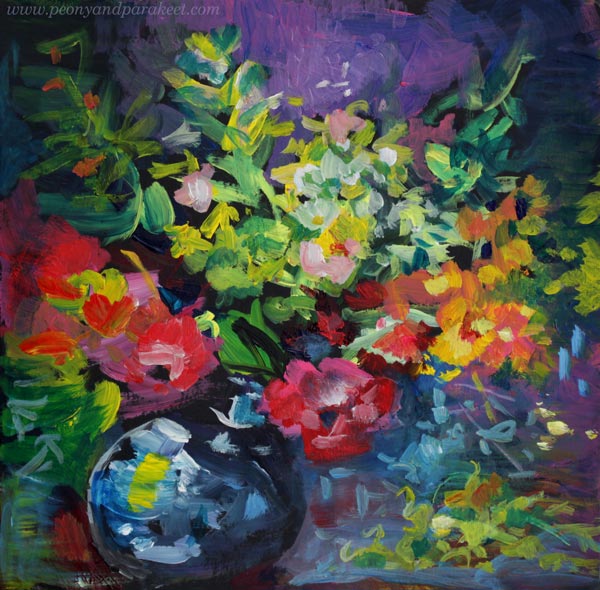
2) Dark-Bright-Light
Include all three degrees of darkness in one painting.
Make color mixes and compare them in terms of darkness. By including all three – dark, bright, and light – you can achieve depth and atmosphere.
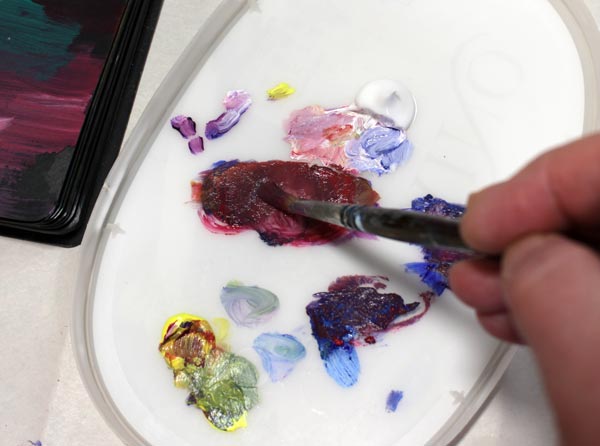
Make clear larger areas so that you can point to different places in the background and say, there is dark, there is bright, and there is light.
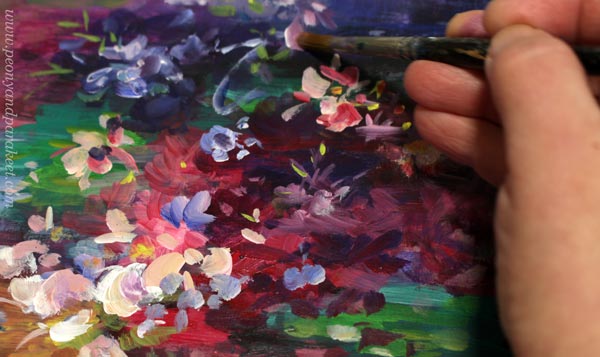
Flowers can have all three – dark, bright, and light colors.
3) Forget the Real Flowers!
Don’t think too much about the real flowers.
Don’t think about what a rose looks like or what flowers you want in your painting. All that stiffens your expression.
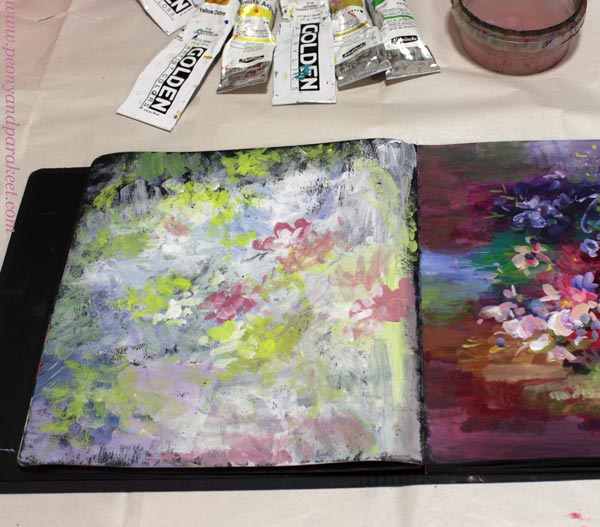
Focus on the colors and let the flowers form from the brushstrokes.
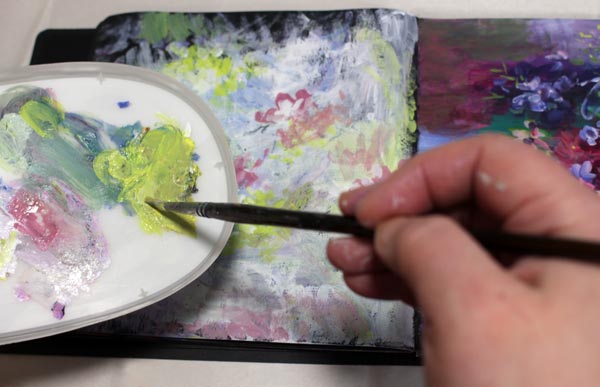
After all, a flower is just a few colorful strokes and a line for the stem.
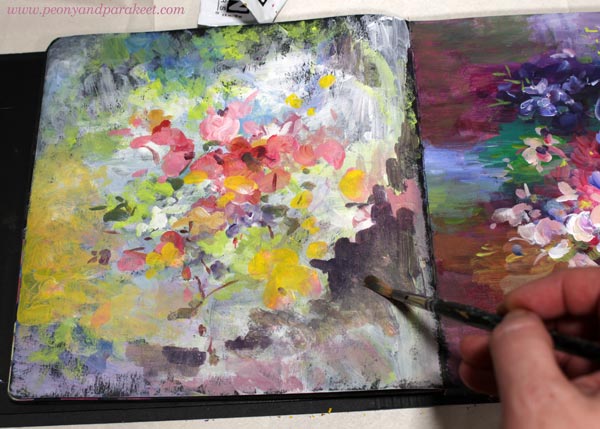
Use your imagination when you look at your work in progress!
4) Leave Room for Spirit
Not everything needs to be defined or look like a flower.
Flowers are concrete matter, so let the colors express the spirit!
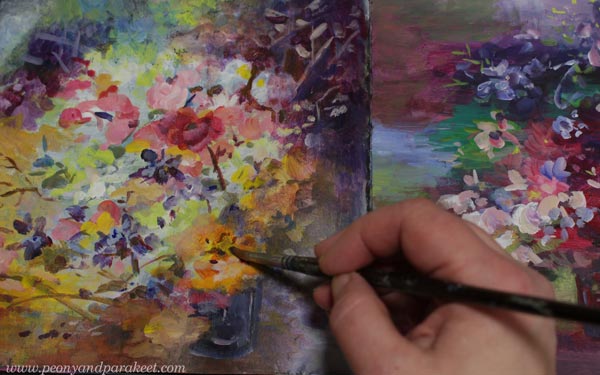
If you want to be extra quick, sharpen just one flower near the center and leave the others more abstract and vague.
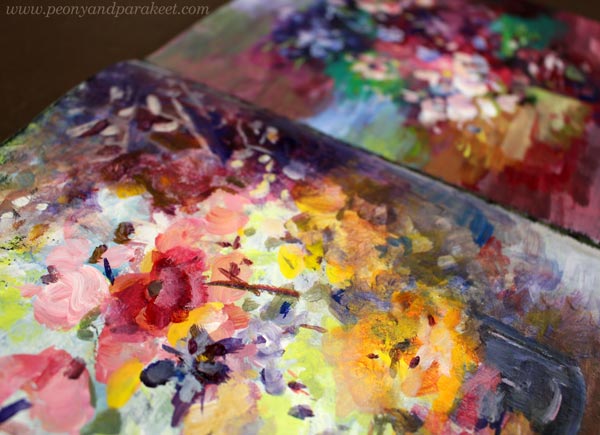
5) No Forced Feelings
Open yourself up to an emotional experience.
The speed of the painting depends highly on how soon you get an emotional connection with yourself and what you are doing. Let even the darkest thoughts come. For creativity, everything genuine is equally good.
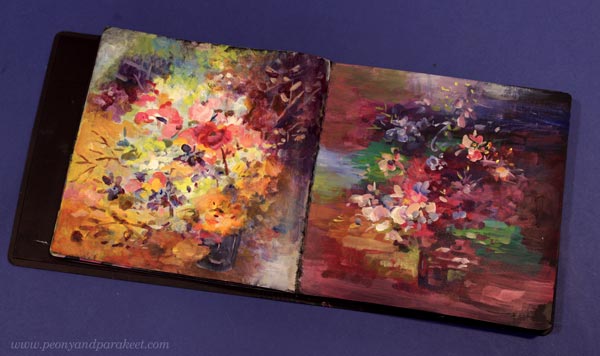
The beauty of making art is that imagination creates abundance and eternal life from almost nothing – from the leftover paint and leftover energy. And the more often you create, the more you get out of it!
Liberated Artist Revisited – Buy Now!
In Liberated Artist Revisited, we time-travel to meet the teacher – Paivi from 2015, and create new art with her.
This course is both for the left and right brain. The young Paivi gives systematic instructions while the older Paivi enjoys her freedom and ponders about art-making and life in general.
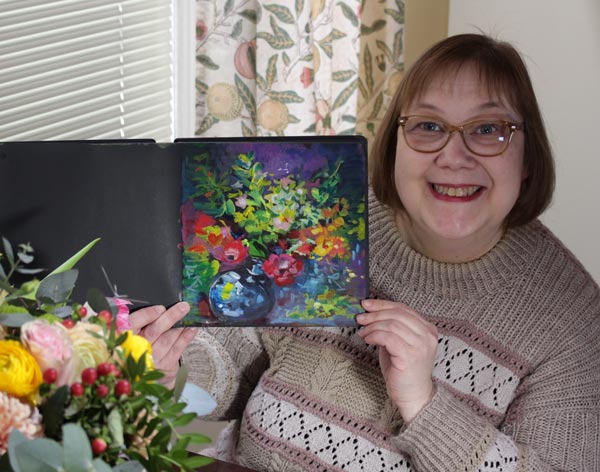
Liberated Artist Revisited is a limited edition – only available for purchase until the end of March 2024! >> Buy Now!
New Beginnings in Art-Making
Let’s think about new beginnings and give one to our art-making!
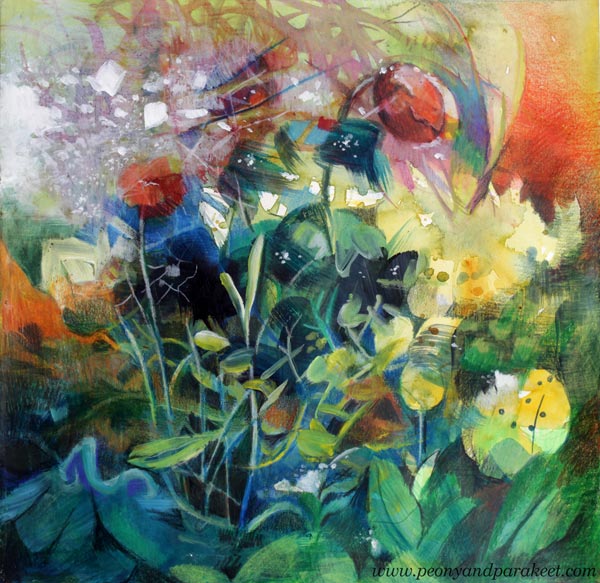
In recent months, I have felt that a new era has begun in my life. It has been surprising. I have thought that I am already too old for anything new – that the new beginnings in life have already been experienced, at least in terms of working life. But it just so happened that my work as an artist has a new beginning thanks to the grant for creating digital art.
At the same time, I have gained a new perspective on the past and my artistic development. Now, it feels that life with its changes is full of new beginnings, and art, too, is full of them! There are big beginnings and then smaller beginnings within them.
Valuing Randomness and Intuition
I developed the latest course Liberated Artist Revisited, because I wanted to relive the idea of the old course Liberated Artist. I wanted to relive that time in 2015 when a new beginning meant letting go of excessive control and surrendering to happy accidents and intuition. Because isn’t it the case that whenever a new era begins, we need faith in chance and intuition – so, the art of letting go!
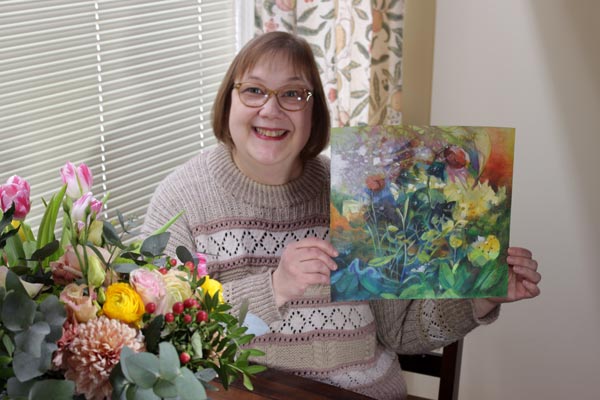
At the current new beginning, I have been thinking about what I have to give up. Because, couldn’t you say that life with its changes is full of not only beginnings, but endings, and ask if the same applies to art? While making the course Liberated Artist Revisited, I listened to Paivi from 2015.
Younger Paivi was very prompt: Step A and Step B and so on. If I compare her and I, I am partly different and partly similar. I would do some things differently now but in many ways., I am still quite the same artist. The new course Liberated Artist Revisited is a dialogue between the old and the new. You could also say that I have changed as an instructor a bit. Nowadays, I want to open up your artistic thinking, not so much to exclude options.
Life is so grand that everything that once had a beginning, stays in our hearts for a long time, even if it has ended. It’s the same in art. I can smile at Päivi after more than eight years, but not ironically, but warmly. “It’s wonderful to create something new with you again,” I say to young Päivi, and it’s also wonderful to invite you all to a new course again!
Liberated Artist Revisited – Buy Now!
Liberated Artist Revisited is a limited edition – only available for purchase until the end of March 2024! >> Buy Now!
Let’s Revisit Liberated Artist!
Only available in Feb-March 2024! This is a new course that is based on one of my retired courses called Liberated Artist. In this course, we travel back to 2015 to meet younger Paivi and create new art according to her instructions. Two Paivis at one price!
This course contains both old and new recordings, and I hope it’s as fun and addictive as the old course was. Whether you took it or not back in 2015-2016, you are welcome to this new course!
>> See more and buy now!
Liberated Inspiration – Painting Freely
This week, I talk about liberated inspiration and share what I discovered about 8 years ago.
>> See more pics at the Taiko art store!
Liberated Inspiration from 2015-2016
Recently, I have been thinking a lot about the years 2015 and 2016. Then I combined watercolors, acrylic paints, and colored pencils for intuitive still lives. At the same time, I thought about how complex the forms of nature are and how I could create a more finished impression with nuances.
I have those pieces saved in an album. Watch a short video of me browsing the folder! Here you can see only a small part of the pieces – the album is thick!
Liberated Inspiration
These last couple of pieces shown in the video have stuck in my mind. This one:
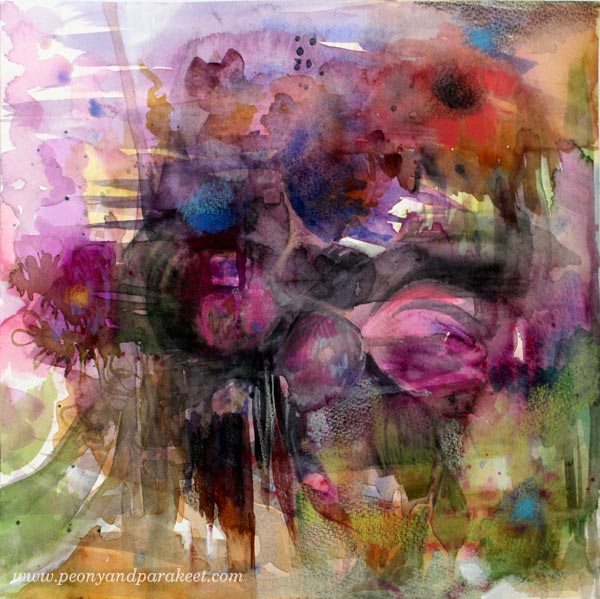
See the blog post about making this!
And this one:
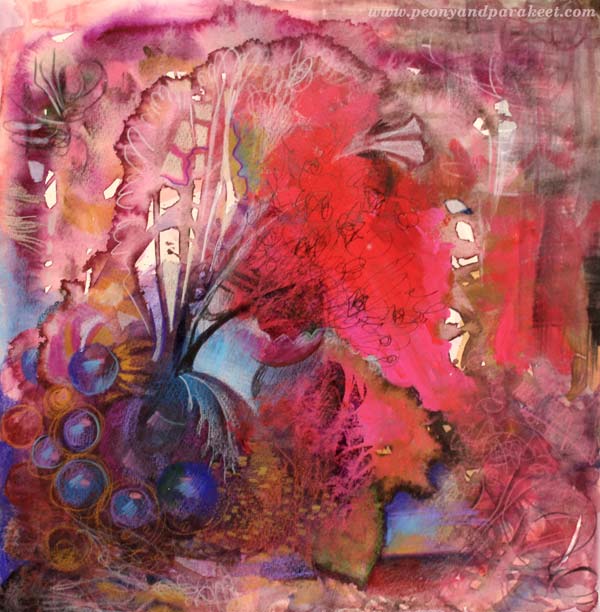
See the blog post about making this!
Both of these have a dark and romantic atmosphere that can be seen often in historical paintings, but there’s also liberated inspiration – meaning that no one dictates what that kind of painting should or shouldn’t have.
You can be inspired by what you have seen, but only pick the atmosphere from it.

I like this kind of inspiration the most. That you are inspired by something, but don’t take it too literally. Liberated inspiration boosts your enthusiasm but doesn’t tell what the final image should be.
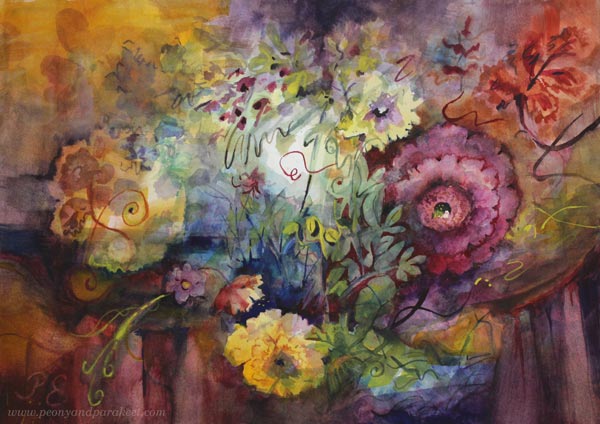
I wanted a similar romantic yet liberated feel for this watercolor painting.
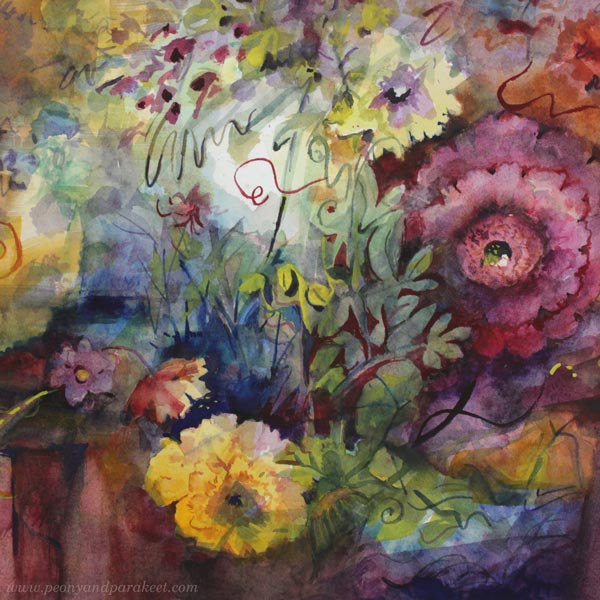
Imagine someone saying: “dinner is served” and bringing you to a table where good company and classical music would make the world look like it’s full of possibilities.
Painting Freely in Watercolor
It has always been important for me to paint freely without models and let randomness meet my imagination. In 2015, I developed a course called Liberated Artist. It was about creating a mess first and then solving it. It was a fun course.
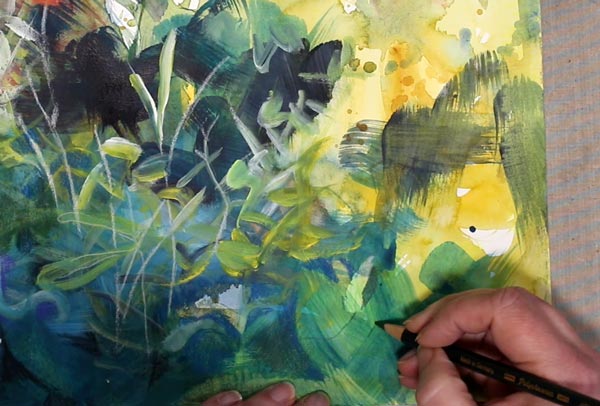
I started this watercolor with a similar mess.
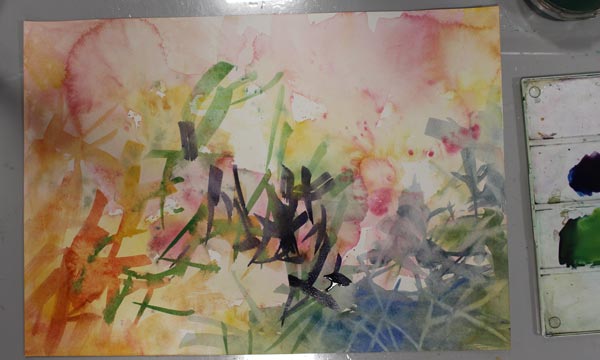
Then I switched to thinner brushes to finish the image.
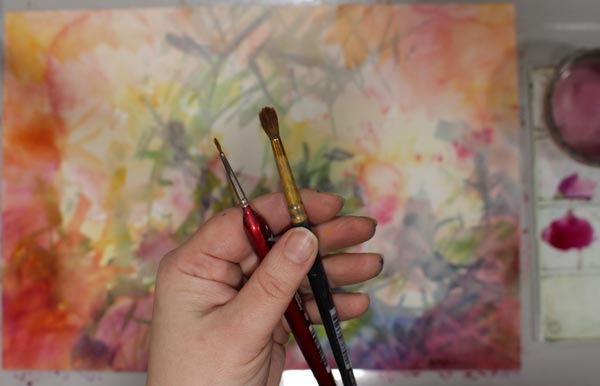
I like the way the imaginative scenery, flowers, ornaments, and the table came all together into one image.
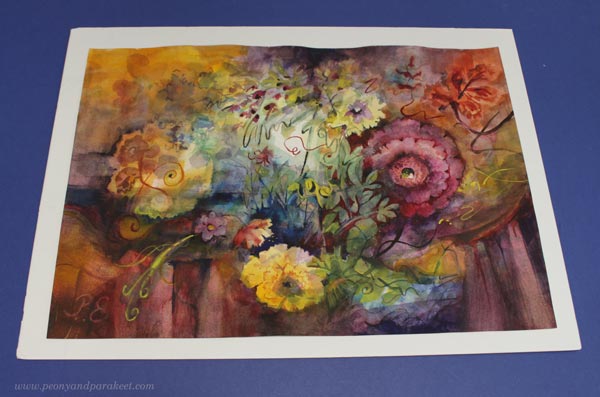
Coming Up: Liberated Artist Revisited
The Liberated Artist course is no longer available, but I got the idea to redo a small part of the course. In that, Päivi from 2015 will teach Päivi from 2024! I will follow the old instructions again, but like an experienced student, I also offer a bit of my current knowledge.
Here’s a sneak peek at the new mini-course called Liberated Artist Revisited.
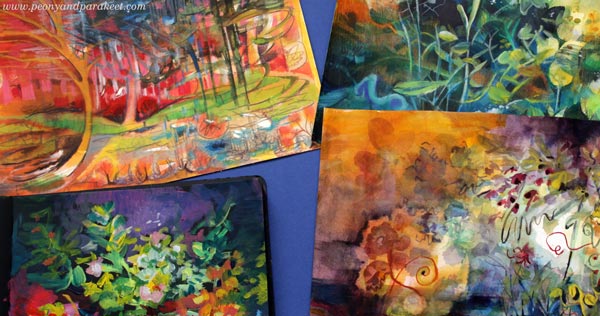
Liberated Artist Revisited will be published within a few weeks, but it’s likely to be a limited edition – only available for a limited time – so stay tuned!