Making the Most of Visual Nuances
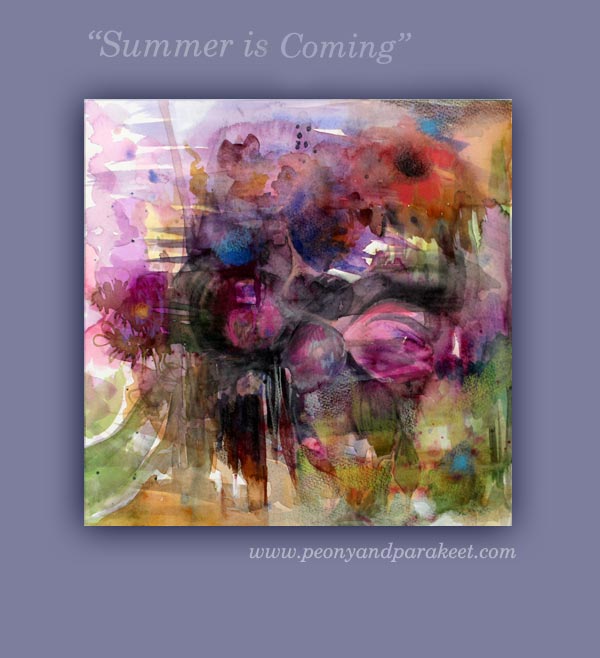
This is my latest mixed media painting “Summer is Coming”. It has been exceptionally warm weather in Finland and all that sunshine has brought summer not only to my mind but to my painting too. I tell you now how I created the painting!
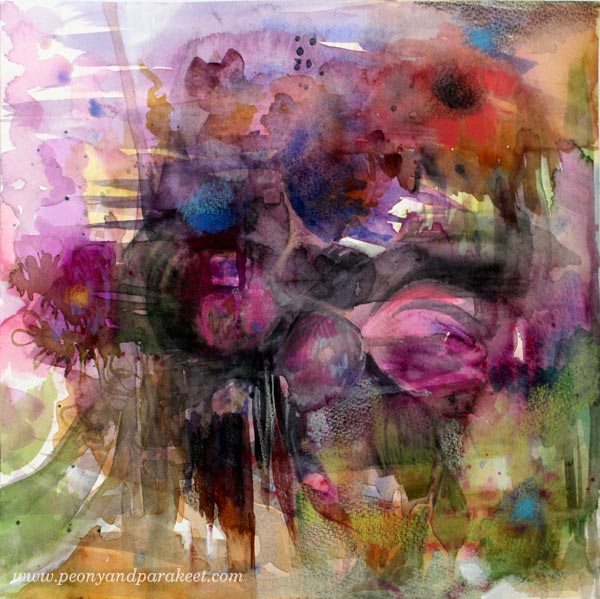
First Layers: Having Fun with Watercolors
The painting began with watercolors. I made a mess that didn’t look so good when looking at it from a distance. But it looked wonderful when taking close-up photos!

After splashing the first couple of layers with a big brush, I changed to a smaller one. I painted simple shapes with soft edges and thought that maybe this will be an abstract piece.
Is This a Still life – Again?
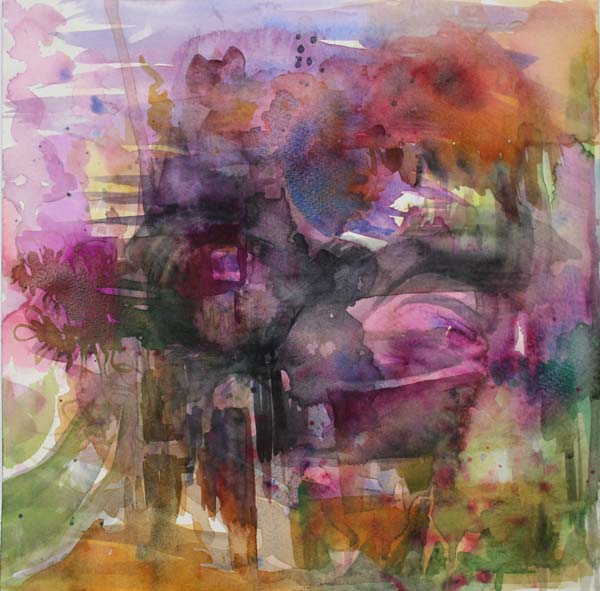
But after a while, it looked like a still life! I must admit that I have developed some kind of obsession for still lives. I have loved them for a long time already. But recently it has begun to feel that anything could be expressed with them. Well, a Finnish artist Miina Äkkijyrkkä has painted and sculpted cows for all her life, so still lives might not be so bad …
More Details with Colored Pencils
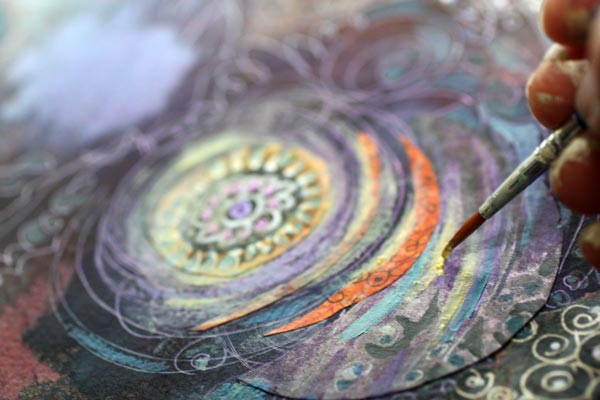
With colored pencils, I made the flowers more distinct. I wanted to work as softly as I could so that the delicate look of watercolor paint would still be dominating.
Almost There – Visual Nuances
Then I entered the actual finishing phase. This is what I call “Almost There” phase. It is the point where many just call the painting finished, and they try not to think about it too much. But if I am teaching a class, I encourage people to continue. One way is to show them what they can do next. So I open the photo of the painting in Photoshop and make little adjustments. With these suggestions, I try to add more visual communication and interest to the painting. Sometimes a little spot of color can make a big difference! See what kind of suggestions I made for my painting!
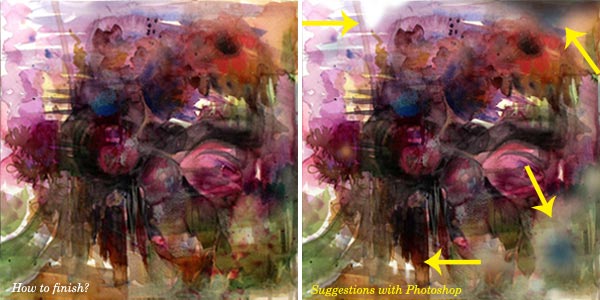
What’s the Magic of Using Photoshop for Suggestions?
One thing is that I can zoom as far as I can. Another thing is that I can try out different kind of adjustments without making a mess. I don’t do this often for my paintings, but I wanted to show you how little guidance can take the image to the next level. This is one thing that an art teacher can do: show you how you can fine-tune your work so that it has those visual nuances that make the painting more dynamic and alive.
Finished Painting
Here’s the painting after finishing it according to the suggestions. I used colored pencils and white gesso for the final details.
Subscribe to my weekly emails – Get a free mini-course!
The Art of Finishing

This collage is called Dawn of Change. It is inspired by the history of art. There was a time when I preferred modern art. If I went to an exhibition showing older than 20th century’s art, I used to yawn and think how pretentious it was. But the more I have examined art, the more I see in the old art. I see colors and concepts that can be reproduced in many different angles. Also, seeing good art makes me think of finishing – how much it affects the experience of the viewer.
The Creative Process
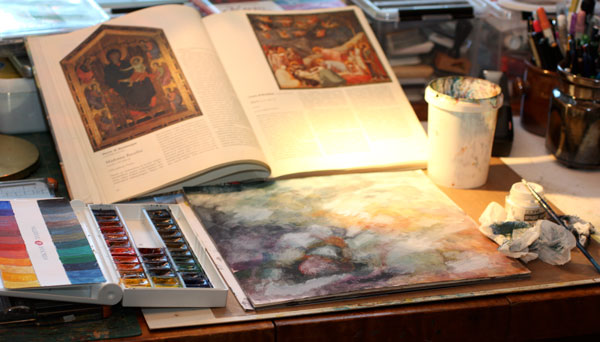
When I began to create Dawn of Change, I kept the painting of Giotto di Bondone visible on the table. I did not copy the image; I just kept it as a reminder of what to aim for.
The first layers were painted with watercolors. Then I added some Copic Opaque White to create lighter areas. The white layers were rubbed so that they shined vaguely on the watercolored surface. I also sprayed some Dylusions mists to make the background even foggier.
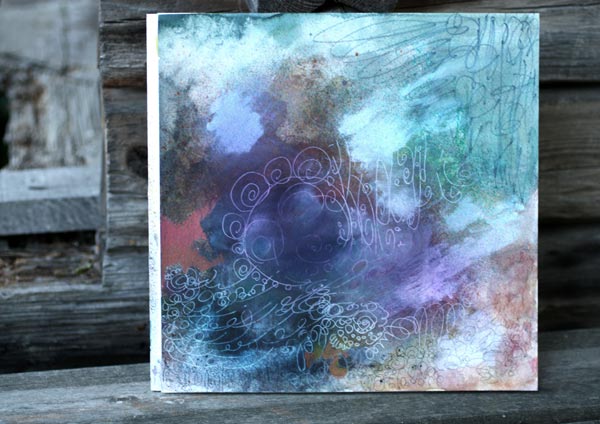
After a little bit of doodling with colored pencils, black marker, and white gel pen, the background started to show the guidelines for collage pieces.
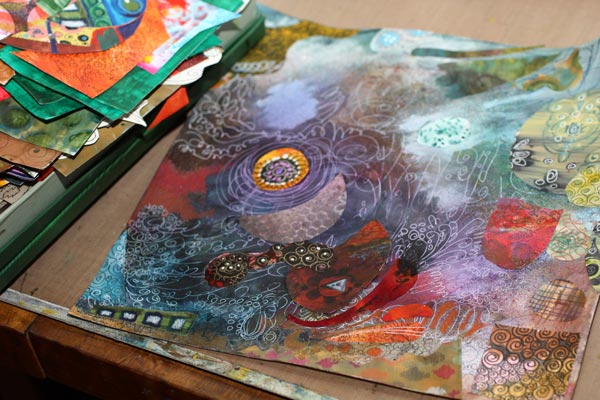
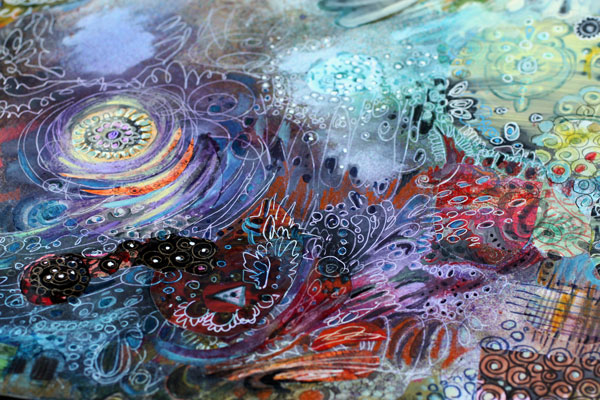
Then I picked up the box of hand decorated papers and began to attach the paper pieces. In this phase, I always get surprised how well the papers fit the artwork even if they are all different. Creating your own papers will bring you that happiness! Try to avoid using same papers many times in the same artwork. That way the result looks more interesting.
After a little bit of doodling, I was getting tired and decided to end my session. Even if the composition was accomplished and nothing major decisions left to make, I felt that the work was incomplete. I needed to ponder how I was going to finish it. Over the years I have noticed that finishing does make a difference. In arts and crafts, the finishing rarely alters either the message or the use of the work, but still has a high impact on how appealing we will find it. Sometimes that extra addition of quality will change entirely what we think about it.
So, if you want to improve your results, get into the habit of taking breaks. I like to have a good night sleep, walk the dogs or work in the garden. Especially physical activities make the subconscious work best. Then, when I grab the thin brush I know exactly what I want to achieve and how to do it.
Finishing Art – Making Subtle Changes
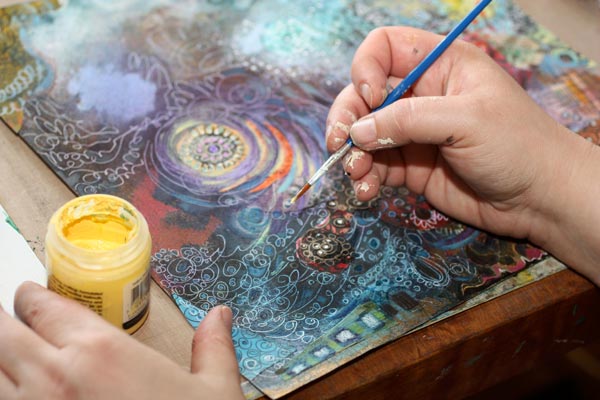
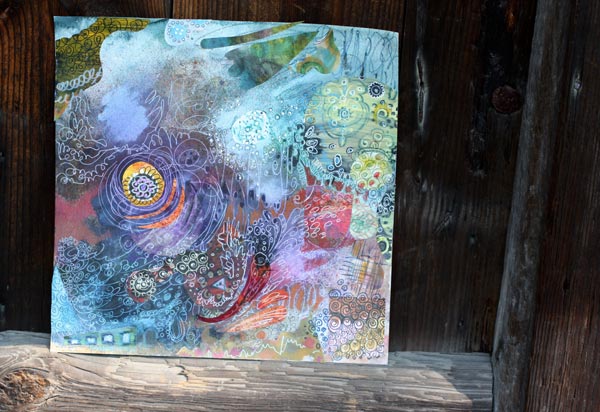
In this piece, I wanted to increase the impression of the colors fading together. The acrylic paints were the best to accomplish that. I added small strokes of various shades of grays to create a more muted look. Then I also added some pale yellow and off-white to create the fading in lighter areas.

The difference between before and after is not big. When placing the two pictures side by side, you have to search for the differences. But I claim that the overall experience of the quality is better after finishing.
So I challenge you to finish your work – even if it already feels finished!
Let me be your mentor in art: Subscribe to my weekly emails!