Embellish with a Hand-Drawn Frame
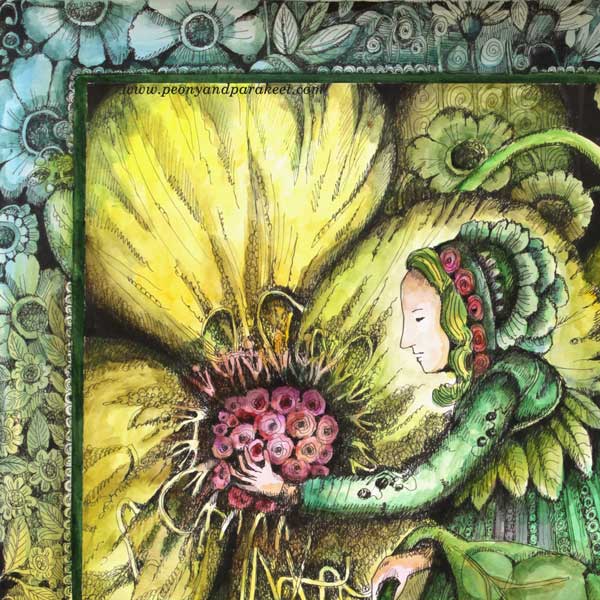
Do you remember this piece? I drew it in June but back then it looked much more modest. It was only black and white, and there was no hand-drawn frame.
I rediscovered the drawing when I was going through recent drawings and paintings. I will attend a group exhibition called “Flower Gardener’s Diary” in September. I have quite a lot of work that goes under that title. In fact, if the exhibition would be called “No Flowers This Time”, I would be in trouble.
Doodling a Hand-Drawn Frame
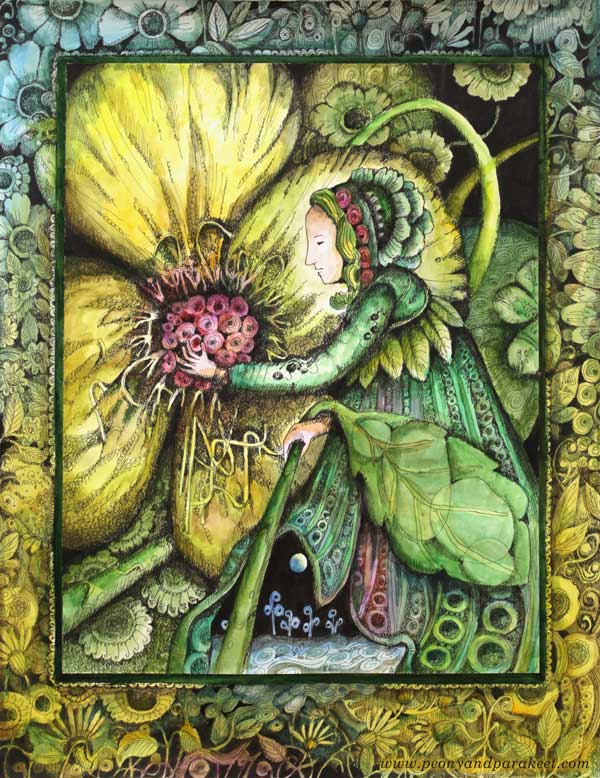
I had given it a title “Flowers for the Soul” for this piece, but I thought I could rename it as “Flower Gardener’s Dream” if I would polish it a bit.
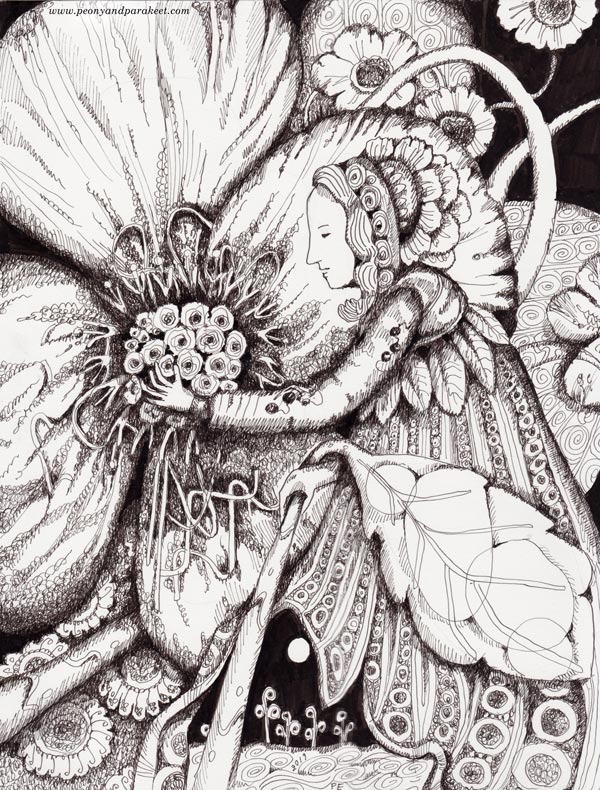
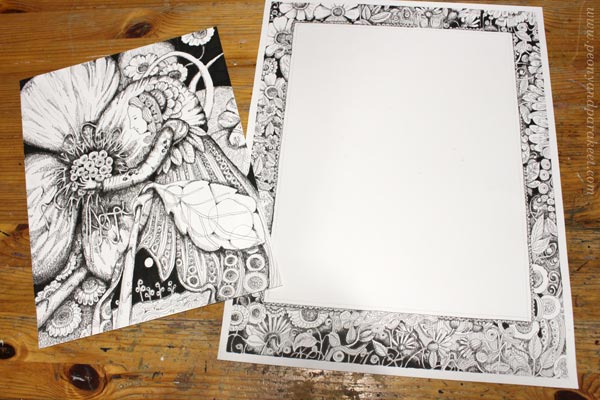
I cut a larger piece of paper and started drawing rough doodles around it. I can doodle quite quickly because I have been practicing a lot lately. I haven’t only drawn a bunch of exercises and additional examples for the class Magical Inkdom but also learned a lot when watching myself in the videos while editing them. It reminds me of athletes who train themselves mentally by watching their performances. Fortunately, doodling is not an Olympic sport because it would be my obsession to be the one who represented Finland!
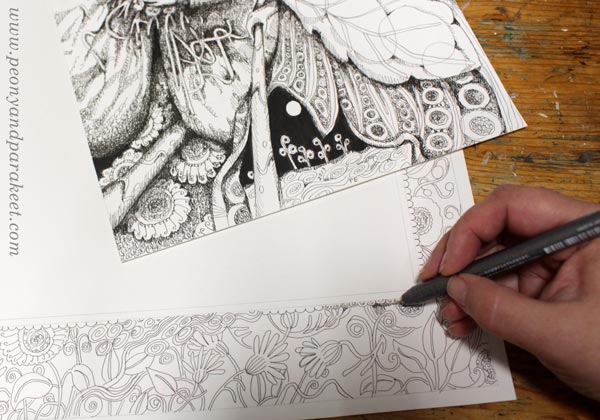
It always amazes me that what is first just an ugly doodle, becomes a decent drawing after adding shadows and details. The magic of time and effort!
Coloring the Image + My Favorite Color
If I had to name the favorite color of my watercolor set, I would probably say Daniel Smith’s Rich Green Gold. It’s an ugly-looking paste that looks more like Poor Wasted Mud, but when you add water to it, you begin to hear music, feel the atmosphere of a big palace, and you straighten the back because the rich woman inside you is wearing an elaborate dress.
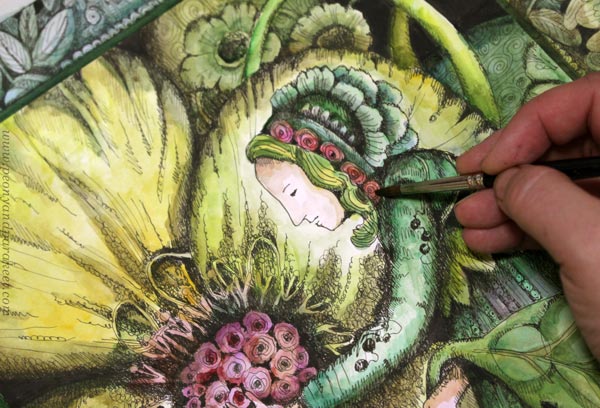
Most of that cool yellowish color is Rich Green Gold. Who could not love that luxurious color!
Two Versions – With and Without the Frame
I used double-sided tape to attach the image on the larger paper with the frame. Here are the two versions side by side. Which of them do you like better?

I am happier with the colored version because it highlights the night scene.
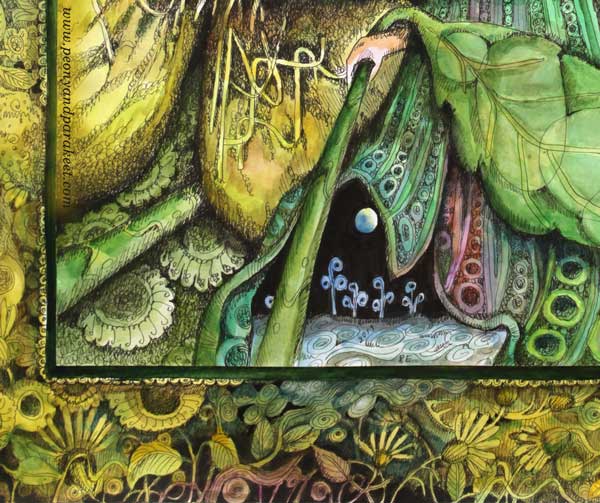
After all, this is about us who love flowers so much that they fill our minds also when we are sleeping.
Hand-Drawn Frame Obsession Continues
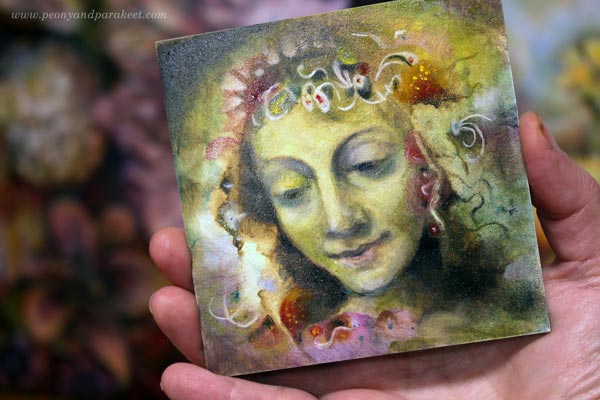
I have also been finishing some oil paintings that have been in progress for an embarrassingly long time. Having a deadline is a powerful motivator, eh? I don’t show them all in this blog post, but save them for upcoming weeks. Here’s a snapshot of the tiniest one. She is some kind of flower fairy too, and I am thinking about making a hand-drawn frame around her too. Because this is an oil painting on board, it would require some extra assembly. But I think it would look wonderful if there would be hand-drawn flowers around her. What do you think?
Come to draw fantastic art (+ fantastic frames) with me –
Sign up for Magical Inkdom!
Right after the registration, you will get all the lessons published so far, and you are good to start drawing! >> Sign up here!
3 Weird but Working Tricks for Portraits
Here’s the replay of yesterday’s free webinar “3 Weird but Working Tricks for Portraits”. There was a slight delay with some pictures, but I have edited the recording so that it won’t show there. I hope you will enjoy these ideas and mindsets!
Drawing Faces – Refresh the Way You Make Portraits!
In my new upcoming class Innovative Portraits, we will discover new paths to painting and drawing portraits. We will gather ideas, make sketches to process them and find solutions to the problems that have caused frustrations. This class also includes a 3-month membership in my art community Bloom and Fly so you will also get monthly live sessions and weekly feedback Tuesdays.
Innovative Portraits – Reserve Your Spot Now!
The early-bird price is available when you sign up before Sept 16, midnight PDT.
>> Sign up NOW!
Watercolor Video – Filling a Plain Background

Painting with a wet brush on a wet background is a traditional and proven way to start a watercolor painting. But what then? Representational or abstract? Watch the video!
Fill a Plain Background with Watercolors – Watch the video!
Take Yourself on a Picturesque Watercolor Journey
My class Watercolor Journey is especially for you who admires traditional watercolorists but who wants to be more loose and contemporary in your approach.
If you find sketching, perspective painting, careful shadowing and copying boring, but want to learn tips and tricks to let watercolors do half the work for you, you don’t want to miss this class!
Connect the dots between watercolor techniques and your imagination – Sign up for Watercolor Journey!
Passion for Color? – Try This Method!
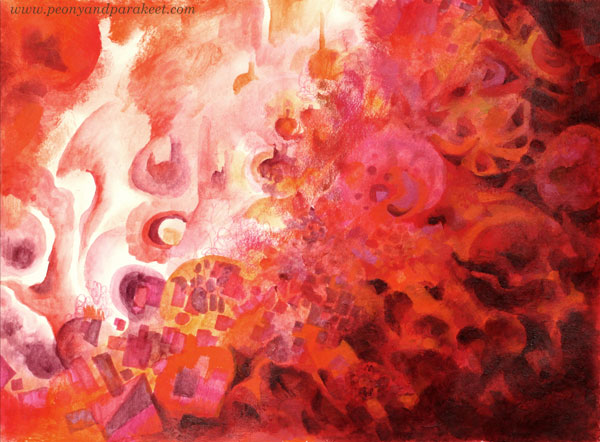
Create a color-focused art journal page! You can choose as many supplies as you want but just one color!
Step 1 – Pick Your Color!
What color speaks to you today? Red, blue, yellow, green, brown, black … Pick any that you feel drawn to! Collect the art supplies that you have in that color!
In most mornings, after taking the dogs out, I go to my studio and start creating sketches, or art journal pages, or continue paintings in progress. I often make a hot beverage called Sunny Grapefruit. I have bought it from a tea shop, but it doesn’t contain any tea, just fruits, and lemongrass. I sit down in an Ikea chair found at a flea market. I have painted it and put a sheep fleece on it, so it’s warm and cozy. All this warmth made me think about red.
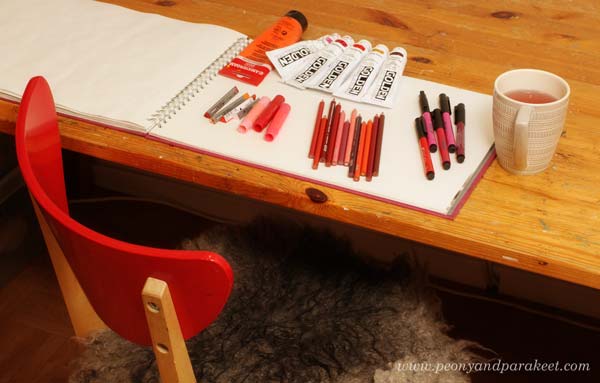
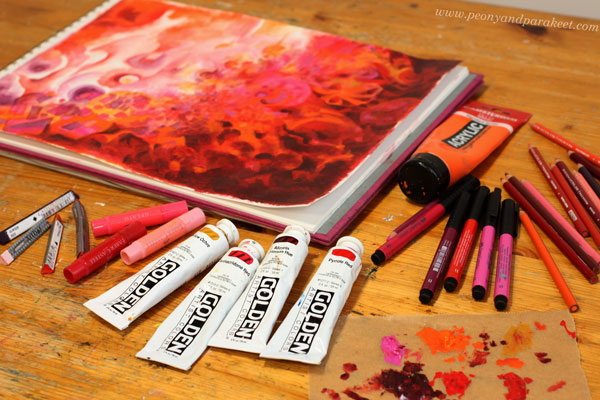
I chose the supplies so that they were all various tones of red ranging from orange to pink.
Step 2 – Source of Energy
Your color is the source of energy. Pick any coloring supply and make a simple circle somewhere on the page! However, don’t begin in the middle! Your work will look more expressive if you don’t make it symmetric.

I colored a soft circle with a couple of Faber-Castell Gelato Sticks.
Step 3 – Radiating Power
Add more color to the circle with different supplies! Imagine that your passion radiates strength. Use your imagination to color shapes and lines that are connected to the circle. Again, keep the design asymmetric.
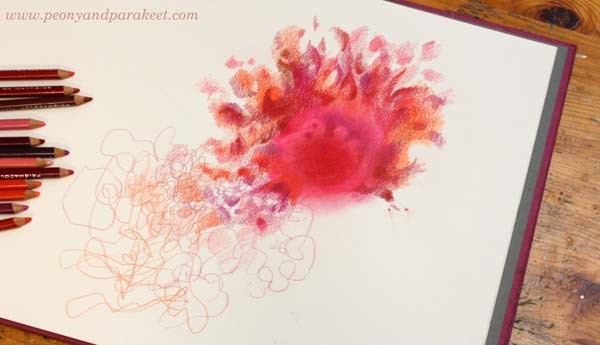
I used colored pencils and thought about the sun and the fire. You can use your imagination based on the ideas that the color evokes. For example, if your color is blue, you can think about waves and the energy and the movement that they contain. Don’t overthink; it’s just a start! Usually, we get conventional ideas in the beginning but then become more inventive as the work progresses.
Step 4 – Explosion and Spin-Off
Change the supplies again, and imagine an explosion of energy. Let your circle grow but also become less solid. Create a spin-off that has a life of its own.
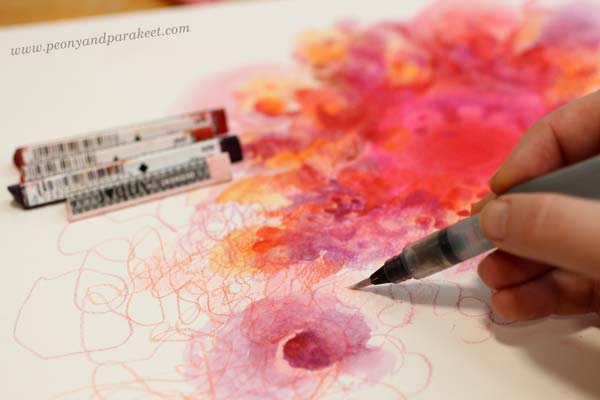
I used Derwent Artbars and water. I could have used watercolors instead, but nowadays, I often find it quicker to grab some Artbars and use a water brush when I am creating a mixed media piece.
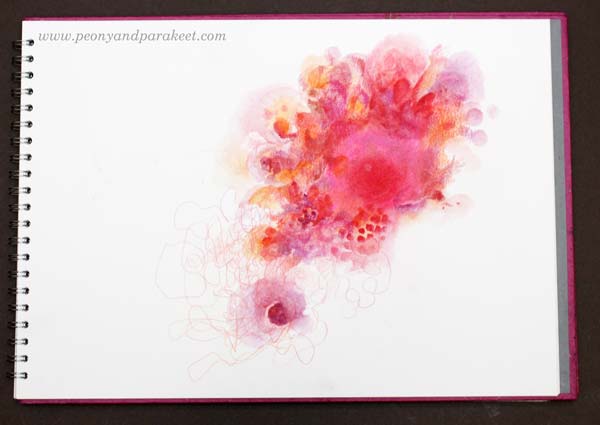
Step 5 – Look Around!
So far you have focused on one area of the page. Now imagine, that the explosion reveals some of the surroundings. Add some pale elements but don’t cover the whole page.
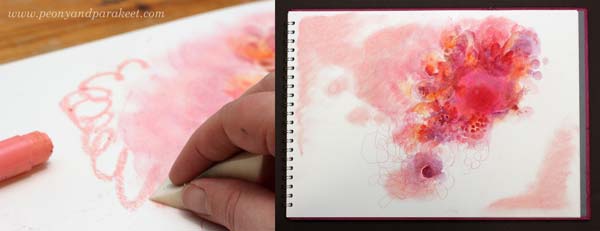
I just made some soft splotches with Faber-Castell Gelatos. Notice how my explosion travels diagonally across the page and reveals areas that are also diagonal but in the reverse direction. Diagonals make the image look dynamic.
Step 6 – Birth
Color clearly-defined shapes that connect the energy source and the spin-off. Imagine that something concrete is born out of the explosion and moves forward.
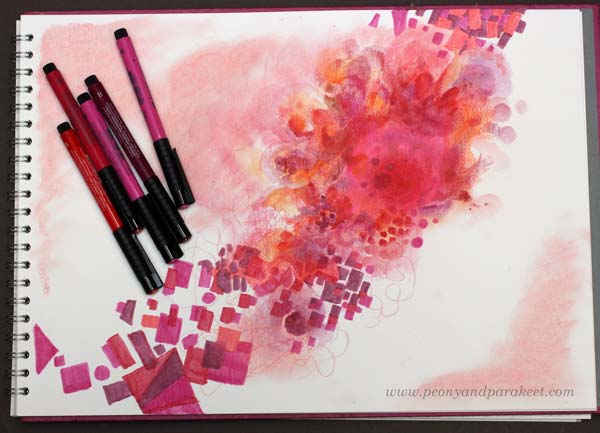
I colored geometric shapes with Fabel Castell PITT Artist Pens. To highlight the movement, I make the shapes cross over each other. I also add bigger shapes that are shown only partly so that it looks like they are flying away.
Step 7 – Mountains
Color a big area of the page so that it’s like mountains have grown to your page. Again, keep one part of the page blank. Add some color to the other side of the blank area too so that the blank area is like a gulley between the mountains.
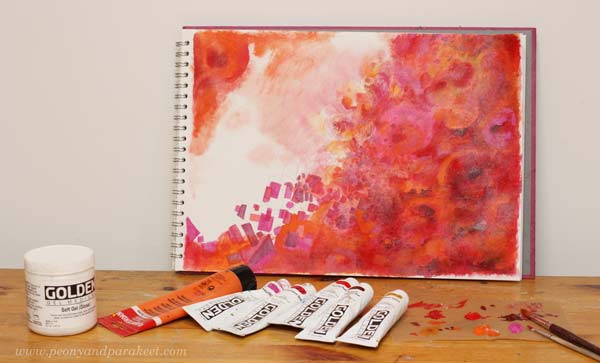
If you have acrylic paints, now it’s a good time to use those. Painting is quicker than coloring with pens, and you can also create layers easily.
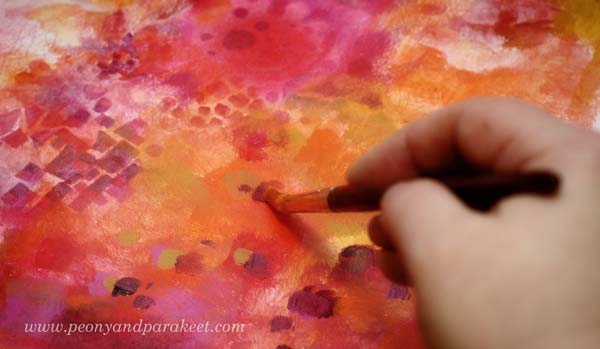
I use gel medium to make the acrylic paint more fluid and translucent. I also use two brushes so that there’s more variation in the brush strokes.
Step 8 – Jump!
Imagine being up in the mountains, looking down to the gulley. When you jump, you begin to see that the blank area also contains wonders. The fall is not so high than what you first expected. Softly color some vague shapes in the blank area.
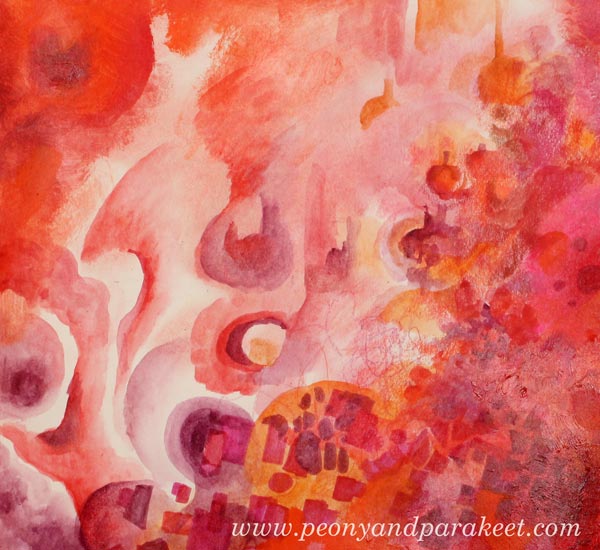
I used Derwent Artbars and water.
Step 9 – Test and Adjust!
When creating abstract art, I find it practical to test it based on how well it fits with other patterns, textures, and shapes. I placed my sketchbook near the fireplace where we have a place to watch the fire. To me, it looks like my page doesn’t have enough contrast.
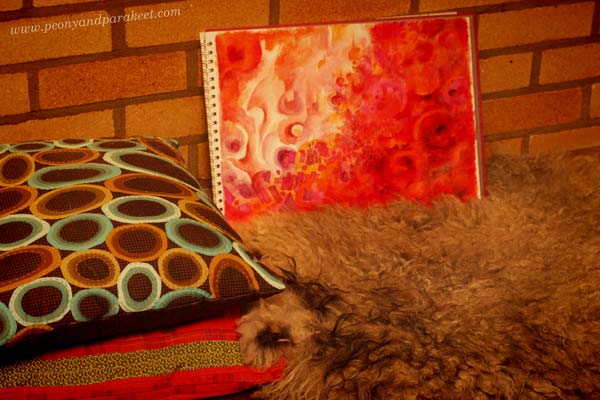
So I add some alizarin red which is very dark and some lighter orange to finish the mountain area.
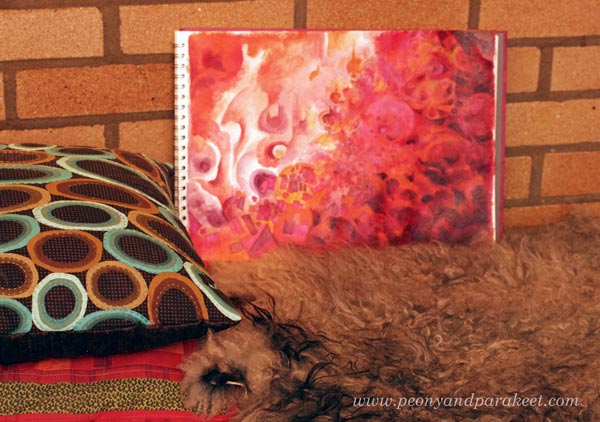
Now the contrast looks better.
Learning to Create – Using a Model, “How To,” or a Method?
There are many ways to learn:
a) Watching someone create and then following it accurately. This way you will create something that you wouldn’t have thought of figuring out yourself. The downside is that your expression and imagination has very little space to come through. You are learning technical skills mostly. Sometimes it can happen that you don’t know why you do what you do.
b) Learning how to use certain supplies in a certain manner. This makes you learn the characteristics of a certain art supply and the techniques that you can use. You can then use the techniques to produce your unique art. The downside is that if you don’t connect with your imagination, you lose the joy of creating. You know why you do what you do but don’t know where else you could use it.
c) Following a method that connects you with your imagination. This gives you preliminary ideas that you can then expand to fit your thoughts and to grow your style. The downside is that if you have no idea how to use the supplies, it will take up your energy.
My Methods
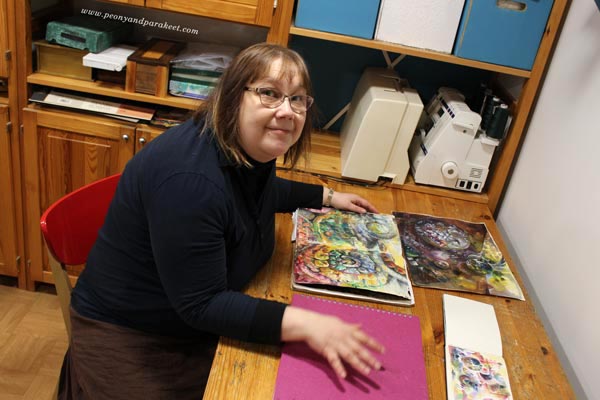
As a teacher and a mentor, I focus on the methods that grow the expression and imagination. Even if I value knowledge and techniques, my strength is in innovating new methods that help you to connect with your creativity. I have heard many say that when they analyze someone’s art, it’s easiest to focus on the technical part. I agree. There are more rights and wrongs to catch. But after creating in a very disciplined manner for the last year, I have come to this conclusion both as an artist and as a mentor: I want to grow my skills to all directions, but if I had to pick one, it would be imagination.
Boost Your Visual Imagination!
Without imagination, we just go around the same circle. We don’t feel free, and we end up believing that there’s one more technical trick around the corner that will change the game. But it’s the imagination that will do that. That’s why I don’t select students based on their supplies, or the technique or style they use. Together, we share our love for making the invisible visible and learning to use the techniques to serve that.
Boost your imagination by joining my community Bloom and Fly! We’ll start with a method for your creative goals, then pick easy ideas from Rococo, explore abstracts together, etc. I will help you to express yourself so that it’s adventurous and imaginative! >> Sign up here!
