Paint a Poem!
This week, we’ll talk about poems and how to turn them into paintings!

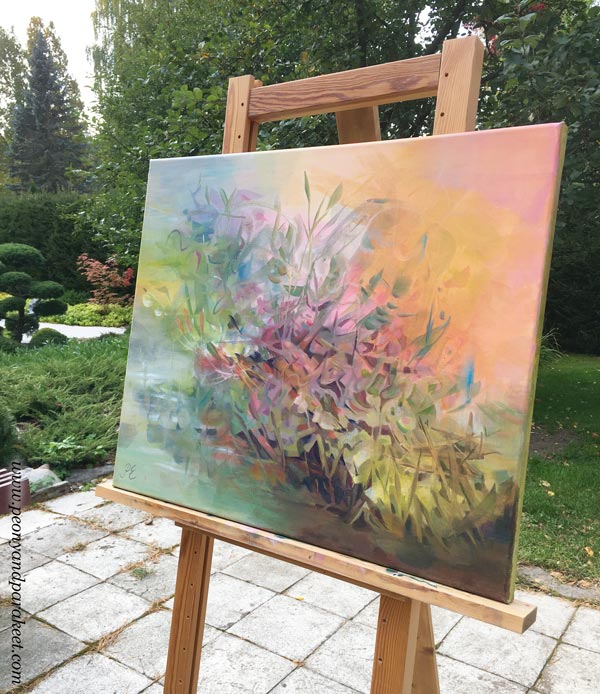
This acrylic painting is called “Terät liitävät kirsikkapuista,” and it’s my interpretation of Valter Juva’s poem from 1902.
The Finnish name is a bit difficult to translate. Terät liitävät have a double meaning: 1) blades flying in the air 2) petals falling freely. Namely, a petal – terälehti – is a compound word in Finnish. Terä is a tip or a blade. Lehti means a leaf.
This is not the only language-related thing in the poem, and I struggled with the translation. But here’s the best I could do!
English Translation of Valter Juva’s Poem
| Terät liitävät kirsikkapuista, ja virta vieno ne vie. Se tyynine suvantoineen mun onneni kymi lie. | Edges fall from cherry trees and are caught by a gentle stream. The river and its pools are the well of my serene. |
| Suviyössä, mi tuoksuu ja värjyy, veet kultahan sulautuu; se lekkuu lännessä päivä ja idässä kuultaa kuu. | In the summer night, that smells and glows, waters melt in gold; in the west, the day is stirring, and in the east, shines the moon. |
| Niin hiljaist’ on ja tyyntä! Ja koskien alla veet ne ahtaassa piirissä viipyy, mut siinä on syvenneet. | It’s so quiet and calm! And under the rapids, waters dwell in a tight round but have become deeper and deeper. |
Passion for Poetry
When I was a teenager, poems were my passion in the same way drawing and painting have been. I used to read poetry, and almost daily, wrote my own. I even entered competitions, and some poems have been published. Later, this love for poems have reappeared occasionally: I have read or written some. In 2014, I even wrote a blog post about illustrating poems in art journaling.
But now, it feels that poetry has come to stay. Every time I open a big book (Runojen kirja – Book of Poems) that I won in a poem-writing competition in 1981, I see something that I want to paint. The book has over 800 pages filled with four centuries of Finnish poetry, but it’s not just that. With the book, I remember many poets that I used to read. My mind is blowing, and my brushes are jumping! “Paint paint paint,” they cry!
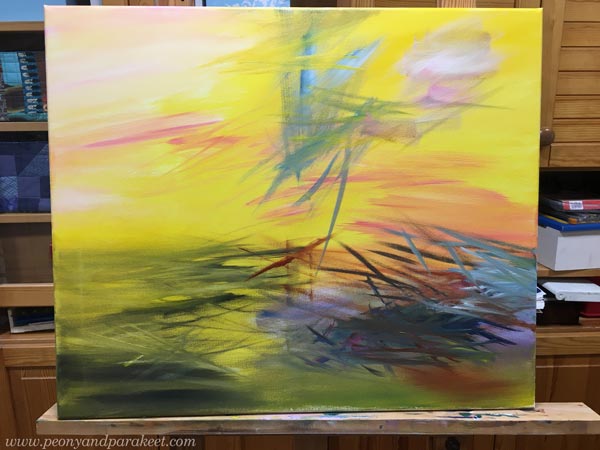
Valter Juva’s poem was new to me, but I got inspired right away. This painting has a lot of yellow in the background!
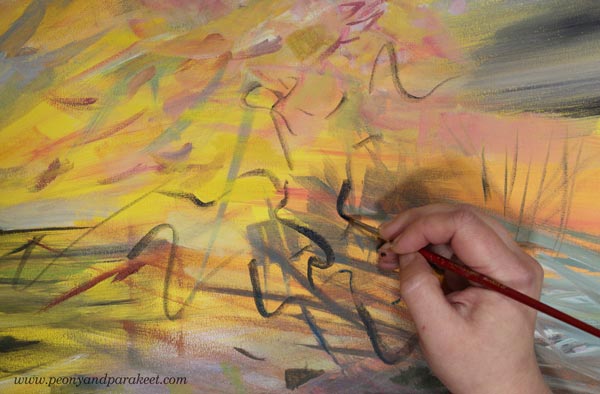
It was a joy to paint those sharp petals and curvy cherry trees that so willingly release the flowers. The size of this painting is 50 x 60 cm (about 19,5 x 23,5 inches) so I was able to paint the details more roughly and quite quickly.
Paint a Poem – Trust the Inspiration!
Painting a poem doesn’t have to be about illustrating every word. It can be more about finding a personal view – how the poem loosely explains your current life and often past experiences too.
In Valter Juva’s poem, the connection between Japan (cherry trees) and Finland (bright summer nights) blew my mind. You who have read my blog for a long time, know that both my husband and I love everything Japanese, and we also have a Japanese garden.
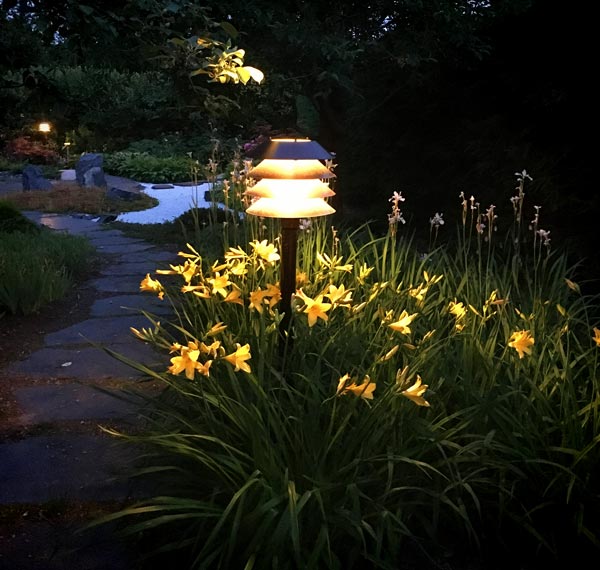
White nights were magical last summer! East and west meet like in the poem!
Paint a Poem – Color the Words!
Poems are filled with interesting words that can have a double meaning or a specific nuance. We don’t even have to know what strange words actually mean. It can still have a certain feeling to us, and we can express that with colors and shapes.

In Valter Juva’s poem, there’s a Karelian word lekkuu which means moving or stirring. To me, it has a relaxed undertone which makes me think about yellow-orange curves floating in the air, just above the water.
Paint a Poem – Break Borders!
In art, whether it’s poetry or painting, we can break borders. We don’t have to stick with one geographic location but create one that has characteristics of several places. Similarly, we are allowed to freely travel in time, from childhood to ancient history, and from the current moment to fantasy.
By changing the rules of reality, we can make representational elements symbolize more abstract things. They can be inanimate objects or nature’s elements, for example. In Valter Juva’s poem, waters have deep knowledge, In my painting, static trees take off and timid flowers jump from the plane.
Also, we can be magicians and make any material change its state. In the poem, water becomes gold, and in my painting, light is less immaterial and more touchable and concrete.
Poems are filled with metaphors, so why not let them in your paintings too!
Which poem would you like to paint?
Kaiho – Painting the Longing
This week, I talk about the Finnish word “kaiho” and how art can bring up deeper longings than we first realize.
I created this acrylic painting at the end of September. It’s called “Sammumaton kaiho” which is something like “Unquenchable Longing” or “Extinguishable Longing” in English, but I think that this time, the Finnish name is much better.
Kaiho is one of the most heart-breaking words that I know. It’s not like kaipaus (yearning) but something much quieter. And being a short word, it’s like a whisper in the air.
Say it softly with me: “kaiho” (kaaiihoh)…
It feels like a piece of a deep agony flies away with the word. Maybe every language has these kinds of soothing kaihos that don’t belong to the daily vocabulary, but that need to get out now and then.
Quick Start with Happy Colors
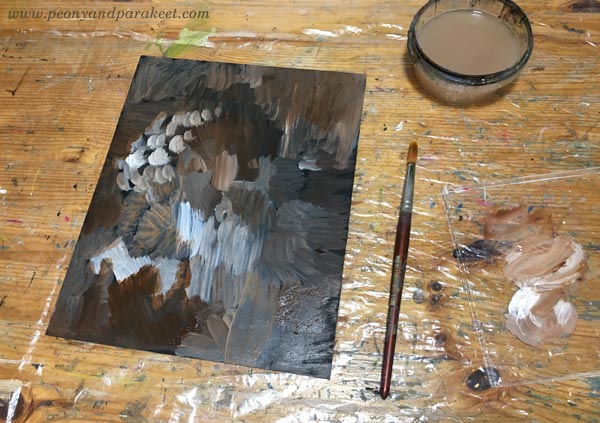
I started the painting by filling the canvas with candy colors. With a big brush, it was quick and fun.
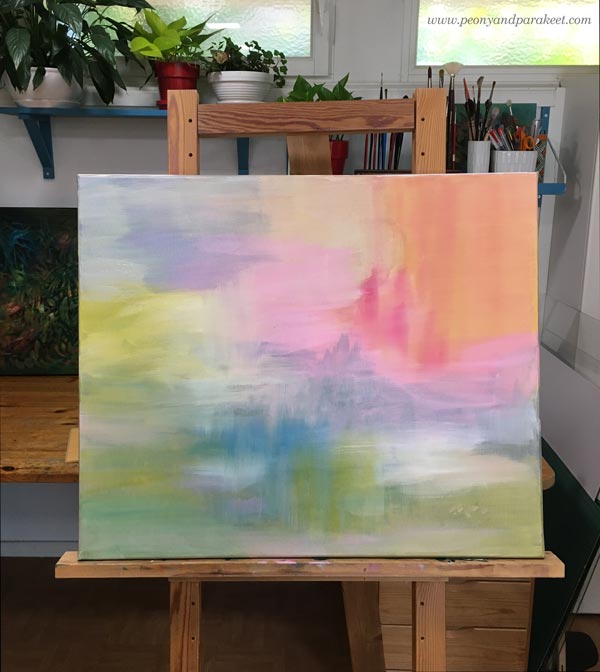
I didn’t overthink the subject, but painted plant-like shapes and tried to enjoy the process as much as possible.
In the photo above, the painting is still quite young. But it progressed quickly!
Finlandia Raised the Longing
It was Friday evening when I was adding final touches to the painting. At the same time, I was watching – well listening to – Voice of Finland. It’s a singing contest, pretty similar to American Idol.
Even if all the songs are usually rhythmic pop songs, one singer had chosen differently. He sang Finlandia, a hymn, instead. Every Finn knows Finlandia, and it brings many stereotypical images to mind: forests, lakes, swans, snow, blue, white. I have heard the song thousands of times. But this time, I was painting too, and it always boosts my senses.
Do You Know Finlandia?
The song is composed by Jean Sibelius in 1899, and a poet V.A Koskenniemi has written the lyrics.
>> Here’s a great article about Finlandia, including an English translation for the lyrics.
Watch BBC Symphony Chorus and the BBC Symphony Orchestra conducted by Finnish Sakari Oramo, play the song.
Remembering What’s Lost
With Finlandia, I was reminded of what I no longer have. As a child, I lived in Karelia, Eastern Finland, near the Russian border. Finland lost a part of it in a war in 1940, and it has left its marks on future generations as well. But personally, the bigger loss was leaving Karelia to study engineering, and quickly after that, losing my mother.
Here’s an earlier picture of me, my mother, and a close friend Saimi Norimäki. Saimi was born in Western Finland, and she was much more straight-forward and brave than what we had used to see. But she was a woman with a warm heart, and I have many fond memories of her.
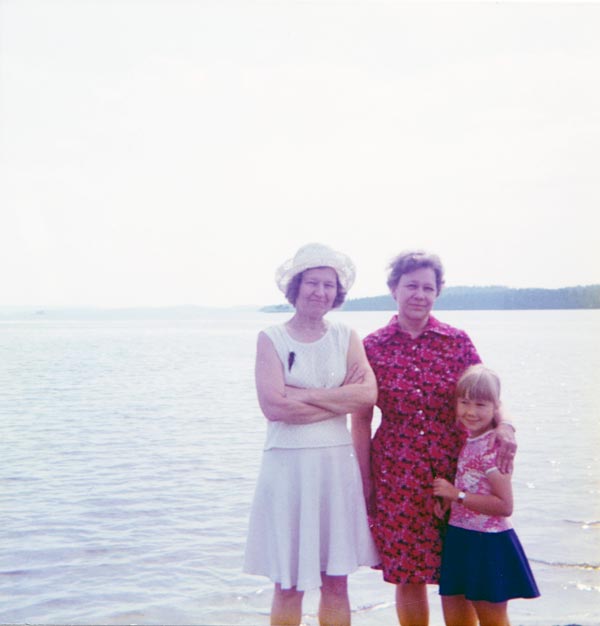
This photo is a good representation of the sadness that I have. The colors have faded away, there’s a lot of empty space, but I still remember the people.
A More Joyful Longing
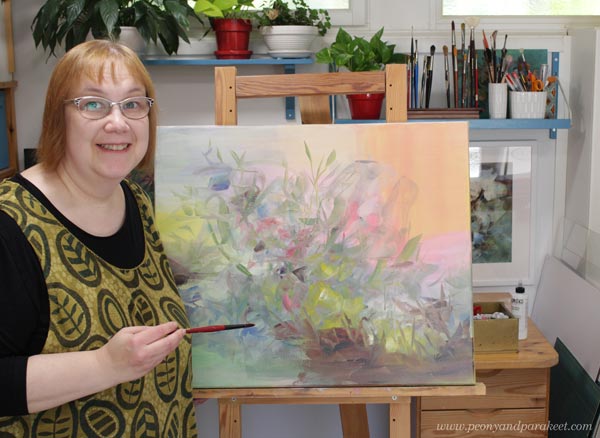
However, when painting along with Finlandia, I was able to dig through the sadness and find the longing that was more joyful. I asked myself: “What are you painting, Paivi?” The answer came quickly:
“I paint what I know best – what it is like to walk on Karelian meadows on a hot summer day, how the warm and rough ground feels, and how the soil smells. I know what the heart of Karelia is, its temperament, culture, and nature.”
I also remembered many old Finnish songs, poems, places where I used to go as a child, and the word: kaiho.
They say that Karelian people often laugh and cry at the same time. We tend to get caught by emotions, and easily see polarities in them. So even if my painting has happy colors, it also has this kaiho, this longing, that’s unquenchable – that never leaves me.
I now believe we all have layers of longings. Under a sad layer, there can be a more joyful one. In a global world, each of us has many identities, many cultural impacts, and it’s easy to forget some of them. So when creating, we are not purely painting the longing what we are consciously aware of, but how we are truly built. With this natural integration, art has the power to make us feel more whole and grounded.
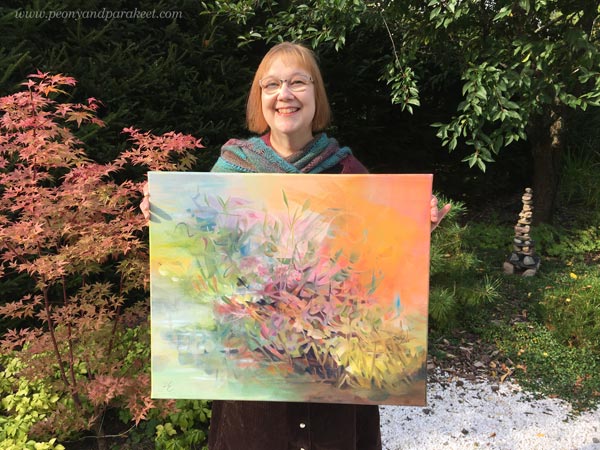
Finished Painting
“Is this the painting that needs a hanging wire,” my husband asked pragmatically the next morning.

When weather allows, I photograph my paintings outside.
This painting is 54 x 65 cm – about 21x 25,5 inches.
My Journey of Painting the Longing Continues
As a young woman, my mother got a book of poems which I now have. The book is called Ruiskukkaehtoo (Cornflower Night), and it’s written by Anna-Maija Raittila.
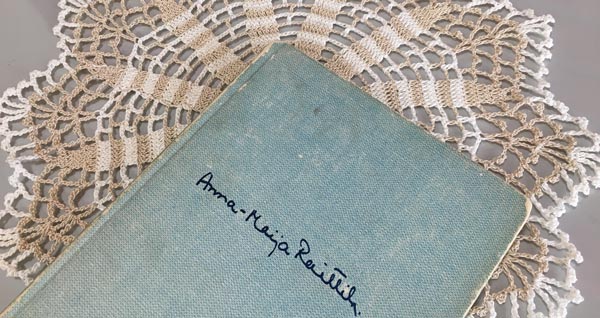
Ruiskukkaehtoo is also one of the poems, and my goal is to paint that! Not so much to illustrate the poem itself, but to express what comes to my mind from it. Even if it’s a poem and not a song, it has a captivating rhythm. I am pretty sure it will take me back to painting the longing.
Create with Me!
- See the new free mini-course Paint the Emotion! The painting of this post was made with pretty similar techniques.
- Stay tuned for a new class! I am working on the new class Floral Freedom. It’s about painting freely by using the principles of Paul Klee and Wassily Kandinsky. The registration will open in November.
- Sign up! Does music play a big role in your art-making? Sign up for Creative Junk Journal 2020 to get my mini-course about expressing your favorite music!
Strawberries and Inspiration – Watch the Video!
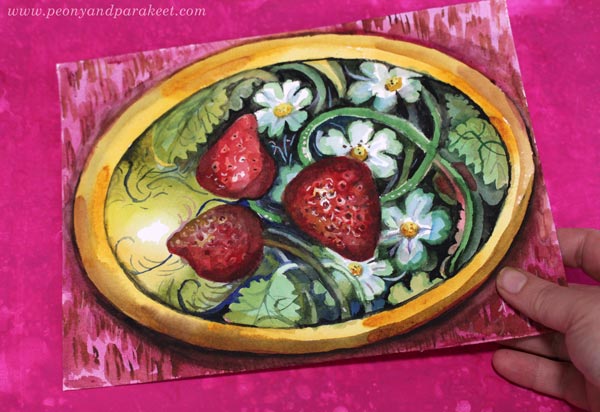
This week, I have a new free video for you. In the video, I create this small watercolor painting and inspire you to create art as well, even if all you can come up with would be just a few strawberries!
With this video, I invite you to join my new class Decodashery where we paint beautiful art with delicious colors.
Decodashery will begin on June 29, 2020. >> Sign up now!
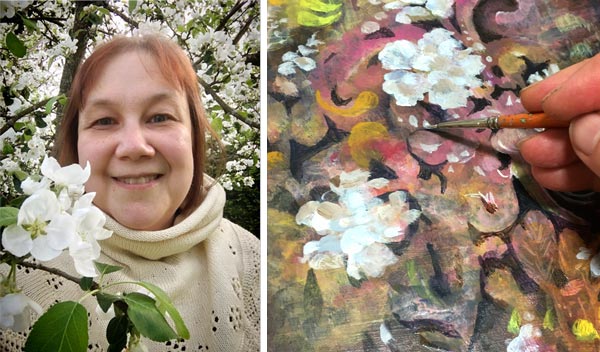
Art Inspiration from Flowering Trees
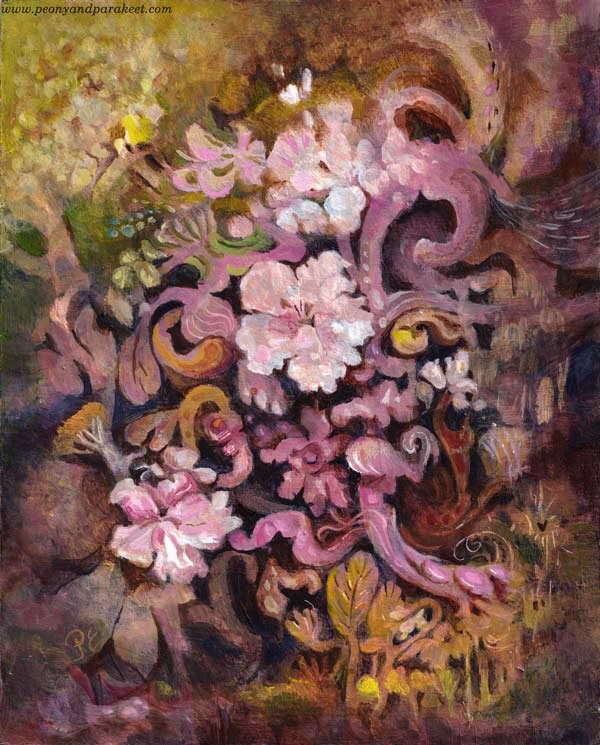
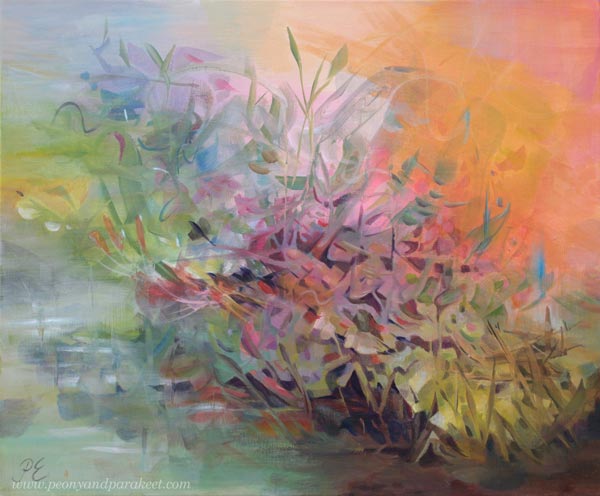
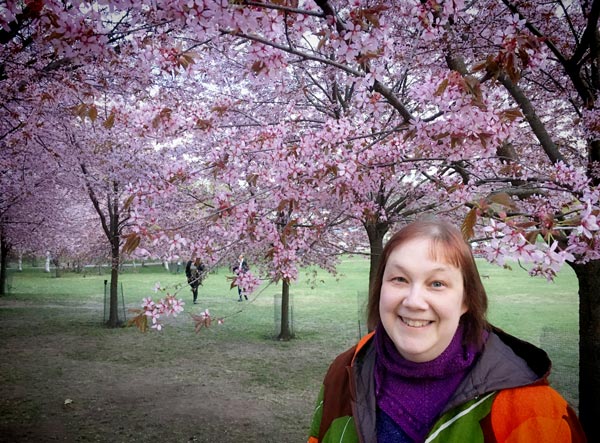
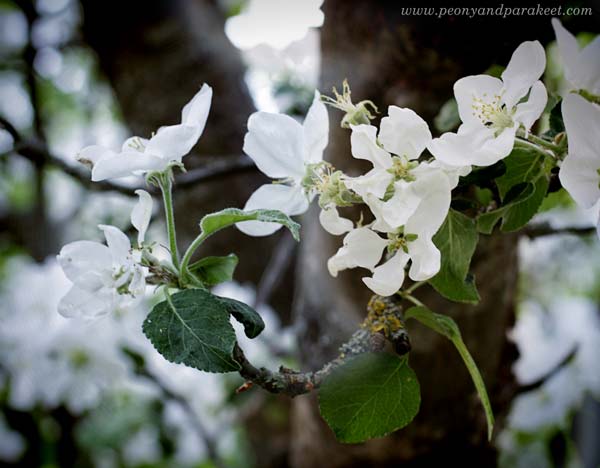
Here’s my latest painting, “Dulciana.” It’s inspired by flowering trees and their power to bloom year after year. This spring was special because I got to see blossoming cherry trees in a park that was filled with them.
Embracing the Decorative Side of Art
This spring has also been different concerning my artistic endeavors. I have been building a new class, but a little slowlier than what I usually do. I have been really intentional about what I include in the class and how the class is structured. It’s has felt like it’s my life’s work even if it’s still a very light-hearted and fun class.

The class is called Decodashery, and it dives deep into the decorative side of art. The projects that I have made for the class have given me new skills and ideas about including decorative elements in my intuitive paintings too.
Light Paints the Flowering Trees
Now when summer has come to Finland, I have also spent more time in the garden. I wouldn’t really have to because my husband is crazy about gardening. He has found his passion, and I am so happy for him.
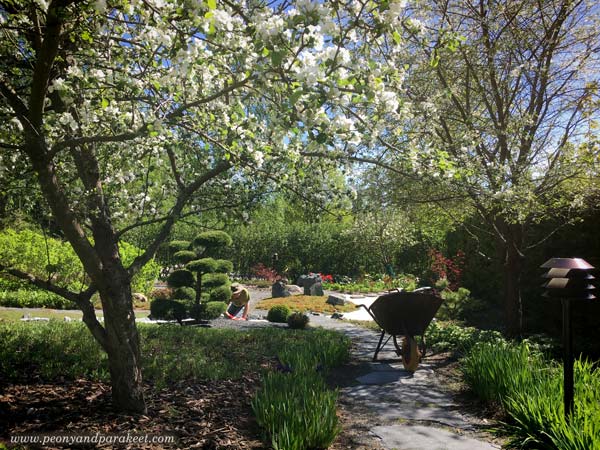
But when I look out of the window, and the sun is shining, I can’t help going there, walking and weeding, taking photos, and admiring how light paints the view.
And when I start a painting, I can’t help thinking about light, and how essential it is for the magical atmosphere.
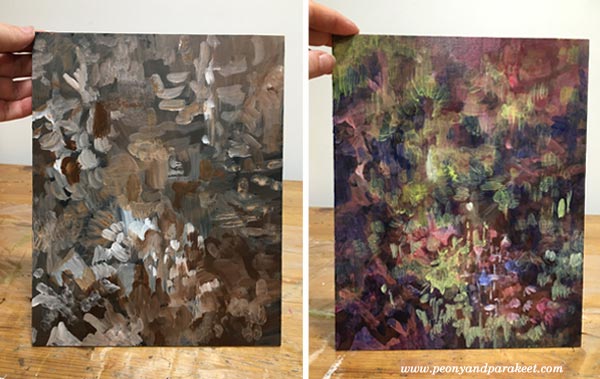
So most times, when I paint freely, I start with random strokes expressing light and shadows.
Art, Cembalos, and Flowering Trees
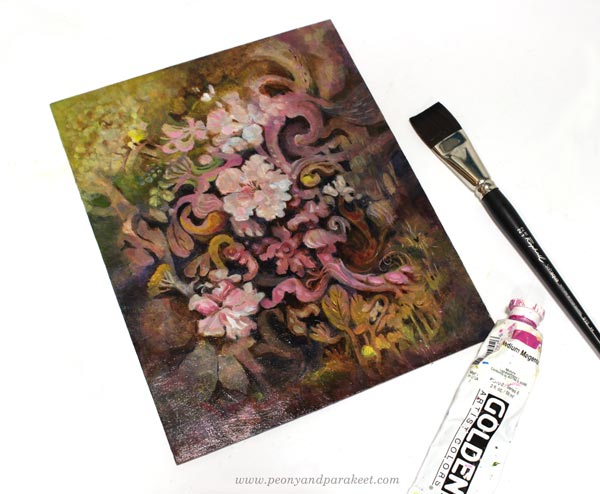
To make the painting shine softly, I like to add washes whether I paint with acrylics, watercolors, or oils. Washes have just a small amount of pigment and plenty of painting medium. For washes, I use water in watercolors, water and glazing gloss in acrylic paints, and the mixture of dammar varnish, french turpentine, and linseed oil in oils. This one is an acrylic painting.
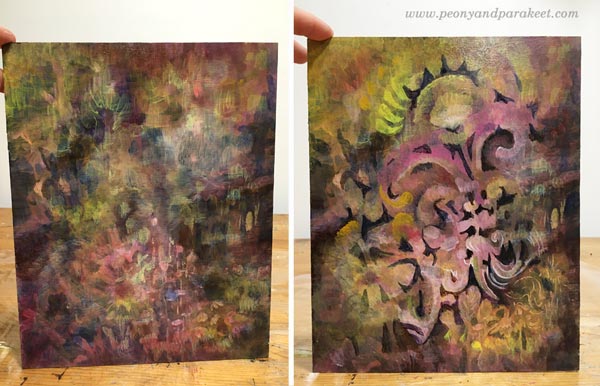
When I paint without any assignment, I usually do it late at night. I listen to cembalo music when I start digging out the elements from the mess. Cembalos sound like the light I want to capture in my paintings. The sound is pompous and full of energy, and still, there’s something so delicate and vulnerable that it almost shatters.
The vulnerability is also in the flowering trees. They seem sturdy and unapologetic, but they know how bypassing the blossoming is. It looks like they miss the flowers already, and the dark trunks feel heavy and burdened by the upcoming work of making fruits of them.
I try not to make one painting at one go but take several sessions. Like trees, the painting also has seasons. It needs time to grow, and time to rest.
Often it feels that when I am not painting, the painting progresses best. Ideas come when I get out of the studio and talk to the trees.
Endless Flow of Swirls and Ruffles
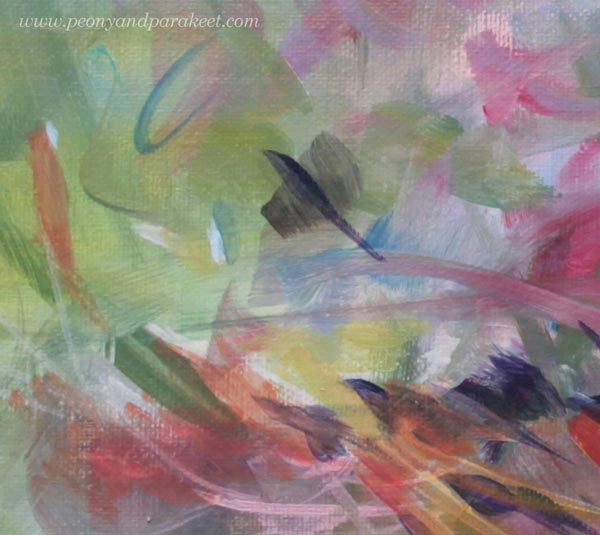
After making the projects for the new class, Decodashery, I have enjoyed painting decorative shapes than ever before. I especially like swirls and ruffles.
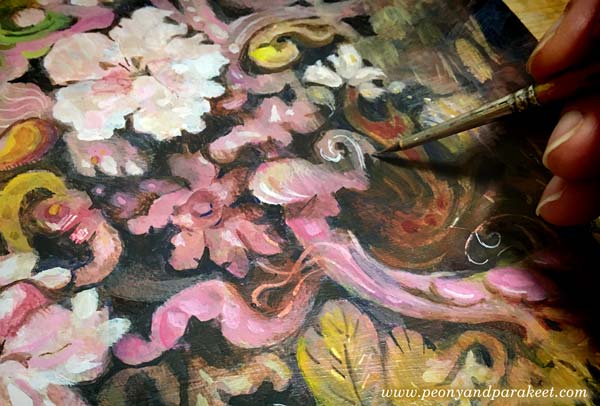
Similarly than old cembalo music sounds like a melody that never ends, all kinds of little curves can make even a small painting feel like it’s a world of its own. The eye travels from one place to another so that there seems always to be something to discover.
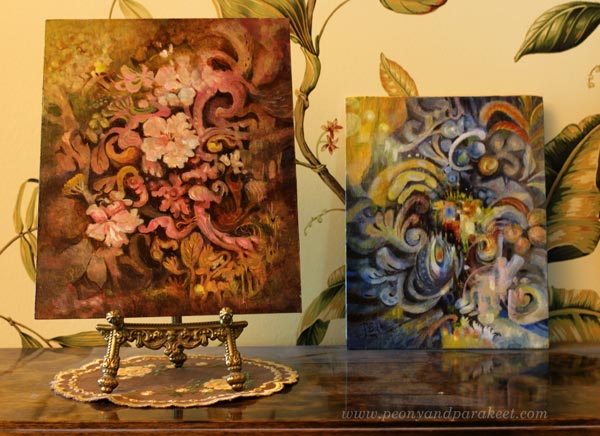
Here’s “Dulciana” with the last week’s painting “Ceruleana.”
Decodashery – Registration Will Open Next Week!
The registration for the new class Decodashery will open next week, and the class begins on June 29.
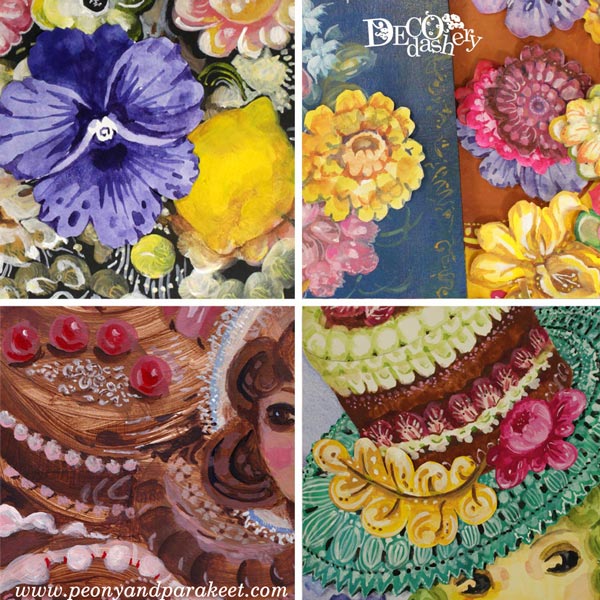
In Decodashery, we will create a beautiful and comforting world that has some jazz too. We will enjoy painting flowers, lace, cakes, dollies, and break the border between vintage and modern art. When building it, I have been inspired by Jane Austen movies, old jazz clubs, Russian handpainted floral plates, and skillful crocheters and cake makers around the world. I hope you will join us! Until next week!