Quick Gelli Christmas Cards

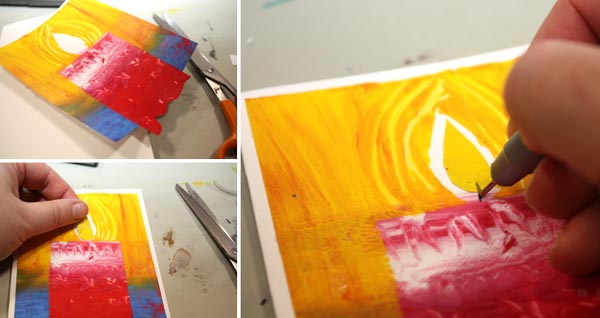
This year I had two requirements for the Christmas cards: quick and handmade! The theme had also been selected: candles, suitable for all religions and all ages. All I had to do was to figure out how to make a lot of cards and fast. This first photo is a snapshot from my studio while I was making the cards.
Planning
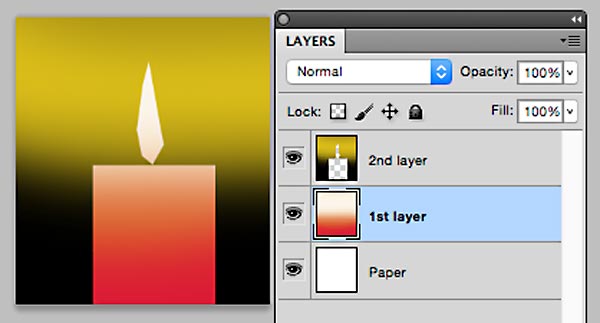
Before I got my table full of cards and more under making, I had to discover the process of creating the cards. My artistic side wanted something that looked handmade but was still somewhat warm and painterly. The task was transferred to my engineering side who turned on the computer and made a sketch of a single card in Photoshop. The card would consist of two layers of paint. Needless to say, using the Gelli plate would be handy!
But this plan was not enough. I wanted to create not only one card, but several at the same go. While walking the dogs, I solved the problem. Here are the step-by-step instructions of how to make simple candle holliday cards. You can make them more complicated by adding doodles and such but the basic design is very simple. By following these steps, you can serially produce handmade cards!
Supplies

You will need: Paper, glue, cardboard, acrylic paint in few colors, brush, brayer, scissors, black pen and 8” x 10” size Gelli plate.
Optional: Paper trimmer for cutting the straight edges. Some kind of a stick, a pallette knife or a knitting needle for example, for drawing surface patterns.Double-sided tape if you prefer that to glue for attaching the printed image to the cardboard.
1) 1st Layer: Candles
Paint the center of the plate. The width of the painted area is 5 to 6 inches of the height of 10 inches. You can cut a paper of that width and use it as a guide by putting it beside or under the plate.
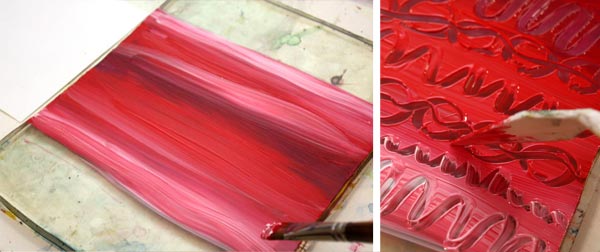
You can draw patterns with a stick if you like. I like to use more than one color to make the candles look lively. You can use brayer for the paint but I prefer to use brush and work horizontally. That way the candles will have horizontal color slides.

Cut your papers to the size of the Gelli plate before printing them. You will get 2 to 3 prints from the one layer of paint. Let dry.
2) 2nd layer: Backgrounds
While waiting the paint to dry, cut the masks for the candles. You will make four candles from the one print. For the four candles, you will need four rectangles, 2-3 inches wide and 5 to 6 inches long. Furthermore, you will need four flames. Fold a paper twice in half and cut one flame at the same go or enjoy your time with the scissors and cut the shapes individually.
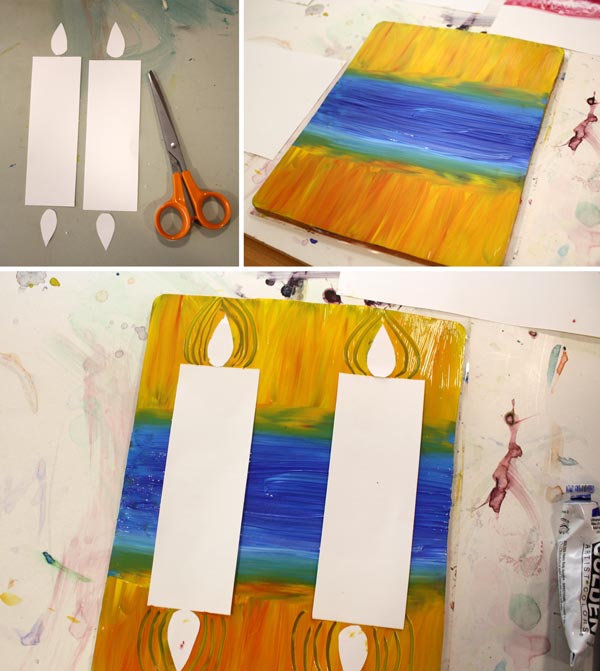
Paint the background with two colors. The center with a darker color (blue, black or green, for example) and the sides with orange yellow. I like to use color mixtures here too. Place the masks so that the distance between them is the twice longer than the distant from the edges. If you want, you can emphasize the flames by drawing lines around them. Make the prints. Let dry.
3) Cut the prints, save the flames
Save the masking papers for the flames. Cut the prints in four parts with scissors or with a paper trimmer.

In the third photo beside the trimmer you can see one alteration of this pattern: use Gelli plate in the other way and create an image with a several candles! By cutting various sizes of masks you get variation for your candles.
4) Finishing
Cut a small part of the background away from the both sides of the print. Cut curvy lines to the bottom edge of the candle. These will make the candle look like it’s set on the snow.
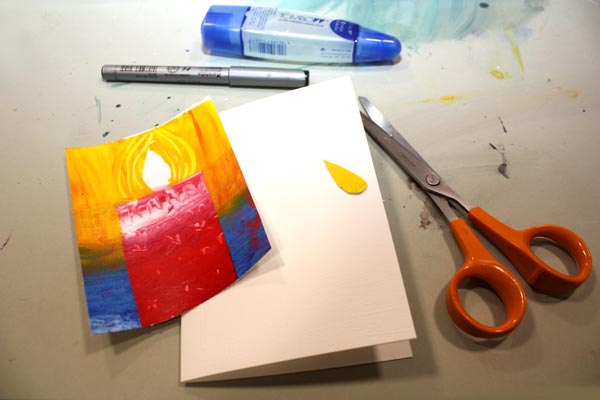
Attach the print to the cardboard. Glue the mask on place or color the center of the flame with a colored pencil or a marker. Draw a wick with a black pen.
5) Variations!
You can make all kinds of variations from the basic instructions. You can add the number of candles, cut them out and glue many candle on the same card, doodle on the candles etc.

I still have few cards to finish and one more task to do: Write “Merry Christmas” or “Hyvää joulua” (same in Finnish) on each one!
More holiday crafts from the previous years:
Wrapping Paper from Newspaper and Elegant Christmas cards
Artistic Embroidery with Pens and Paper
I am so excited!

I will be teaching an online class as a part of 21 SECRETS Spring 2015! The class is called Artistic Embroidery with Pens and Paper.
Class Description
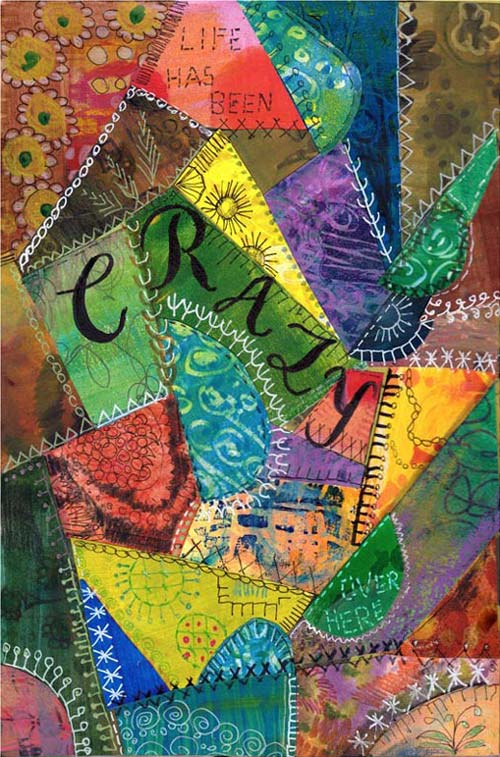
Let the long history of textiles show up in your art journal! For hundreds of years people have created textile art to express themselves. In the workshop we will discover ways to imitate embroidery and quilting using paint, pen and paper! No actual sewing needed!
We will find inspiration from various stitches and techniques like crazy quilting, silk ribbon embroidery and modern patchwork. These art journal pages don’t only make you feel warm and welcomed, but also let you express the luxury only handmade can offer. After the workshop you will look at the family heirlooms in a new way!
21 SECRETS – 21 teachers!
By purchasing the class you will not only get that but also 20 other online classes from 20 other great artists!
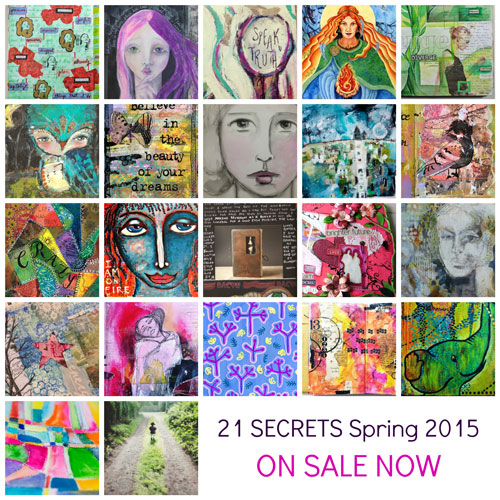
Starts in April – Now available for preorder!
21 SECRETS Spring 2014 starts at 1st April and it is now available for preorder. Once the workshop starts in April, you will get a downloadable PDF including all 21 classes. It is packed with videos, full color photos, printouts and instructional content. You will get unlimited access to all 21 classes and a membership to the private Facebook community where you can discuss with me and the other teachers and participants. If you want to learn or boost your art journaling, this is the workshop to choose!

Why preorder now?
I am a big believer of looking further ahead than to the next month. When you will see the spring light and start to wait for the summer, April is the perfect time to get something new for your journals and your skills.
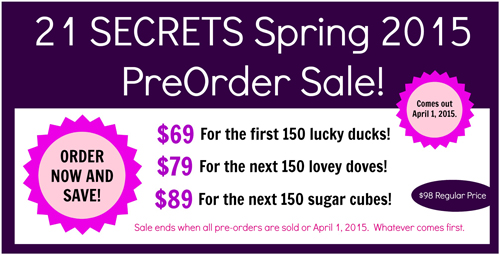
And here’s another good reason to pre-order! The regular price for the 21 classes is 98 USD, if you preorder now it is only 69 USD! But be quick, the lowest price is available for the first 150 participants only!
I hope to see you at Artistic Embroidery with Pens and Paper! Click here to read more and preorder!
The Feelings while Creating Art
I wanted to create a video blog post again but due to my flu, I was unable to speak. So I made the video with the background music only, but I think that the subject of it is most interesting: the feelings while creating art! During the creative process we often experience a variety of feelings that have affect on the end result too. You will get to see what I felt while creating this collage!
I often start pretty smoothly, then face several problems and in the end it all comes together. Feeling vulnerable at some point of the process is very common for me. I think that when creating you have to open up so much that it can feel intimidating. But if you do not cross that line, the end result does not feel so close.
Record your feelings while creating! Then analyze how they show in your artwork!
Subscribe to my weekly emails – Get a free mini-course!
Art Journaling with Still Lives
For the last couple of years, I have felt drawn to still lives. I even have the Pinterest board of the ones that I especially like. I used to think that old still lives are very conventional but they really are not! There can be anything happening in the painting, like a squirrel running on the table, and there can be a wide variety of objects too. And even the flowers look magical! Art journaling has a lot to learn from the old masters.
So, I thought it could be a fun concept to create still lives by applying the tips from the previous blog post. I could combine odd paper pieces and doodles with text and create surreal art journal pages.
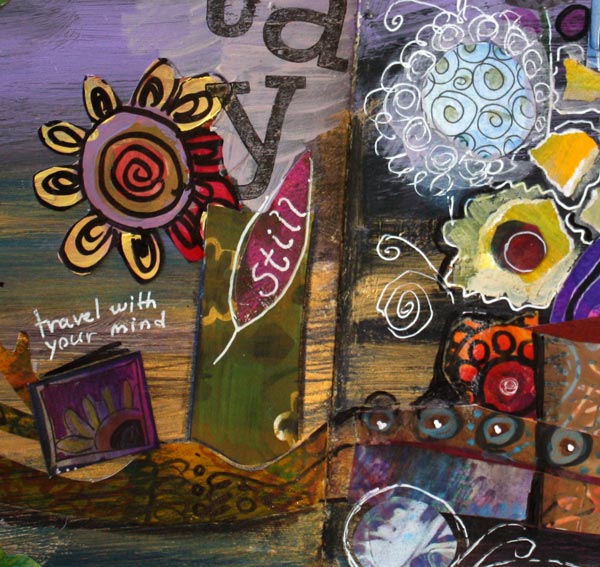
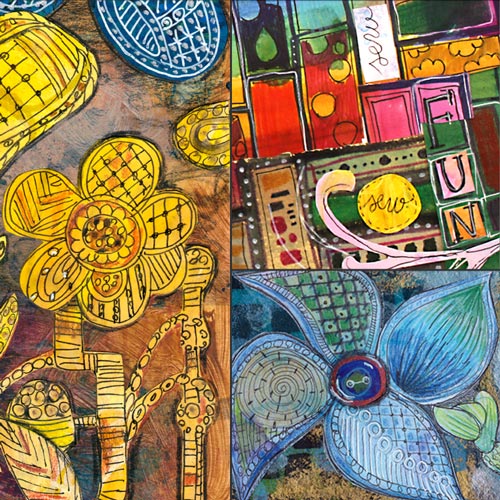
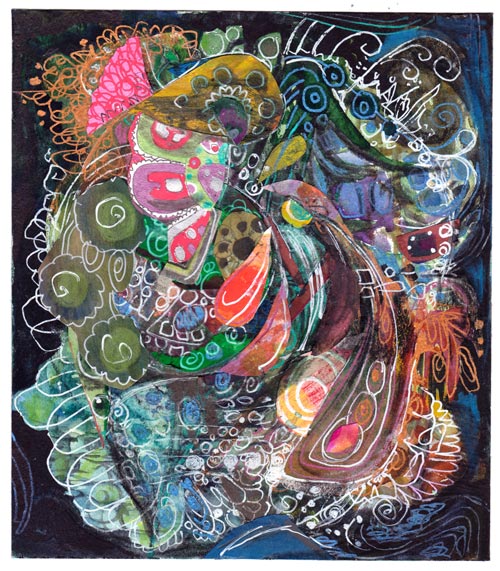
I kind of like how this first still life combines conventional elements like flowers with the more surreal ones, like the eye. The same contradiction is also seen in the color scheme: bright purples look mystical when combined with olive greens and warm browns.
Group the elements!
The principal of composition in still lives is simple. Just group the elements closely together!
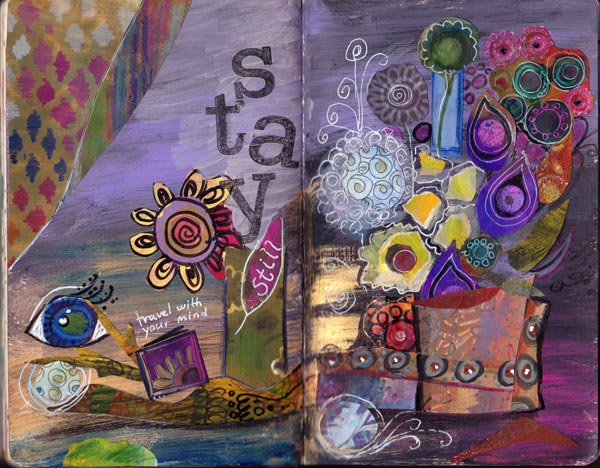
 My art journals often have unfinished pages with elements here and there. This page had some doodles and a small illustration that I had drewn for a surface pattern. I often glue odd pieces to my art journals to save them. A page like this can be a great starting point for a still life!
I started working this page by adding the text so that it creates the vase for the flowers. I emphasized that with colored pencils. Then I colored the soft background with colored pencils. The softness is a great contrast to the graphic element on the bottom.
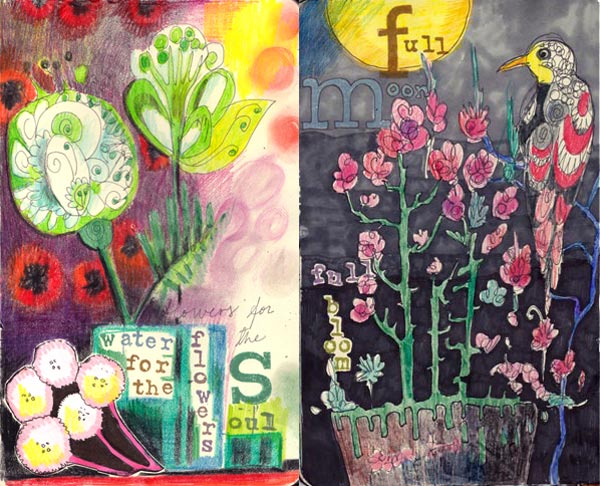
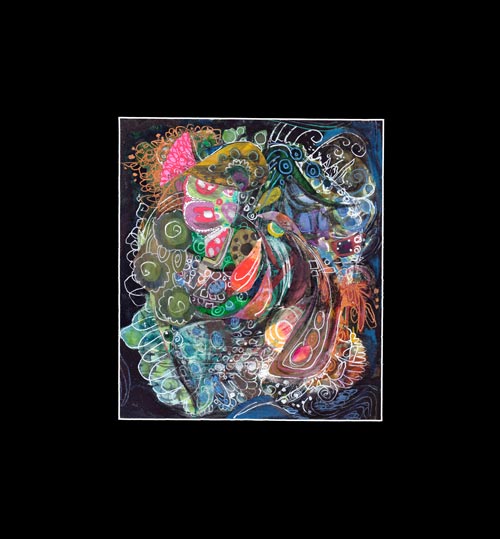
The third still life is formed around a doodle found on another page. It included just the bird and the flowers. I added the pot, stamped the text, colored the doodles with colored pencils and finally created the background with markers.
Why Are These Pages So Fast and Simple?
1) The starting point does not have to be grand, just some doodles, or paint, or odd pieces of paper.
2) Stamping few words tie the oddly placed elements easily together.
3) Coloring does not have to take a lot of time when it adds something new to the page.
More Still Lives
Watercolor 101 for Intuitive Painting – my video introduces an easy method which is especially suitable for surreal still lives and landscapes
A Formula for Composition – another way for creating a still life
Stretch Your Style – instructions to step out of the comfort zone, showcasing one of my favorite still lives