Building and Breaking – Revealing Artistic Potential
This week, I talk about the hidden potential behind artworks and how we can reveal that by not only building but also breaking.
Modern Maximalist
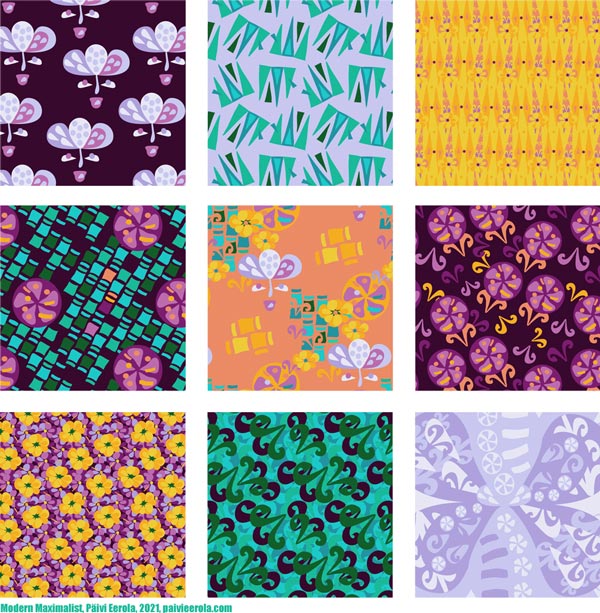
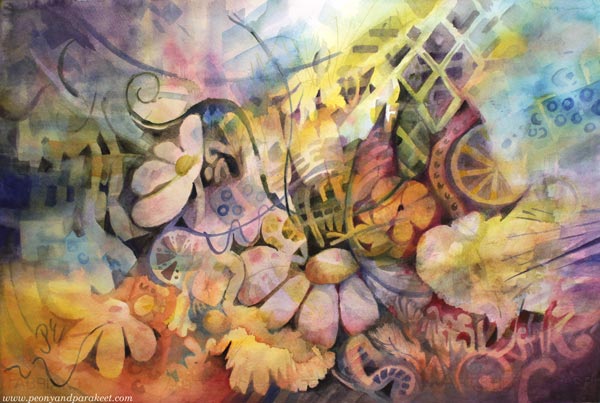
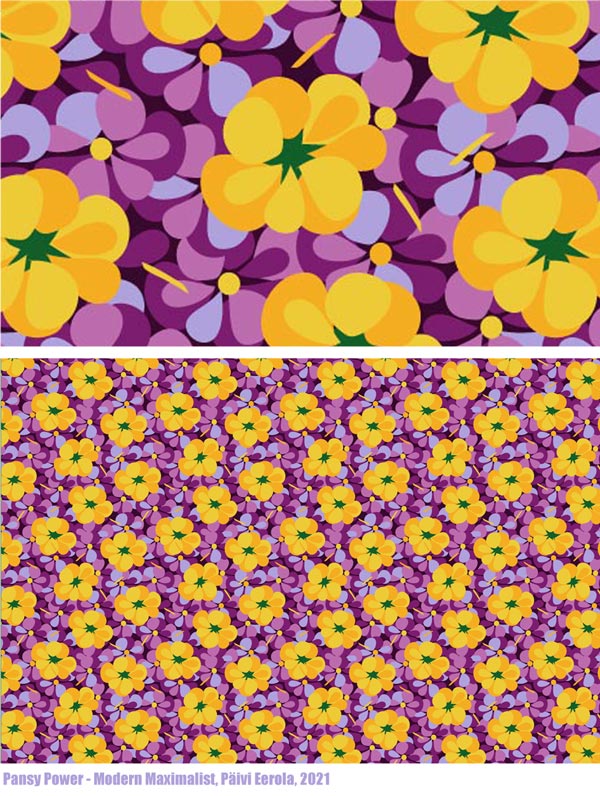
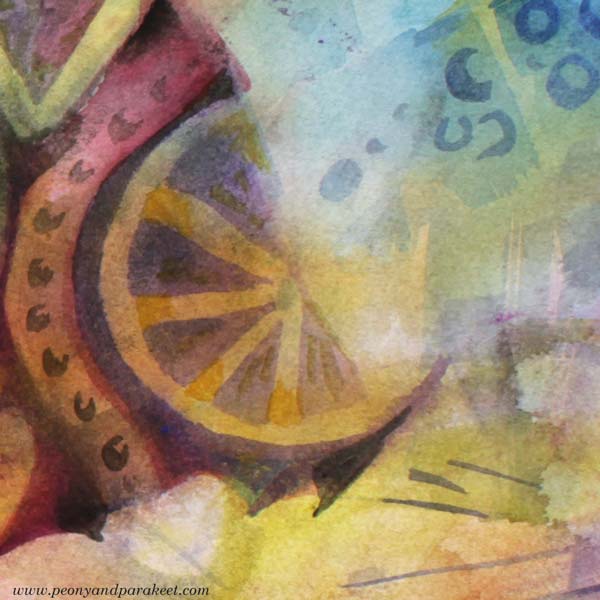
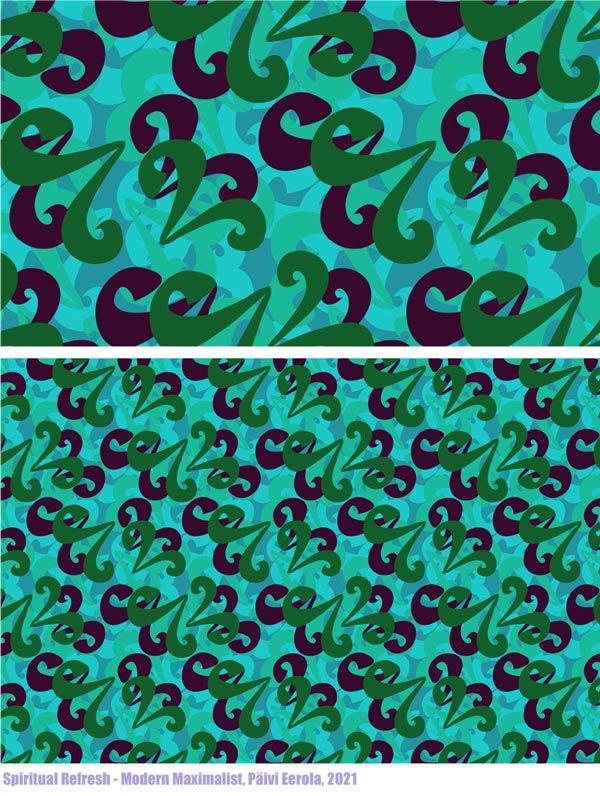
I have just designed a collection of surface patterns called Modern Maximalist. It’s drawn digitally in Adobe Illustrator and more modern than my work usually is. However, I love modern, especially the 1960s and 1970s styles. I was born at the end of the 1960s, live in a house built in the same era, and my love for retro has been too hidden in my art. But still, I didn’t want to design the collection based only on the images of others, but to build a bridge from my art to design. So, most of the motifs were based on this watercolor painting that I made a couple of weeks ago!
More Artistic Potential by Building and Breaking
Often when we create art, we build. We communicate the big picture and compose bits and pieces so that they work together. We get happy accidents (and sometimes some not-so-happy ones) and aim to make an image where the overall atmosphere takes over the details.
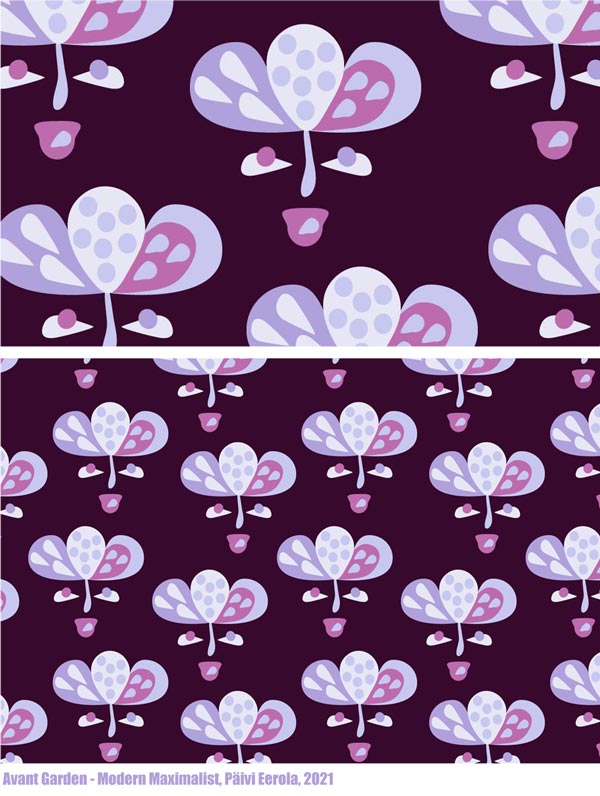
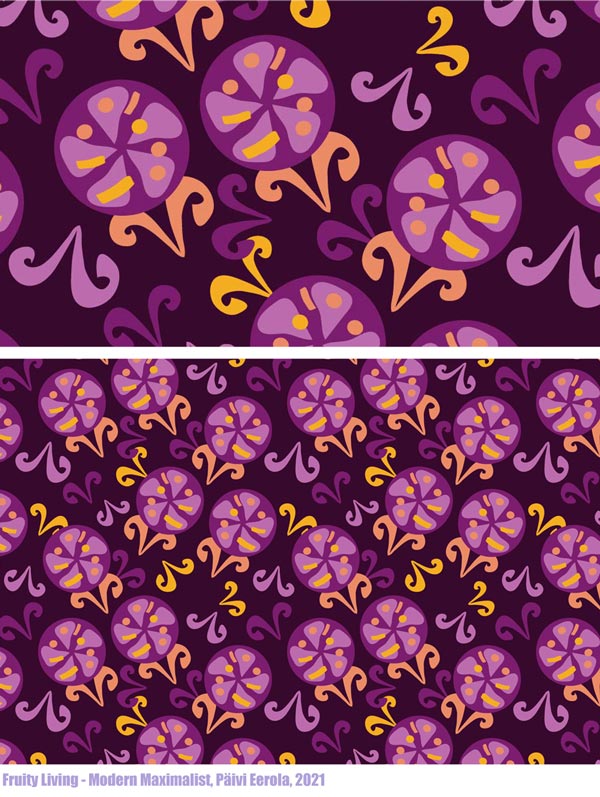
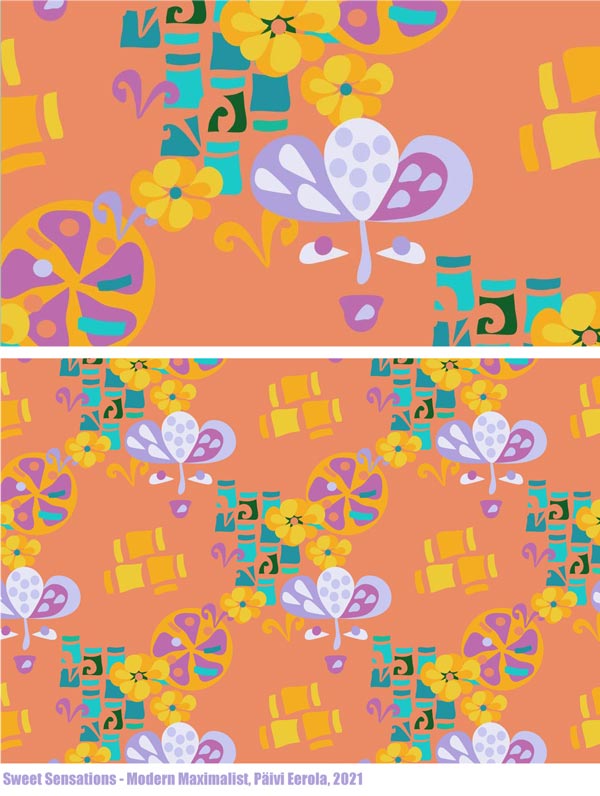
But to reveal more, we also need to break. Then the romantic flower that was painted to represent a dreamer, becomes a more stylish and symbolic figure.
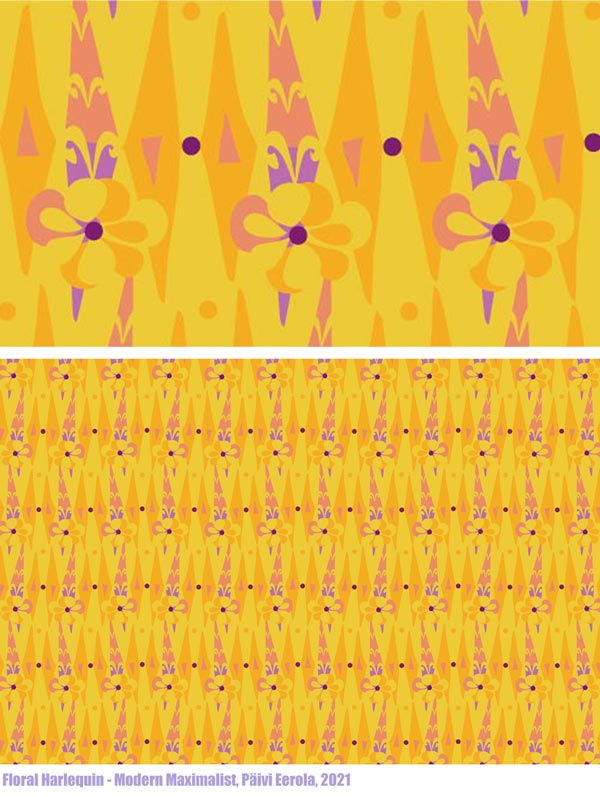
Yellow flowers and all the yellow washes can be more geometric when they are away from the big picture.

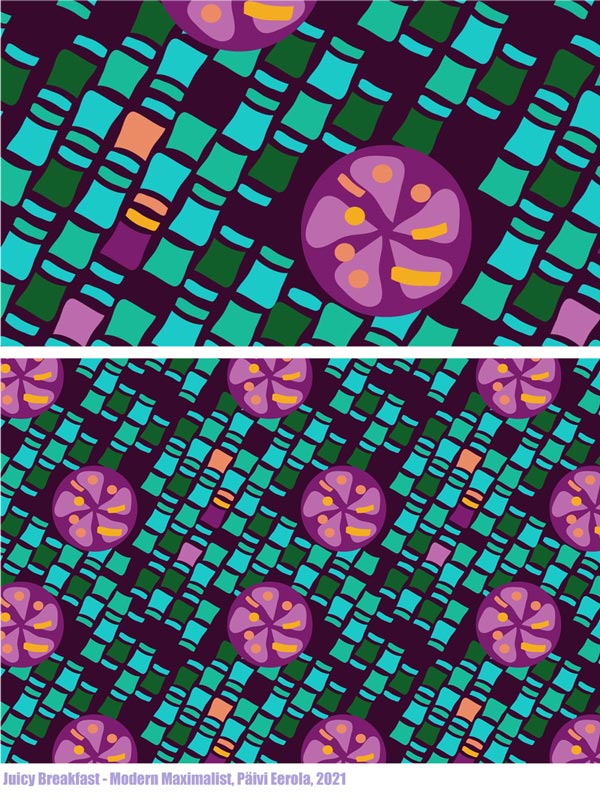
The juicyness of the fruits and other decorative details can be reorganized.
Picking Ideas from Other Images
We can also add more fuel, and break and pick from other images. This design called “List Maxima” uses motifs from the painting, but also the idea of a list that came from playing with the name of the collection, and fashion pictures that showed puffy and full dresses of the maximalist style.
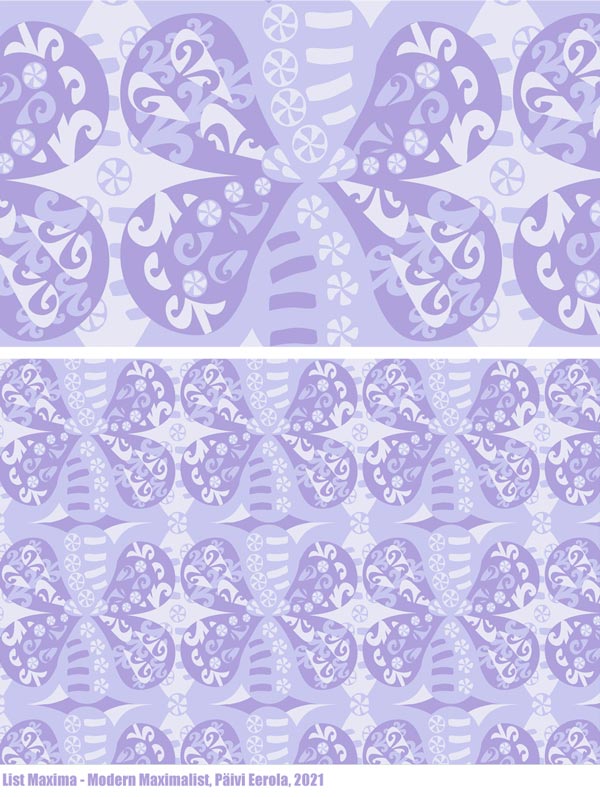
By breaking and picking, we also develop our ability to curate – to see which inspiration suits what we have already done. It’s an essential part of a style-development and and growing artistic vision.
I saw a pleated skirt on Prince Charles’s wife Camilla Parker-Bowles, not a maximalist style at all, but wonderfully modern so I broke and picked the image and got creative from that.
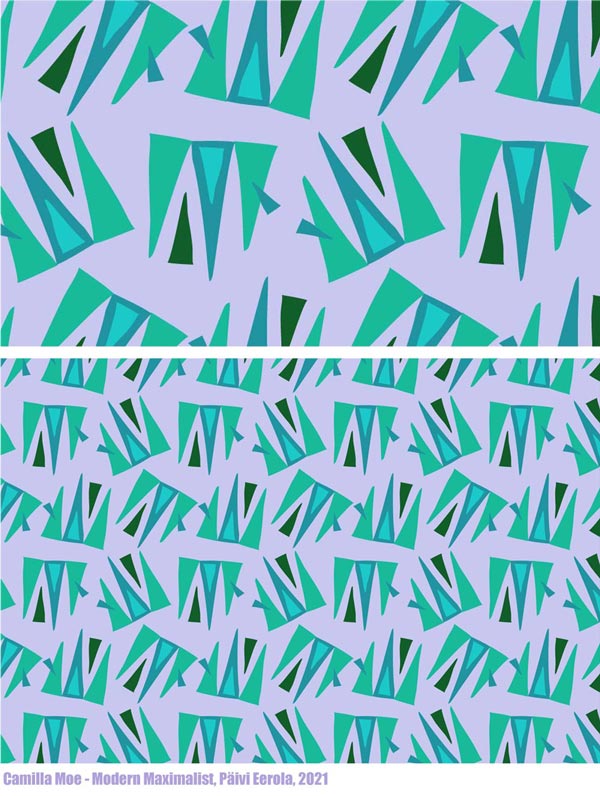
Artists often say to me: “I need to focus!” But by focusing on narrowing, we non-creatively force ourselves to do one thing. By breaking and picking, we can curate all kinds of inspiration and be creative so that it grows our artistic vision.
Revealing the Artistic Potential
No matter where you are in your artistic journey, your art benefits from the idea of building and breaking. Build to go deeper into the experience and break to reveal more ideas and potential! In practice, building often means painting, and breaking is often connected to drawing – even if, of course, you can use any techniques that suit you.
What was first a watercolor painting, could now be a quilt!
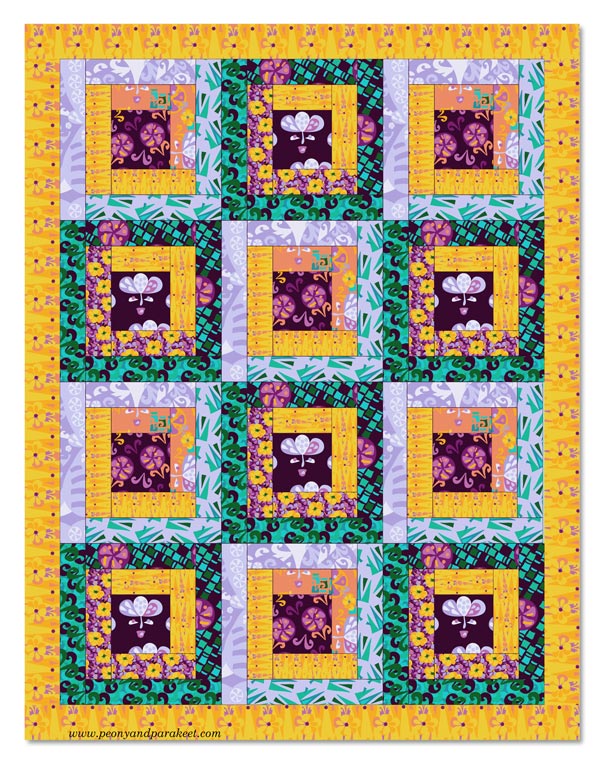
Building and breaking can alternate endlessly when we combine new ideas and results with old ones.
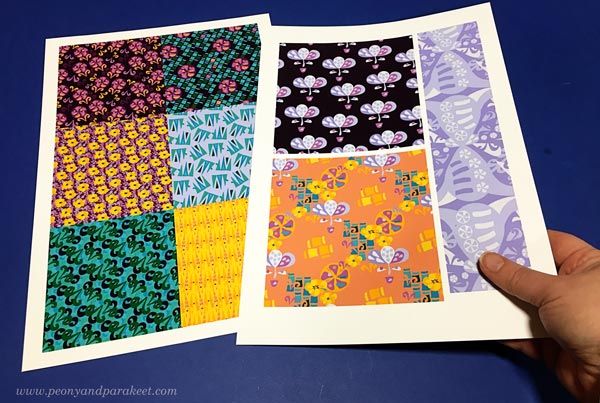
Here I am breaking and picking to create something new into my art journal.
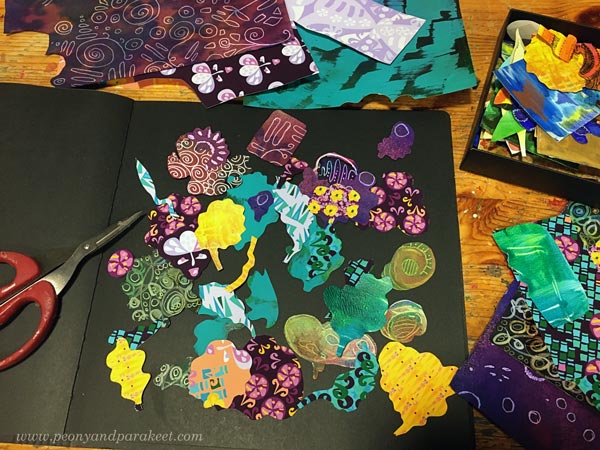
Here’s what I built by cutting and glueing new prints and old hand-decorated papers.
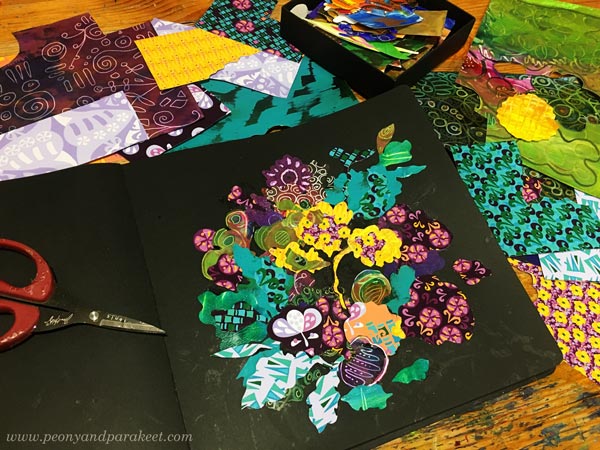
And I couldn’t resist checking if this could work as a repeat too!
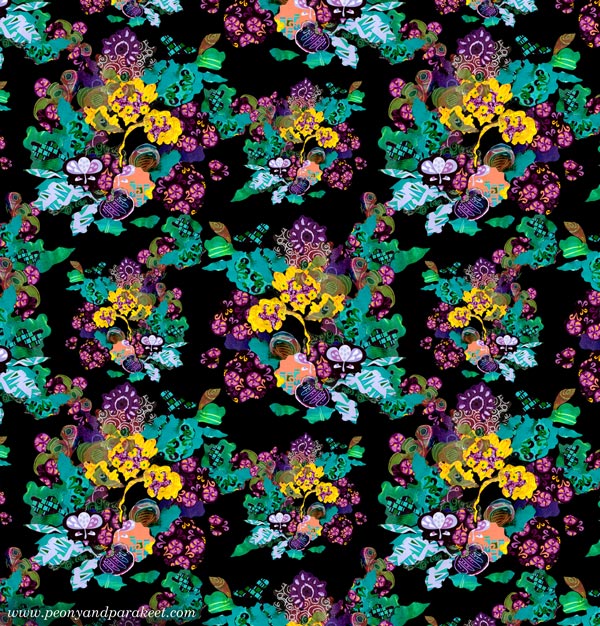
I hope you found this post about building and breaking inspiring!

Need help for finding your artistic potential and building artistic vision? Sign up for my coaching program called Artistic Vision!
Collaged Fashionistas
This week’s post is dedicated to collaged fashionistas – fun paper dolls. It’s for all of us who love to get art inspiration from the world of textiles and fashion.
I have been practicing surface pattern design daily this month and got quite a lot of patterns already. Of course, all of them are not so great and need more work, but I have really enjoyed challenging myself. I have experimented with all kinds of media – watercolor painting, line drawing, collage, and digital tools too.
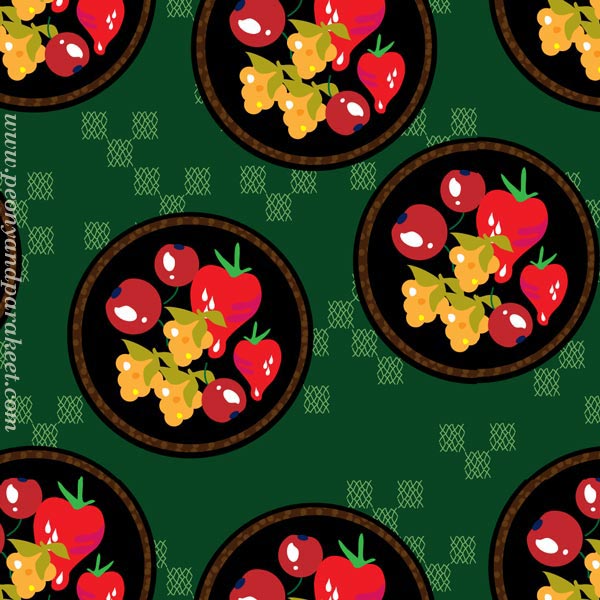
The more my computer gets filled with these designs, the more I want to see how they look when used. After all, a surface pattern is nothing without a surface to put it on!
So I printed some on paper and wrapped a couple of books. I also gathered some handmade stuff just to see how well digital designs fit with my handmade world.
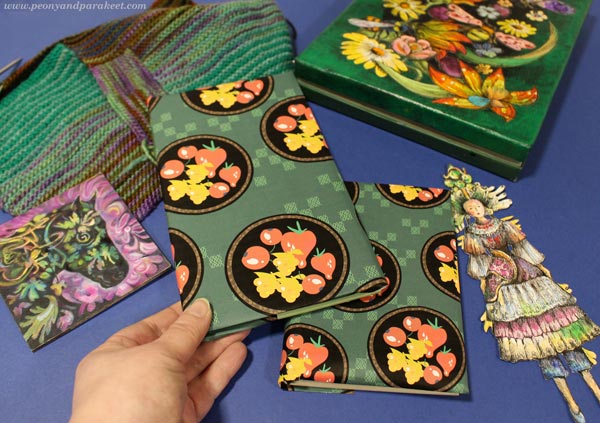
But I wasn’t satisfied at all. Books felt too flat. I needed a figure – a model to dress!
Collaged Fashionistas in Paper
After taking the photo of the books, I remembered someone who would be perfect for it. I created her – or should I say cut her – in 2014. Back then, I used to run art journaling classes in a local scrapbooking store, and I had an idea about a class where we would draw fashion items like clothing, jewelry, and such. But the class was scheduled for May which is a busy month for Finnish women, and it never took place. However, I made an online class called Collageland four years after this idea, and it was also one of the seeds for the class Magical Inkdom. So never underestimate those preliminary ideas that don’t seem to fly off right away!
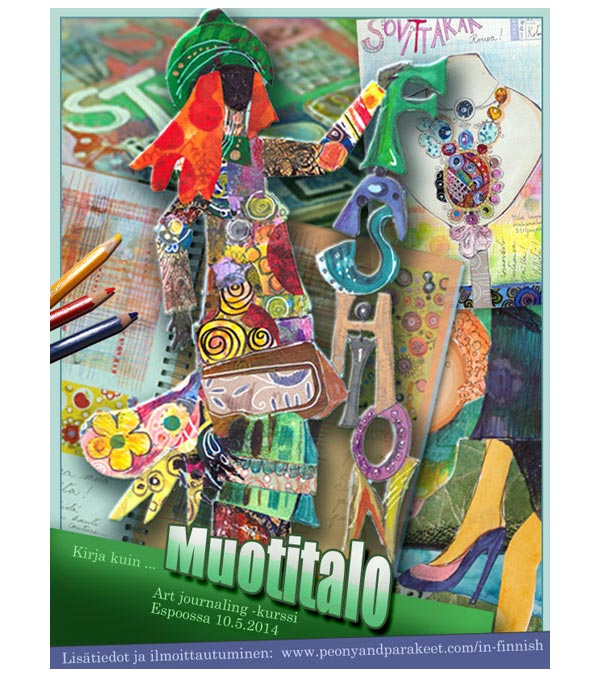
And now I wanted to hire that fashion-obsessed fashionista to showcase my patterns! I wondered if she would still return my calls but phoned her anyway.
“Hi Myriad, are you still modeling?”
“Oh, hi, yes – if it’s for real this time,” she said. “And I want shorter hair!”
“I’ll make you bald,” I promised.
So I cut a new Myriad and I really like what those seven years have done to her!
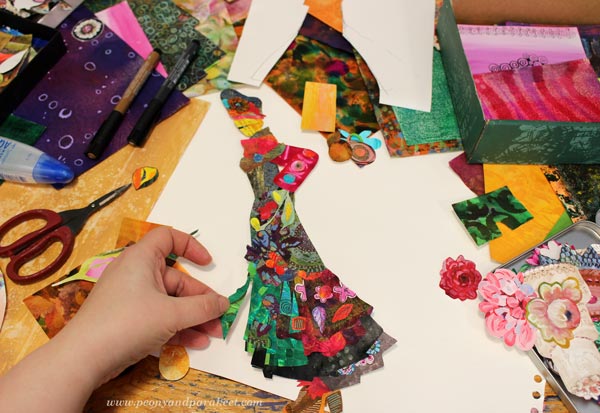
A Living Doll Gets Back to Fashion
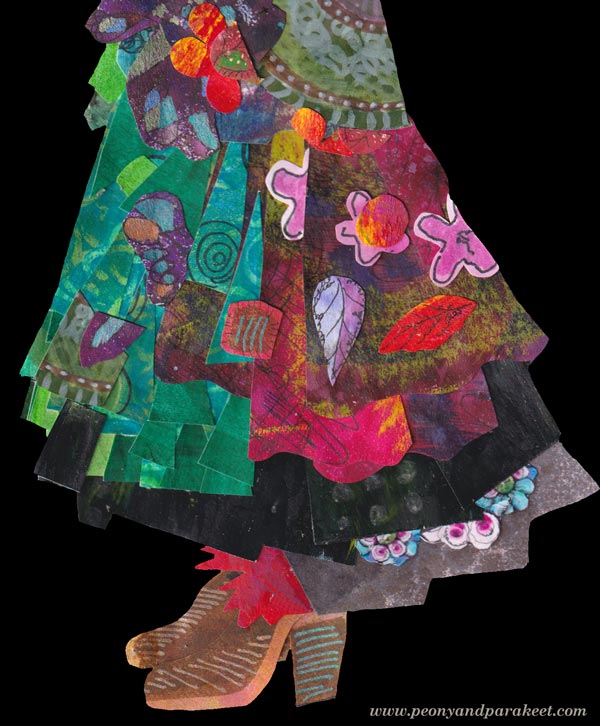
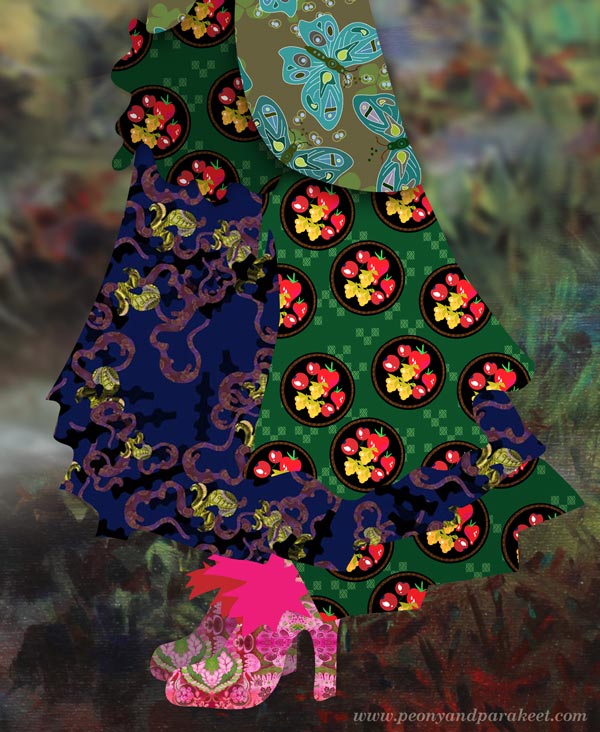
“I like the boots,” she said. “But the skirt feels so heavy!” But she wore it without further complaints because that’s what models do. They get all kinds of silly wraps around them and just keep posing no matter what.
“These boots make me want to go for a walk!” she said joyfully. And so she stepped into one of my paintings like she would own the view.
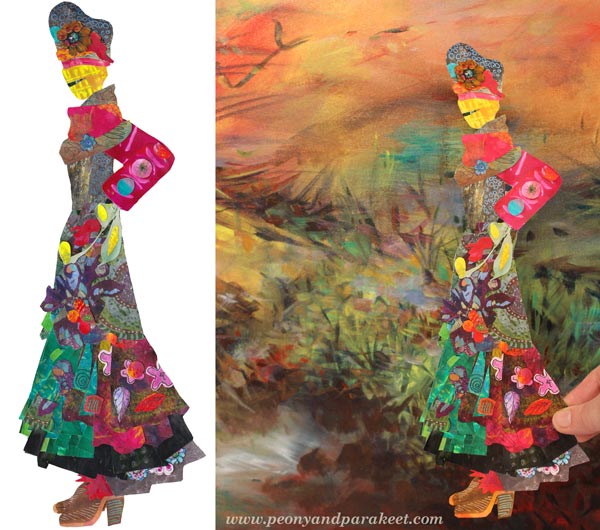
“This is fine art,” I said to her. “Models like you don’t belong in these kinds of paintings.”
“Oh nonsense,” she responded. “This is a windy Siberian meadow, and it’s just perfect for the shoot. What kind of clothes do you have?”
I had a lot to show her but here’s one project that may interest you especially. Last year, I made a surface pattern in watercolor.
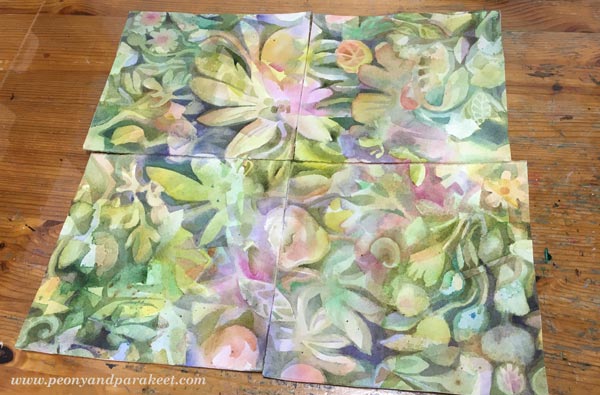
I wasn’t fully pleased with it but I had stored it anyway. This week, I made some leaf motifs in illustrator and mixed them with the pattern, and it looks like batik now. I wanted Myriad to wear this!
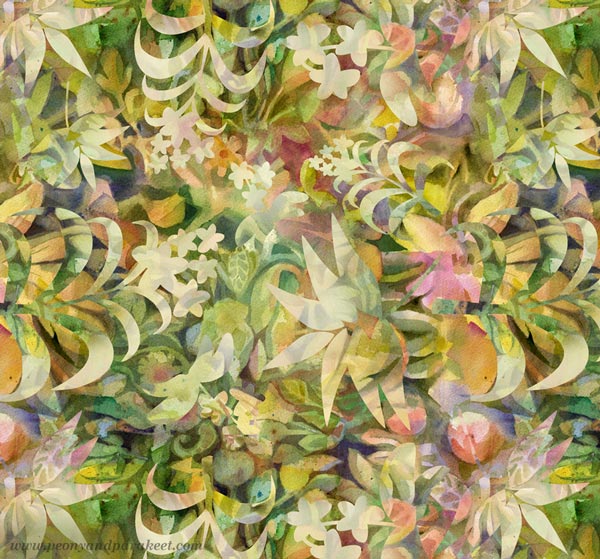
From Paper to a Digital Fashion Model
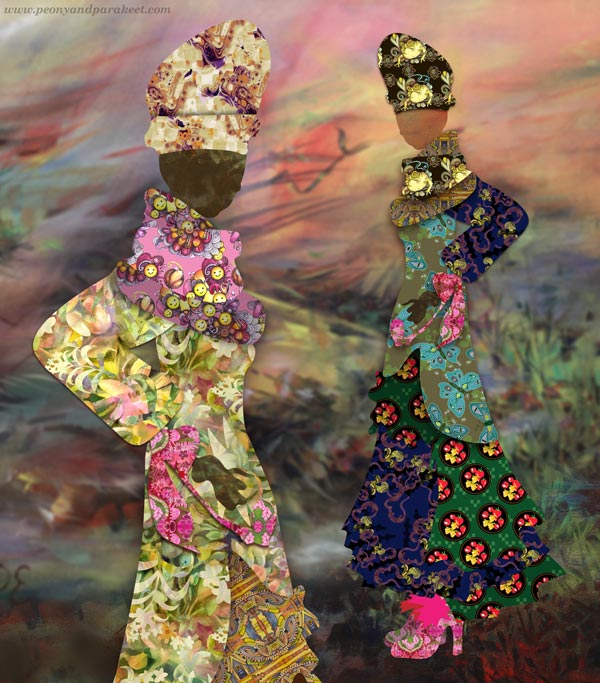
To get the pattern on Myriad, I made a new version of her in Adobe Illustrator. I marked different parts in different colors and layers so that I could dress her in Adobe Photoshop.
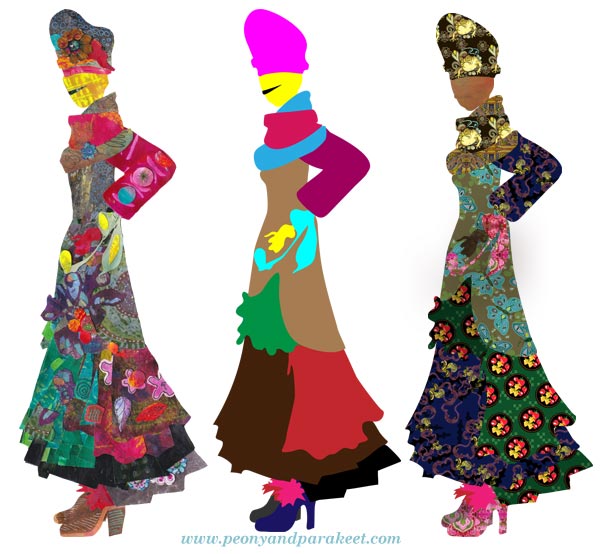
I added some shadows and additional effects and put the painting that I made last year in the background with some blurry effects so that the clothes would stand out.

Here’s a closeup of the watercolor design. Her cheerful scarf has hand-drawn motifs.
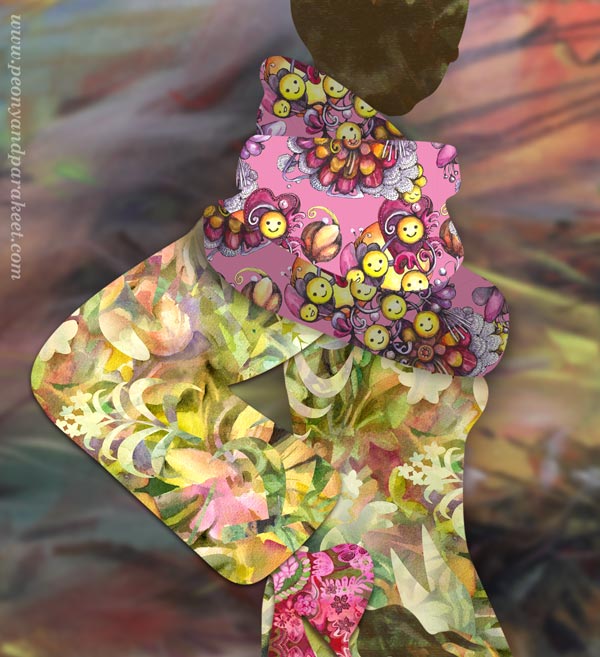
And here’s a closeup of the skirt and shoes that have a pattern too.
My planner for 2021 has a quote from Kandinsky: “There’s no must in art because art is free.” To me, it means challenging myself. That after all that I have learned in the last seven years, I can still feel the same freedom as a beginner. And that if we push ourselves creatively, our world keeps expanding and we accept more than one technique, or one style, or one truth. Art is never about absolute rights or wrongs because art is free. As a teacher, I find this reminder especially important.
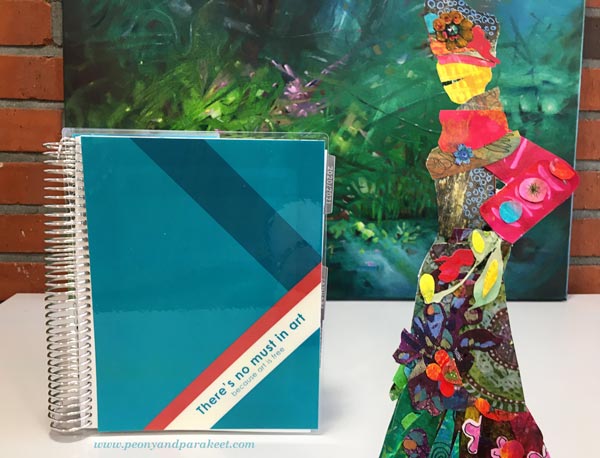
Making collaged fashionistas have brought many more ideas of how I can display my designs! More of them in the future posts.
Art Journal Video – Adding Text and Layers to Your Pages
This week is all about art journal inspiration. You see more spreads from the art journal I started a couple of weeks ago, and there’s also a video of making the spread below.
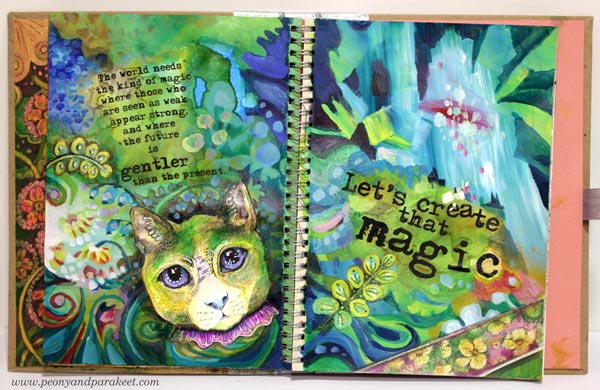
The world needs the kind of magic
where those who are seen as weak appear strong,
and where the future is gentler than the present.
Let’s create that magic!
Including Text in Art Journal Pages
I have a pile of these kinds of small stories about art and imagination. Or maybe I should say “a feed” instead of “a pile” because I post them regularly on Peony and Parakeet’s Facebook page. I have always liked writing, and I have a natural urge to share thoughts about my passion. So it hit me that I should write more in my art journals too. And why not use those stories that are born so effortlessly every week?
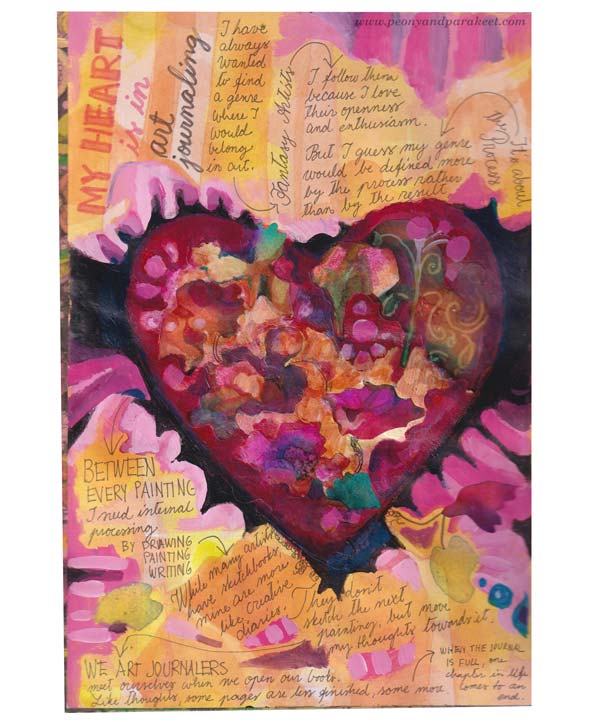
I have always wanted to find a genre where I would belong in art.
I follow fantasy artists closely because I love their openness and enthusiasm.
But I guess my genre would be defined more by the process rather than by the result.
Between every painting, I need internal processing by drawing, painting, and writing.
While many artists have sketchbooks, mine are more like creative diaries.
They don’t sketch the next painting but move my thoughts towards it.
We art journalers meet ourselves when we open our books.
Like thoughts, some pages are less finished, some more,
and when the journal is full, one chapter in life comes to an end.
Art Journal Pages with Typed Text Blocks
After writing by hand, I decided to make the next page so that the text would be typed. Not that I hate my handwriting, vice versa, hand-written pages always look great. But when I was a child, I used to write a lot with an old Bijou, and I missed the typed look. I still have the old typewriter, but the possibility to play with the size and style of the letters, made me use a computer instead.
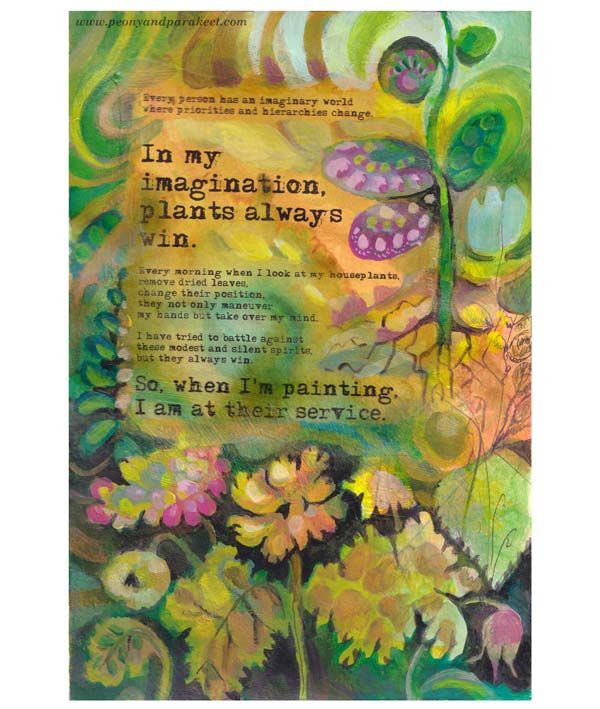
Every person has an imaginary world where priorities and hierarchies change.
In my imagination, plants always win.
Every morning when I look at my houseplants,
remove dried leaves, change their position,
they not only maneuver my hands but take over my mind.
I have tried to battle against these modest and silent spirits, but they always win.
So, when I’m painting, I am at their service!
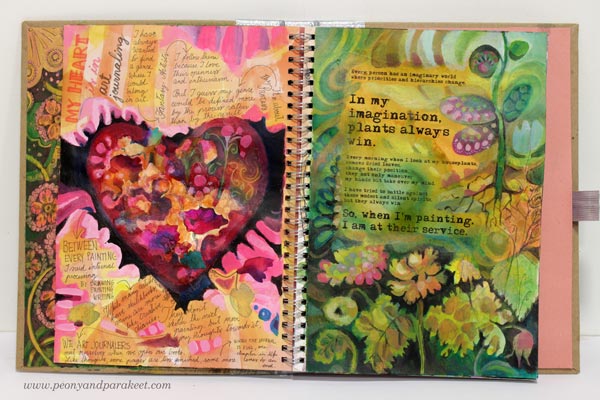
Here’s the spread with the two pages side by side.
In the second spread, I wanted to play with the orientation and the shape of the text blocks.
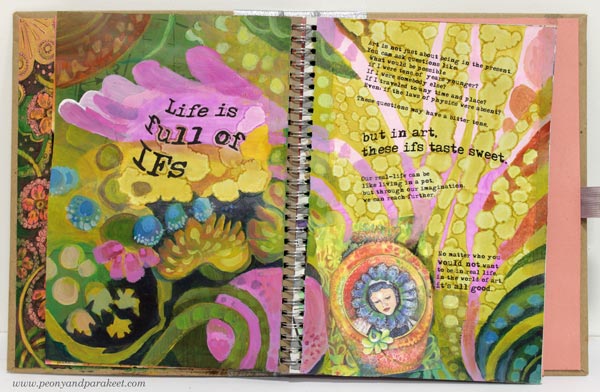
Art is not just about being in the present. You can ask questions like:
What would be possible if I were tens of years younger?
If I were somebody else?
If I traveled to any time and place?
Even: if the laws of physics were absent?
These questions may first have a bit bitter tone,
but in art, these ifs taste sweet.
Our real-life can be like living in a pot,
but through our imagination,
we can reach further.
No matter who you would not want to be in real life,
in the world of art, it’s all good.
Mixed Media Art Journal Pages
For the second spread, I printed a gouache painting that I had made for the class Decodashery on a sticky canvas and adhered it on the page.
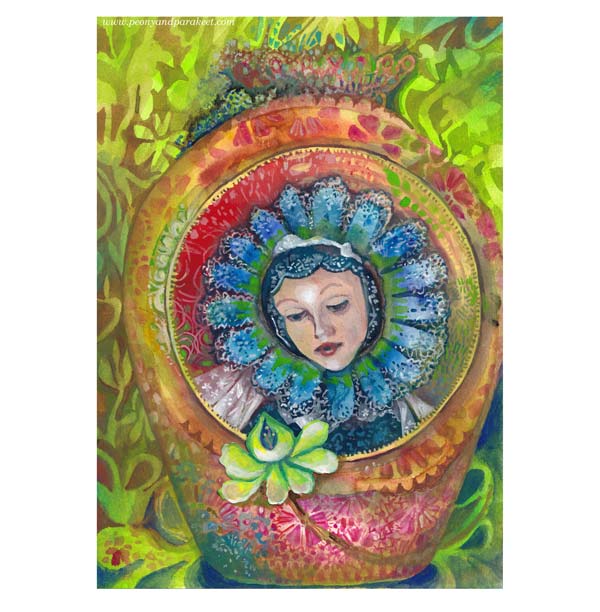
I really like the yellow-green circles, made with alcohol inks.
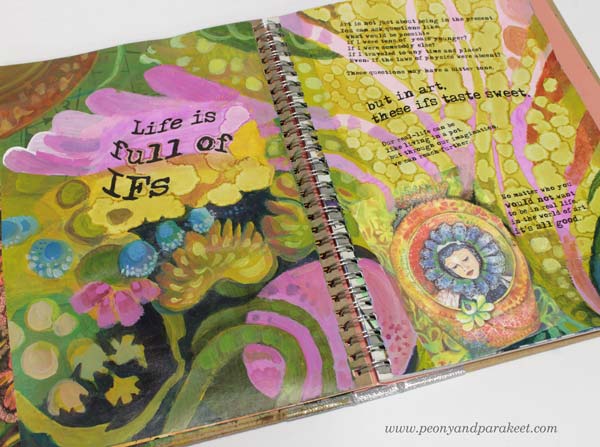
In this spread, I also used hand-drawn and hand-painted collage pieces made from the classes Magical Inkdom and Decodashery.
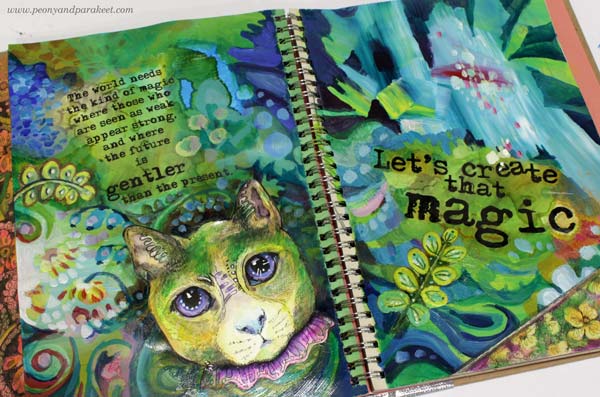
I added green to the cat so that it fits with the rest of the page.
Art Journal Magic – Watch the Video!
See the process of attaching printed text, using alcohol inks, and painting with acrylics more in detail by watching the video below!
I hope the video inspired you to fill your journals!
Draw animals and more: Animal Inkdom, Magical Inkdom
Paint decorative flowers and more: Decodashery
Vintage Style Flowers Step by Step
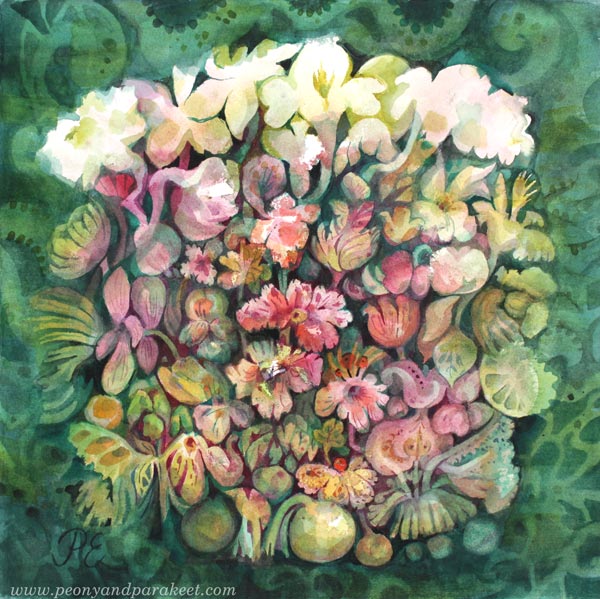
My latest watercolor painting has lots of vintage style flowers. I call it “Lemonietta,” and it’s inspired by home decor, afternoon tea, cream cakes, piano music, and of course, my favorite fruit – lemons!
Vintage Style Flowers in Three Colors
I have always liked old art and not just masterpieces, but decorative die cuts, vintage postcards, and all the more kitschy stuff too. So this post is dedicated to vintage style flowers, and I show how to make a cluster of vintage style flowers to your box of joy – any box that you fill with handpainted and hand-drawn collage pieces!
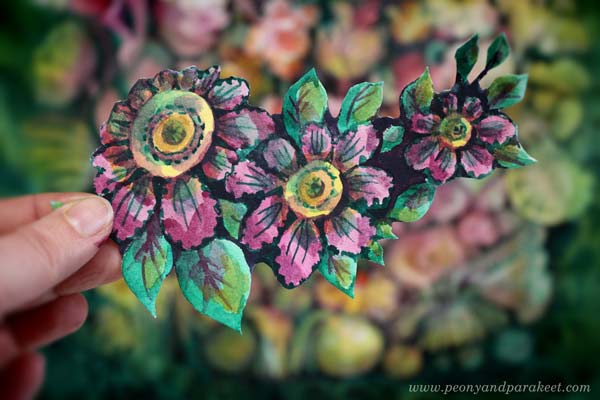
The tutorial is for watercolors, but you can use any paint for it. Just make sure to keep the color layers transparent. I use a piece of smooth watercolor paper, but almost any paper will do. And you only need three colors: yellow, pink, and green!
Step 1 – Three Yellow Circles
Start with yellow and paint three circles.
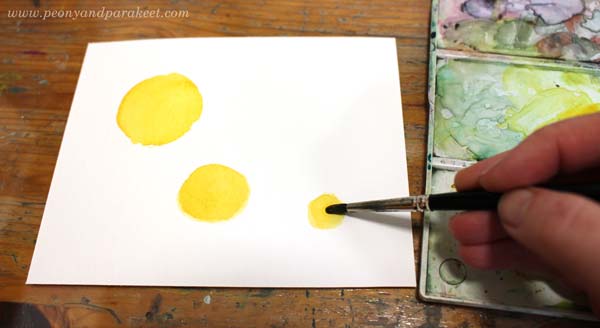
I painted the circles in three sizes: large, medium, and small. They form a curve rather than a straight line. This way, the composition will become more elegant than if you have similar sized flowers in a straight row.
Step 2 – Pink Petals
Add pink circles or ovals around the flowers.

Some petals can be smaller than others, so that the orientation of the flowers varies a bit. Compare my biggest flower to the medium-sized one!
Step 3 – Darken the Centers
Continue with pink, but use a little less water so that it’s darker. Make the centers and petals clearer by painting around the center and the top parts of the petals.
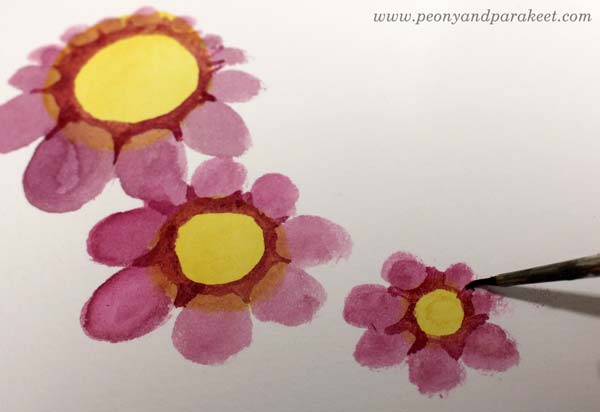
I use a thinner brush to get sharper points near the petals.
Then mix some more water to pink paint, and add small circles to the centers.
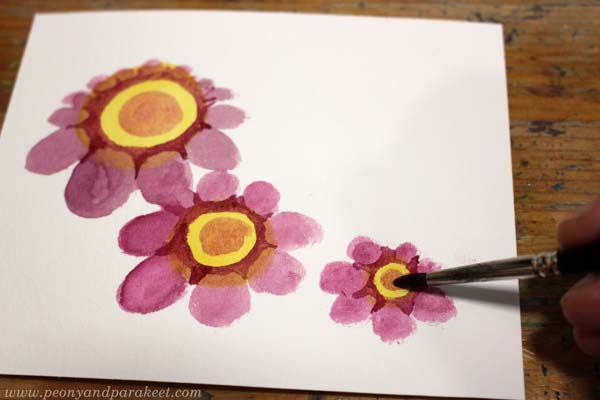
I use a bigger round brush for round shapes.
Step 4 – Green Leaves
Paint green ovals around the flowers.
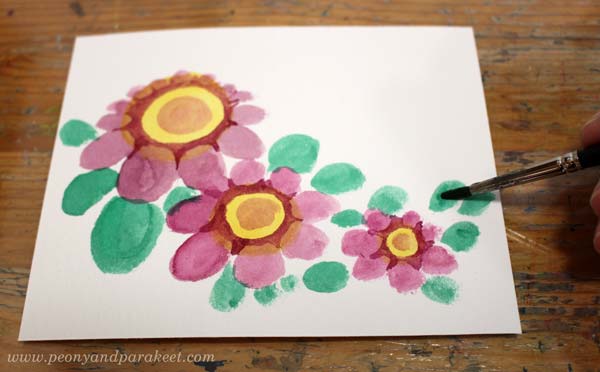
Again, my ovals have a variety of sizes so that the composition looks more lively.
Continue with green, but now use a thicker color. Make the leaves sharper and a bit more elegant. Only paint a part of a leaf with a darker green.

See how pointy my darker shapes are, and how they don’t cover the whole leaf!
Step 5 – More Details to Flowers
Start with thick green paint and a thin brush. First, add green triangles between the petals to make the flower look more three-dimensional.
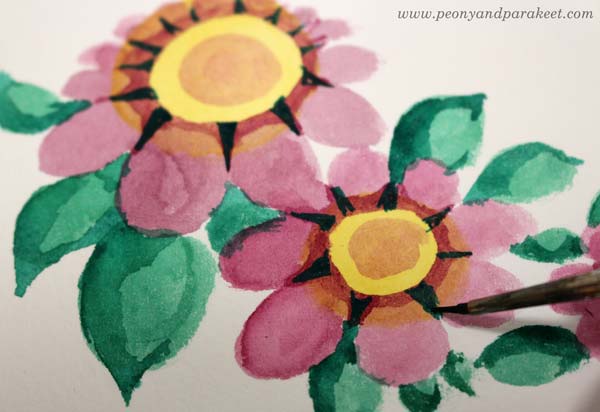
Second, paint around the petals so that they look more frilly.
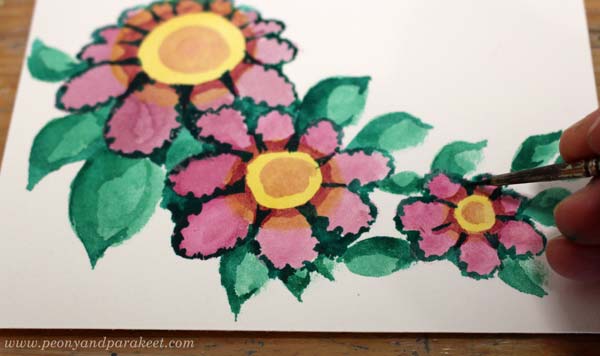
Then change to a bigger brush and add more water to make the paint transparent. Paint pale green spots on petals and on the centers.

With a thinner brush, add green lines to the petals and centers. Finally, change to pink, and paint centers and petals so that they are partly darker.

The nostalgic look comes from the contrast colors and the color variation.
Step 6 – More Details to Leaves
Add pink shadows to the leaves.
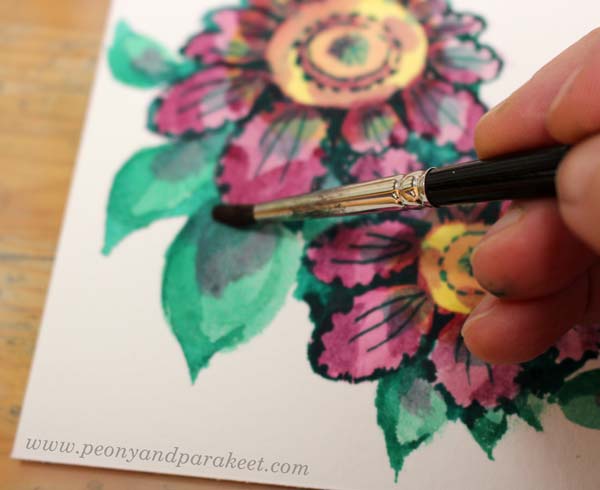
With thicker green and the smaller brush, paint think lines on the leaves.

Step 7 – Dark Background
Mix thick paint from green and pink, and paint the background areas between the flowers.

I also check all the edges around the cluster so that it’s easy to cut.
Step 8 – More Color Variation
To make the flowers glow, add more color variation. Use thin paint, and add yellow to the leaves. Only paint each leaf partly.
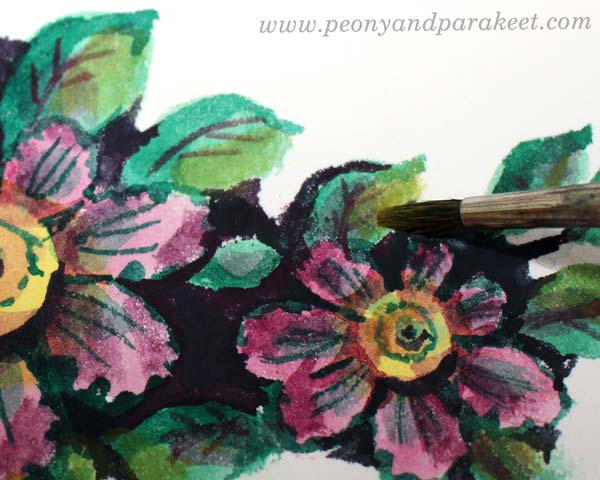
Similarly, add green to the centers.
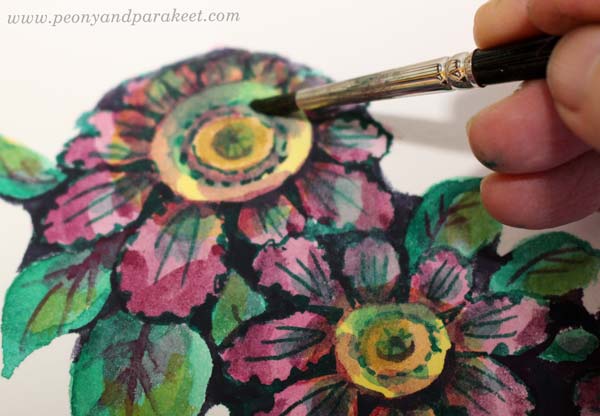
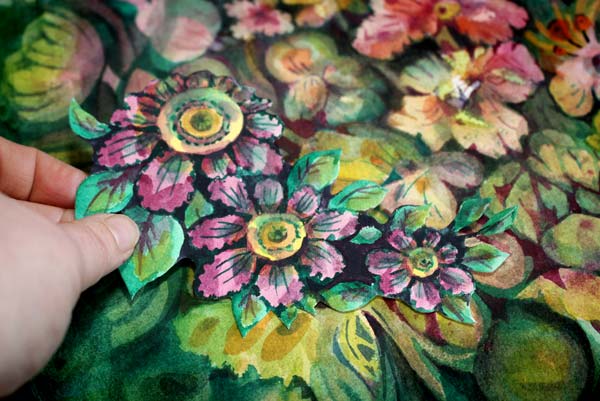
Here’s my finished cluster before cutting.

Step 9 – Cut It Out!
You can still change the shape of your cluster when cutting around it.

It’s so much fun to make and find backgrounds that come alive with these little flowers.
And of course, they bring more joy to the box of joy too!

Vintage Style Flowers – Starting More Intuitively
Painting small pieces is fun, but my bigger paintings are born more intuitively and they take a longer time.
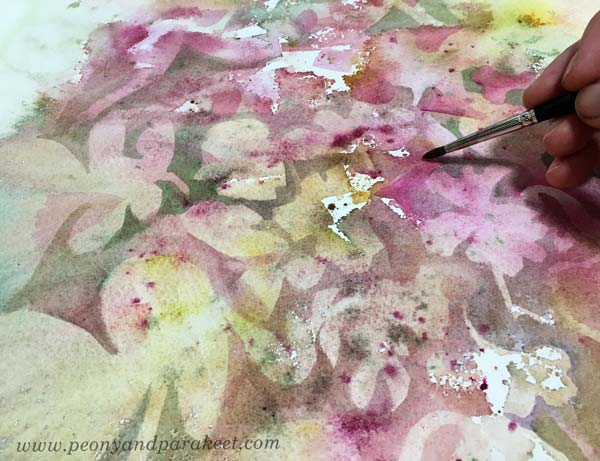
I love to dig out flowers of random blooms and spatters, and then move on to paint them more intentionally.
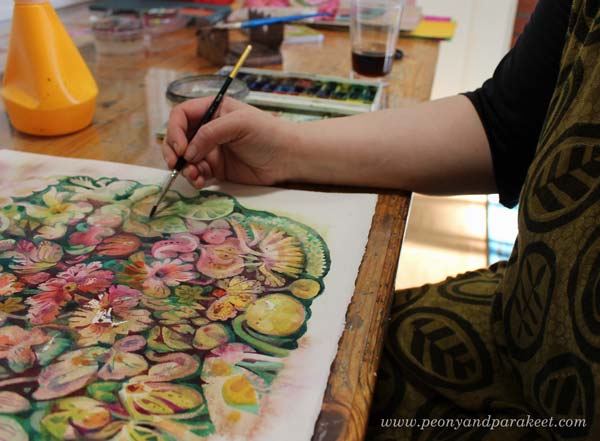
When the paper is full of details, it’s sometimes hard to decide which ones can take the central role and remain bright, and which ones get more background color so that they don’t stand out so much.
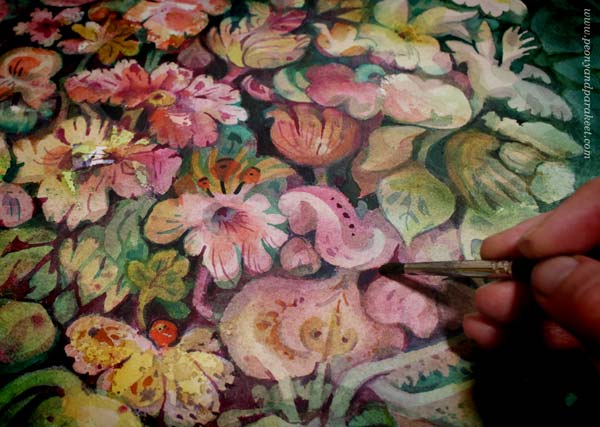
Here’s the finished piece again. It took about two days to complete.

Even the smallest single flowers are still part of the same world.
I hope this post inspired you to create, whether it’s a project of two hours or two days!
Inspiring projects for flower lovers: Buy my class Floral Fantasies!