Hello Fall! – 10 Problems and Solutions for Watercolor Landscapes
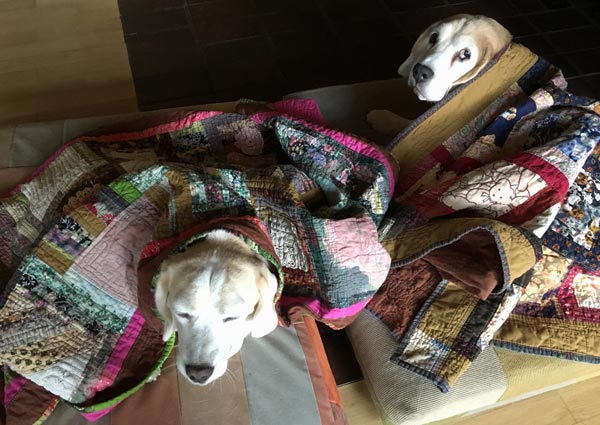
It’s fall in Finland, and it’s a bit sad, even if it’s also beautiful. Our beagles Cosmo and Stella have their quilts, and when we go for a walk, we have to speed up because it’s getting colder every day.
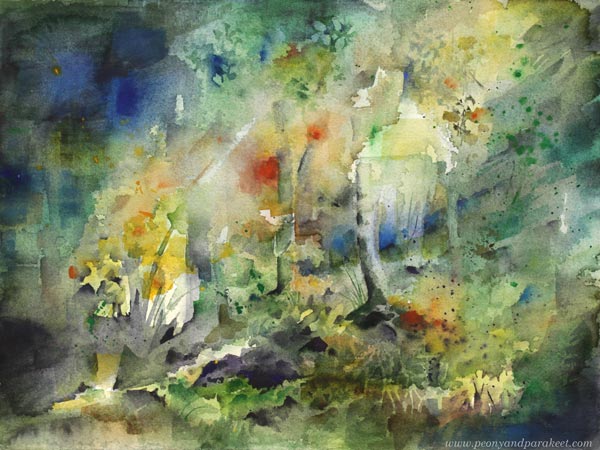
I have done a lot of drawing lately, and to relax a bit, I picked my watercolor set and a piece of Arches cold press watercolor paper. My watercolor set is a good friend, always ready for a new adventure. This time I started with a photo that was taken when walking the dogs, but I also painted freely. I hope you enjoy the video below!
10 Problem and Solutions for Watercolor Landscapes – Watch the Video!
Paint with me! Take a photo of the nature scene of your surroundings, and create a watercolor painting with this video tutorial. This time I built the video so that I picked 10 common problems in watercolor painting and explain how I solve them in practice.
Express Yourself by Painting Watercolor Landscapes – Buy Watercolor Journey!
Connect the dots between techniques and expression! Watercolor Journey has expressive watercolor techniques for beginners who want to loosen up and for more experienced artists who want to boost their imagination.

To celebrate the season and beautiful autumn colors of Finland, Watercolor Journey is for sale this weekend. Get 20 % off! The sale ends on Oct 6, 2019, midnight PDT.
Inktober Warm-Up Exercise
It’s soon October and with that – Inktober! Last year, I did all 31 prompts. Read about my previous experience here and here!
This year, I intend to make at least some drawings. And because Inktober was such a great experience for me last year, I want to support you to take it too. Here’s an Inktober warm-up exercise. I hope it inspires you to use inks and black felt-tipped pens to create black and white art. Follow the steps to keep going!
1) Paint an Abstract Composition
Let’s start by playing with liquid ink! Mine is Dr. Ph. Martin’s Bombay India Ink. I make the image on Leuchtturm 1917 Sketchbook.
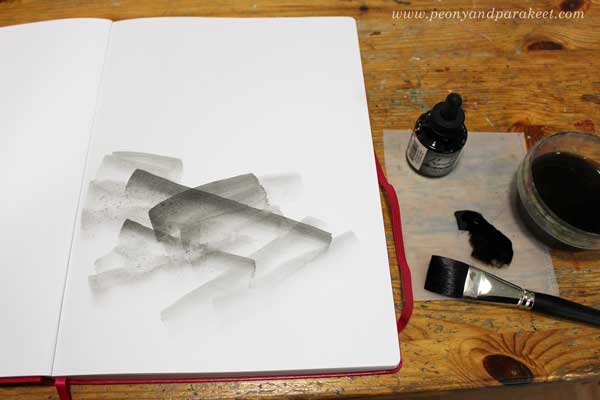
Put a few drops of black ink on a palette. Mix some water to the ink so that it’s grey rather than pitch black. Make some pale strokes with a flat brush. Then add new strokes on the top of previous ones. Work slowly! Enjoy each stroke and the translucency of it.

Turn the brush upward and make narrow strokes by using the tip of the flat brush. Experiment with both wet and dry brush.
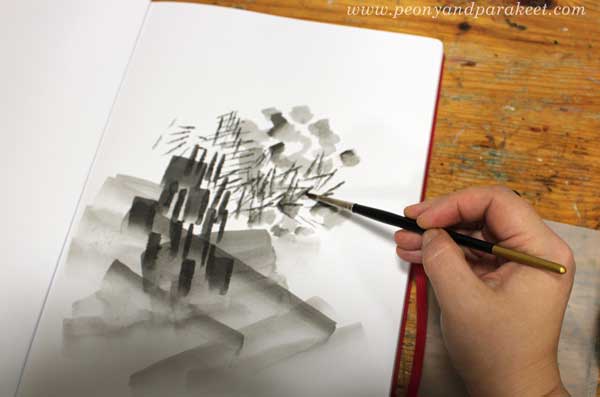
Pick a small round brush and add some ink on the top of the narrow strokes. Now you should have an abstract composition that has a variety of painted elements.
2) Fill Spaces Between the Painted Areas
Use a brush pen or black ink that hasn’t been watered down. Focus on the center of your composition.
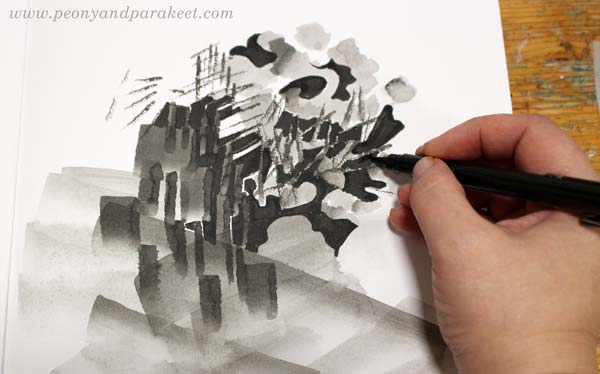
Fill most of the spaces between the painted areas with black ink. Leave some white to highlight the best parts. Black adds depth to the grey composition.
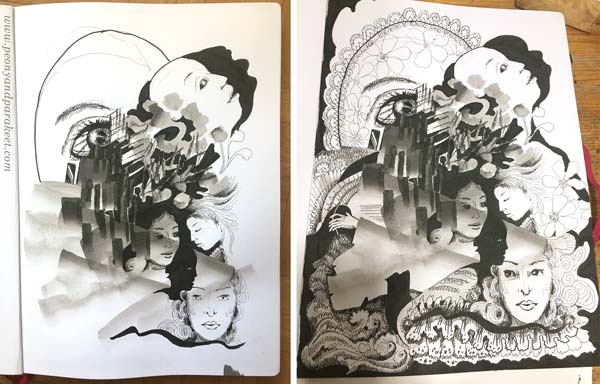
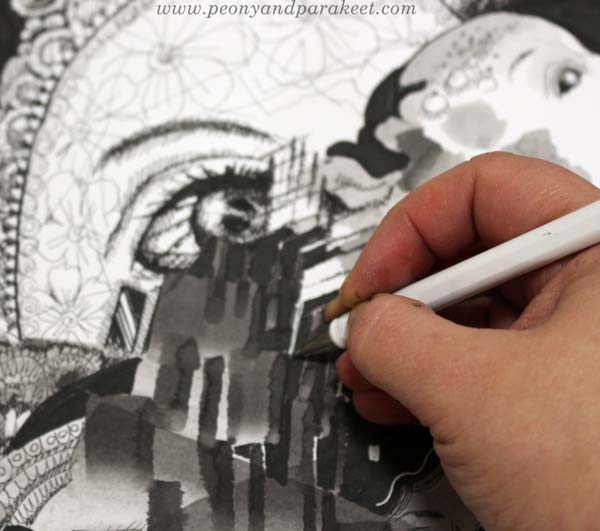
3) Draw Realistic Objects
Select black thin-tipped drawing pens of various thicknesses. I use Copic Multiliners from 0.05 to 1.0.
Choose a realistic object that you want to repeat in the image. My choice was women’s faces. For example, flowers or birds could be great too.
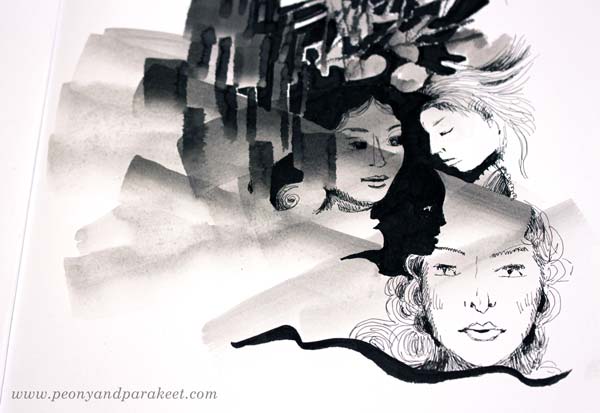
Look at the abstract composition and seek for places where you can add the objects. Add more black, and adjust the shape of the pale areas so that they partly outline the objects. When drawing the objects, play with the scale so that some are big and some small no matter where they are located in the image. All the objects don’t have to be fully visible. Some can hide partly behind the abstract elements.
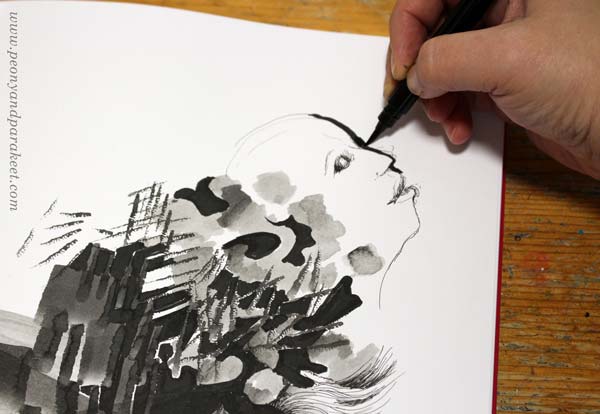
I like to draw faces so that I sketch it first with a thin ink pen, and then adjust it by adding a black element beside the face. (In my classes Animal Inkdom and Magical Inkdom, I show easy step-by-step methods for drawing all kinds of fun figures.)
4) Doodle Decorations
Continue with the black drawing pens, and doodle on the blank and pale areas. I also use a handmade oval template to get a big geometric shape that is fun to decorate.
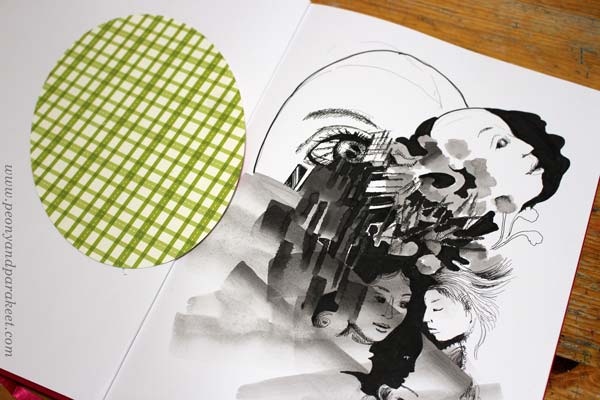
For decoration, the sky is the limit, but I like jewels, frills, laces, waves, and flowers!
When doodling, I also add shadows to the elements by drawing thin lines side by side.
5) Finishing Touches: Shadows and Highlights
Squeeze your eyes and point all the white areas. Usually, there are too many and it makes the image look busy. Pick a brush and paint most of the white with diluted black ink.
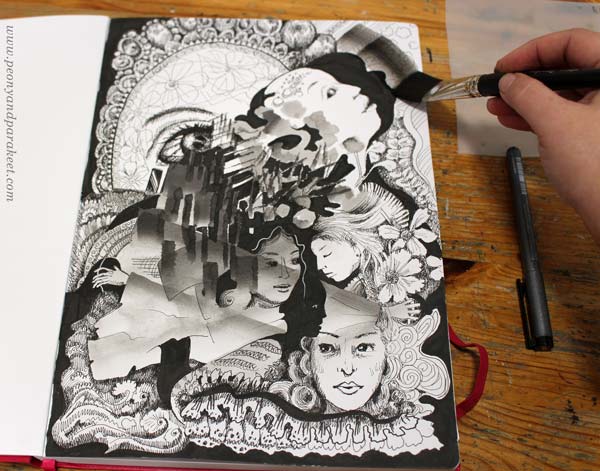
Especially the areas that are near the edges are worth toning down.
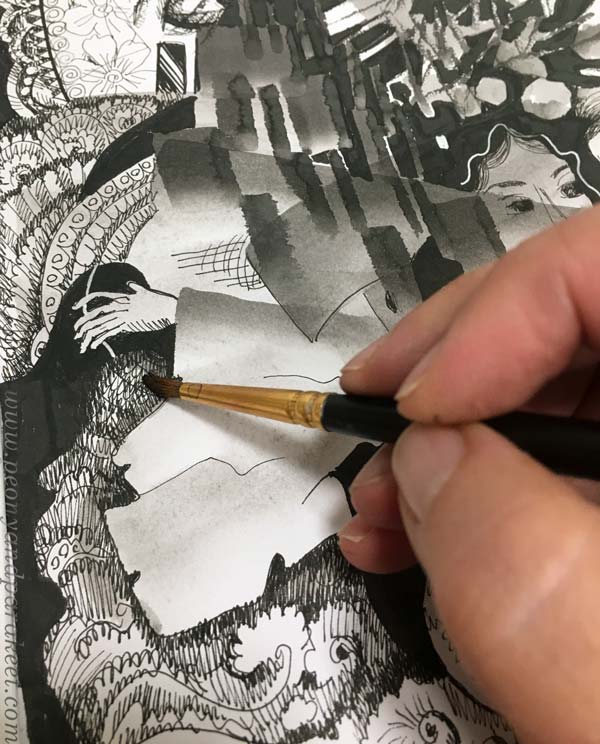
I also like to paint over the shadowed areas to give them a softer look.
White gel pen can be handy for those areas that need a little bit more white.
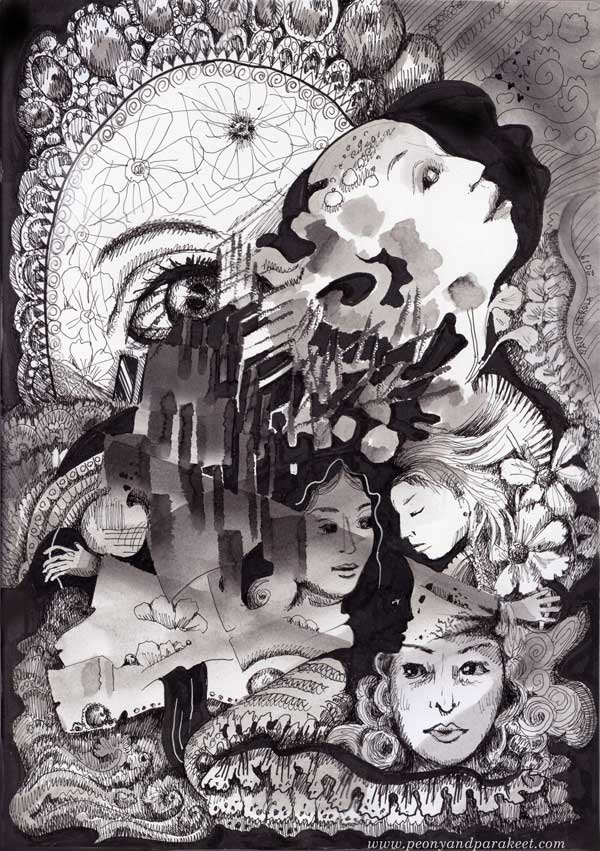
Inktober Warm-Up – Finished Piece
Here’s my finished piece again. See how limited the number of white areas is.
I hope you enjoyed this Inktober warm-up! Tell me – are you going to participate in Inktober?
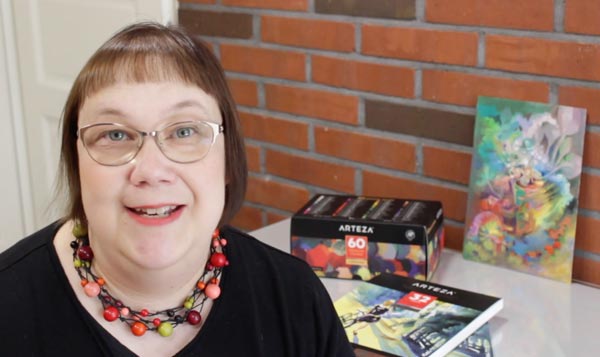
Intuitive Painting in 60 Colors of Arteza Gouache Set
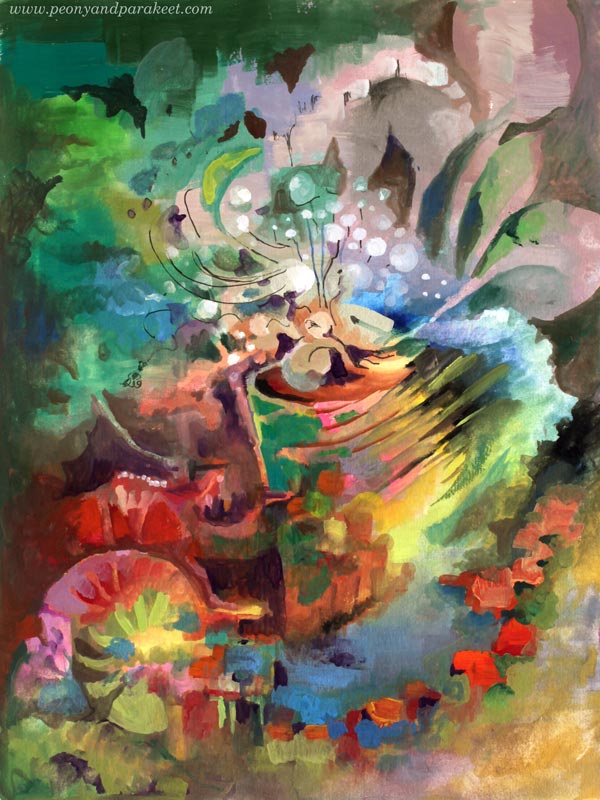
Paint with me! This week, I have a video tutorial of making an intuitive gouache painting with Arteza Gouache set.
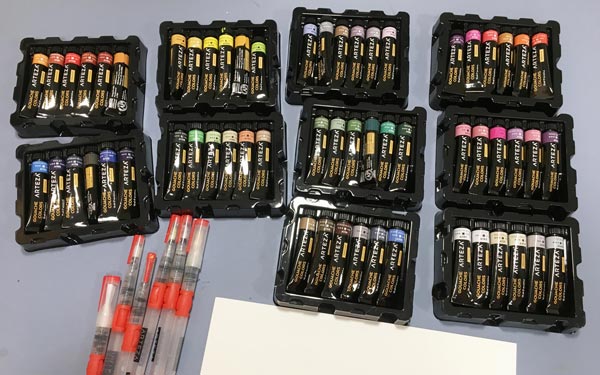
In addition to the gouache paints, I also use Arteza water brushes, Arteza watercolor paper (mine is A4 from Arteza’s UK store, but here’s the link to the similar paper in the US store), and Arteza Fineliner. These supplies are all donated to me by Arteza (US Store, UK store). You can get 10% off with coupon code peonyandparakeet1. This coupon is valid till Oct 25th, 2019.
Intuitive Gouache Painting – Watch the Video!
Gouache Comparison – Arteza vs. Schminke
Arteza’s gouache paints are very affordable compared to artist quality paints. I have few tubes of Schminke Horadam Gouache paints, and with the price of 60 colors of Arteza, you can only get a few tubes of Schminke!
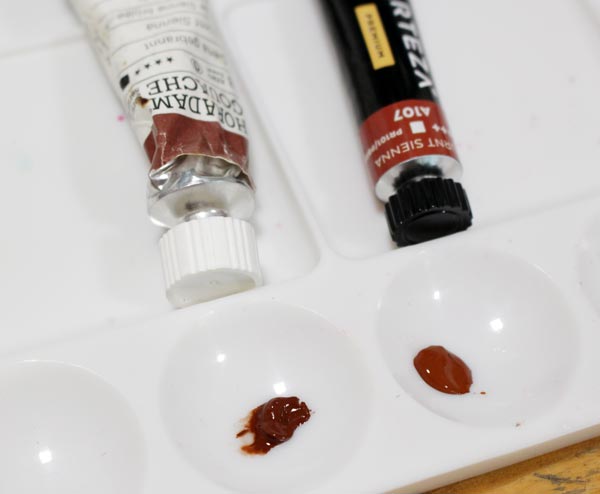
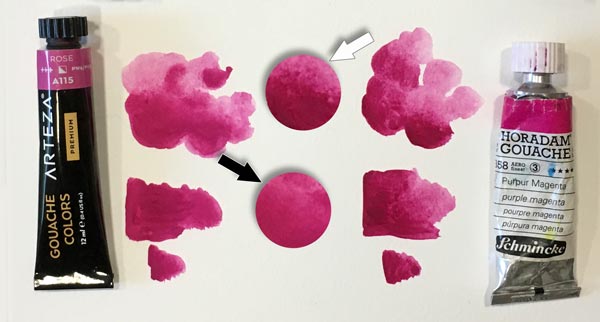
But of course, there are differences too. Schminke, manufactured in Germany, has a higher pigment level than Arteza, manufactured in China. These tubes are both Burnt Sienna, but Arteza’s color is much more pastel and creamy.
Most of Arteza’s colors have names that are not pigment names. They describe the tone very well and sound tempting, like “Blush Pink.” But if you have used to dealing with pigments and their individual qualities in transparency and archival quality, it can feel frustrating. If pigments are individual spices, Arteza’s gouache paints like spice mixes – easy to use for beginners, but a bit joyless for professional cooks.

The differences between these paints are small, and it requires an eye for nuances and experience on pigments to notice them.
When painting, Arteza’s creamy paints are like family vehicles, easy to maneuver. Schminke’s gouache paints are more like sports cars, quick to react with water and more suitable for fine brushwork.
Traditional vs. Acryl Gouache – Reacting to Water
Some gouache paints are marked as acryl gouaches. It means that they are not opaque watercolors as gouaches normally are, but translucent acrylic paints. I had some Turner acryl gouaches (made in Japan), and you can see the difference below. Unfortunately, I didn’t have similar magenta tone, but the color doesn’t matter when testing how the dried layer reacts to water. Both Arteza gouache and Schminke Horadam bleed, Arteza a little more than Schminke. But acryl gouache doesn’t bleed at all!
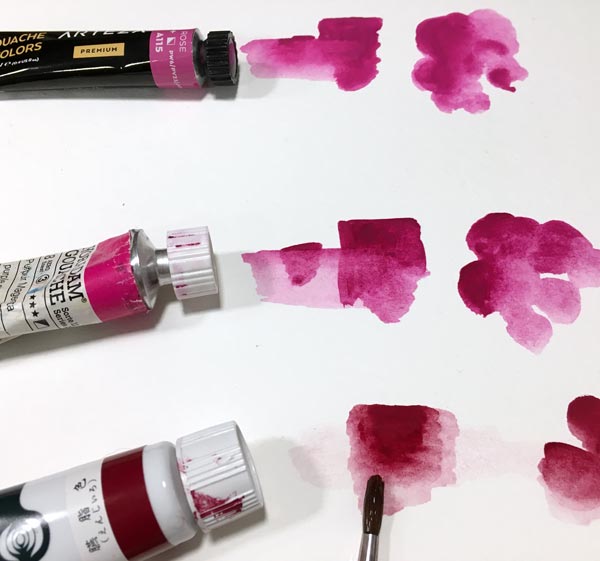
Bleeding is not necessarily a bad thing. Actually, I prefer paints that bleed because I often like to remove color in later stages.
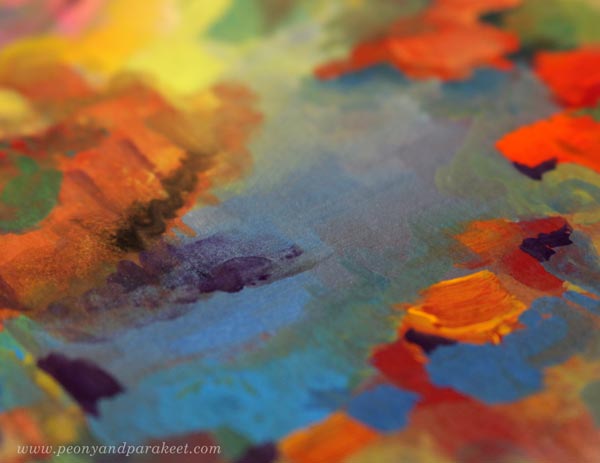
Bleeding wasn’t any problem when making this painting either. I used both thin and thick paint quite effortlessly.
I hope you enjoyed the video, and let’s keep creating!
Let’s share the passion of creating art!
Subscribe to my weekly emails | Welcome to my classes
Drawing Tutorial – Let’s Draw a Magical Crystal Ball
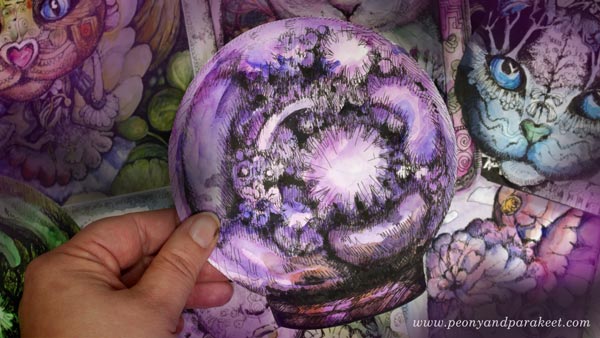
To celebrate my upcoming new class Magical Inkdom, I made a free tutorial about how to draw glass and create magical glowing effects. In the video, we will draw a crystal ball with a black ink pen and color the ball with watercolors. I hope you enjoy this little project and I hope to see you in Magical Inkdom too!
Magical Inkdom begins on July 8, 2019 – Sign up here!