Guiding Word – Choosing and Visualizing Your Word of the Year
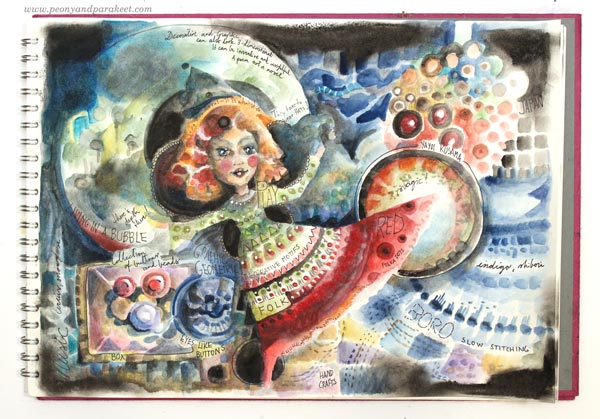
The year 2018 was groundbreaking to me. I was able to include things that seemed separate from my art in my art and build a new foundation for it. It strengthened my visual voice and style, but also, it felt more holistic than just that. I would say that my artistic identity got updated.
As a former software engineer, I see it this way:
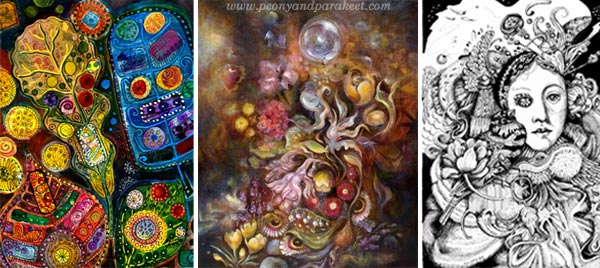
Peony and Parakeet 1.0 – intuitive circles and colorful patterns, 2012-2014
Peony and Parakeet 2.0 – from mixed media to fine art, 2015-2017
Peony and Parakeet 3.0 – fantasy illustrations, 2018 -?
I am not quite sure how to label 3.0 yet, but it definitely started last year and went into bloom during the Inktober challenge in October.
What’s Your Word of the Year?
About a year ago, I developed a process for setting artistic goals. I introduced it to my art community Bloom and
My word for 2018 was “Depth”, and now when I look back, it was related to my old desire to create fine art. But the process of exploring depth was like the symbol of yin and yan. It started a journey towards the opposite word “Play.”
The process of choosing a word and exploring it through art-making had a huge impact on me, so I decided to share it openly. Watch the video to define your word and to explore it more in depth!
Guiding Word – Watch the Video!
My word for 2019 is “Play”. I am looking forward to
P.S. As you probably noticed already, this website and my artist website has been updated! There are still things to adjust and add, but feel free to browse the new look!
P.P.S. I am running a free live webinar The Joy of Drawing on Jan 17, 7 PM GMT – 11 AM PST, reserve your spot here!
The event is gone but here’s the recording!
Drawing Jewels and Flowers – Free 2-Part Mini-Course
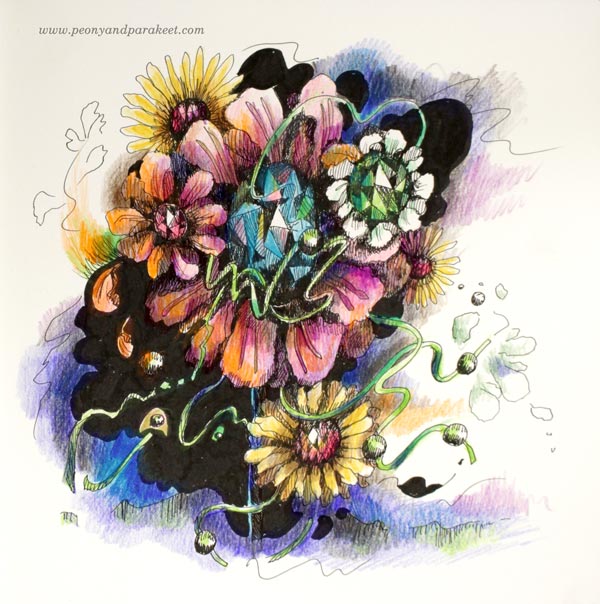
I have been working with a 2-part tutorial about drawing jewels and flowers. Part 1 was published last week, and Part 2 is now available too! I will guide you to create a gorgeous jeweled bouquet with just pen and paper. You can color it with colored pencils, felt-tipped pens, or watercolors.

Get the free mini-course! – Subscribe to my weekly emails and draw with me!
Abstract Portrait – Paint with Me!
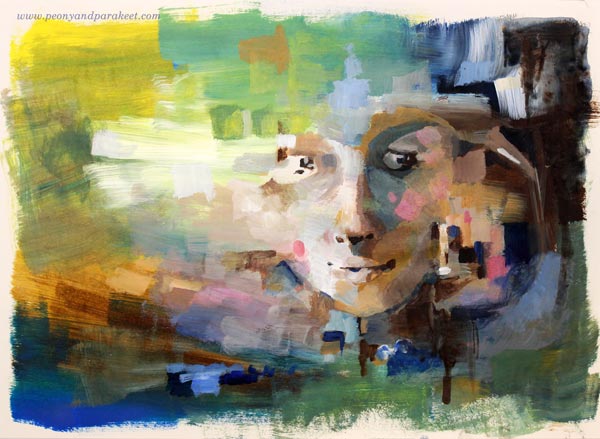
Here’s a quick abstract portrait from my sketchbook, painted with acrylic paints in 45 minutes. I didn’t use any reference photos for this one but just played with the shapes.
Create an Abstract Portrait – Watch the Video!
Get tips, ideas, and inspiration for your abstract portrait. Watch the video!
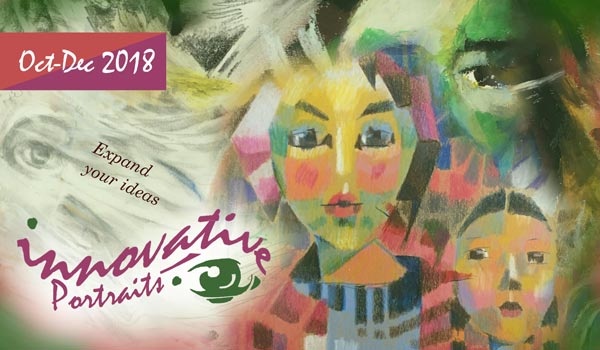
Innovative Portraits – Buy Now!
Innovative Portraits is about discovering new paths to painting and drawing portraits. Increase artistic looseness, find ways to get the proportions with ease, add more style by using shapes and colors, and invent ideas so that you never wonder what to put in the background. >> Buy NOW!
Expressing Mystery – Self-Portrait as a Fox
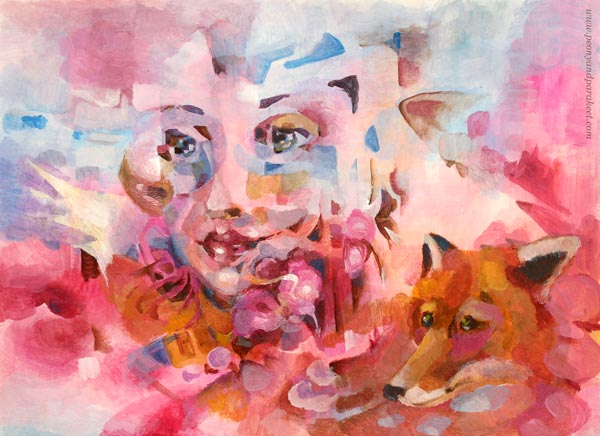
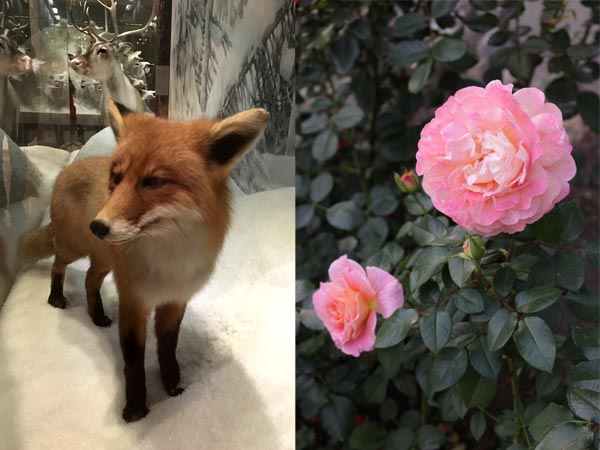
In my latest webinar, I showed some unconventional ways to make portraits. This week, I show how to build the sense of mystery for a portrait. Here’s my sample project, an acrylic painting that I made on a sketchbook. It’s called “Self-Portrait as a Fox.”
In Finnish, we have a saying “ketunhäntä kainalossa” – “to have a foxtail under the arm.” It means that someone tries to hide the true thoughts or goals, and you are noticing it. So it’s like a mystery that’s partly revealed without intention to do so. When building a mystery for the portraits, you somehow have to show that foxtail – to reveal a part of the mystery. Otherwise, the viewer doesn’t realize there’s any mystery at all. Think about leaving the fox out of the portrait above and just trying to express it all with the eyes. It wouldn’t have the same effect.
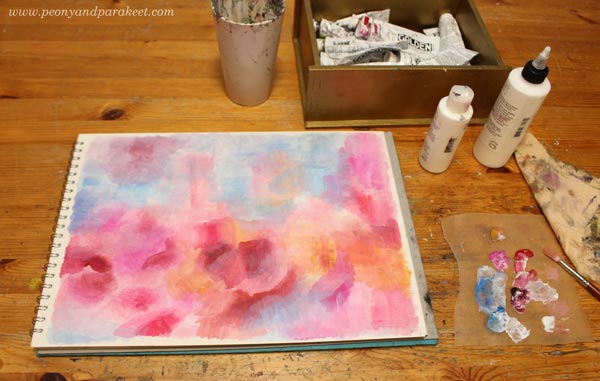
Expressing Mystery 1 – Start with a Mysterious Space
The lighting has a lot to do with mystery. Think about mysterious scenes in the movies – the light plays an important role there. Instead of trying to add spots of light after adding the face, start by painting the space where all happens.
Expressing Mystery 2 – Discover Facial Features
Once you have painted the background full of fun details, try to see a person there. You don’t have to see the whole face, but a cheek, an eye or a nose is enough. Add more facial features so that you can better see the face. Don’t outline everything. It’s a mystery, remember! The face should look like it rises from the background.
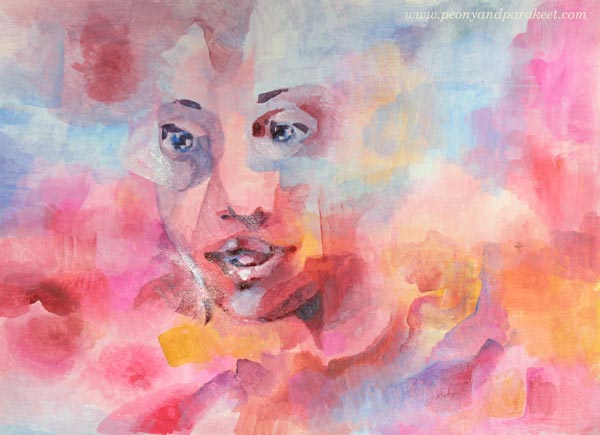
I rarely get the facial features to look mysterious enough at this point. I suggest that you don’t even bother to try. Just make it clearer where the person is. For this project, I didn’t use any reference images for the face. If you do, use the reference to get some ideas, but don’t make the face too defined.
Expressing Mystery 3 – Connect the Face and the Background Together
Now add more elements to the background. Add geometric shapes to outline hair and to dig out other interesting stuff. You don’t have to know the mystery yet. Keep the process mysterious enough!

To me, it usually happens that if I don’t know the mystery, I don’t have the idea of the facial expression either. I covered the mouth so that I don’t focus too much on that. Working with acrylics is easy because you can always add new layers.
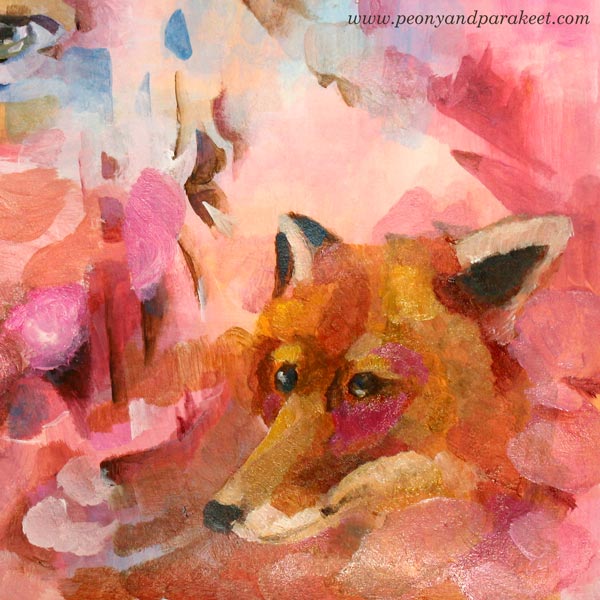
Expressing Mystery 3 – Add Symbolic Elements
Boost the mystery by adding symbolic elements that create tension for the person. I chose a fox and a rose.
To maintain the mysterious atmosphere, I painted the fox and rose petals so that they partly disappear into the background.
If you use reference photos pick just some details that you replicate more carefully. Put the reference photos away after a while so that they don’t dictate you and reduce the mysterious feel.
Expressing Mystery 4 – Finish the Facial Features
Build connections between the elements and the face by adjusting the facial features. Think about something happening at the scene and the reaction that it embarks. Here, the woman and the fox react differently. The woman looks surprised, but the fox doesn’t. If I had continued with this setting, I would have also added the element that causes the reaction toHowever the picture.
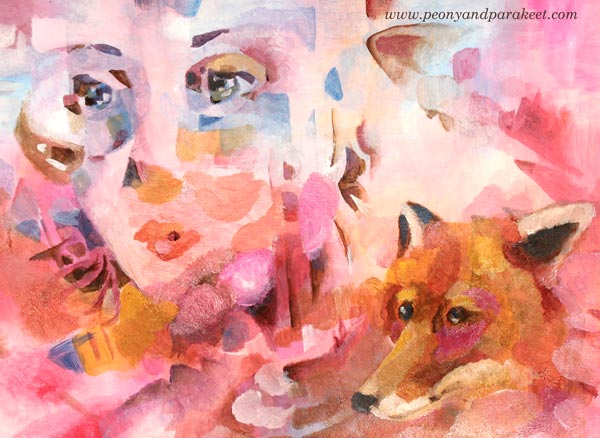
However, I was not satisfied with the idea of the woman and the fox reacting differently. So I repainted the nose and the mouth and made the face shorter so that the woman looks as conniving as the fox. Now the focus is on what they think and initiate.

Expressing Mystery 5 – Repeat Some Shapes and Colors
To make the painting more unified and to highlight the mysterious feel, add similarities between the biggest elements. I made some of the triangles resemble the fox’s ears, and continued the fox so that there’s the tail too. The tail is very similar to the woman’s hair. This kind of vagueness – when the viewer doesn’t fully see what belongs to where – also adds to the mystery.

I hope you enjoyed these tips, and hopefully, I will see you at Innovative Portraits as well!
Innovative Portraits – Refresh the Way You Make Portraits!
In the new upcoming class Innovative Portraits, we will discover new paths to painting and drawing portraits. This class is about increasing artistic looseness, adding more style by using shapes and colors, and inventing ideas so that you never wonder what to put in the background. >> Sign up NOW!
Innovative Portraits includes a 3-month membership in my art community Bloom and Fly so you will also get monthly live sessions and weekly feedback Tuesdays. >> Sign up NOW!