Doodler’s Sampler Step by Step
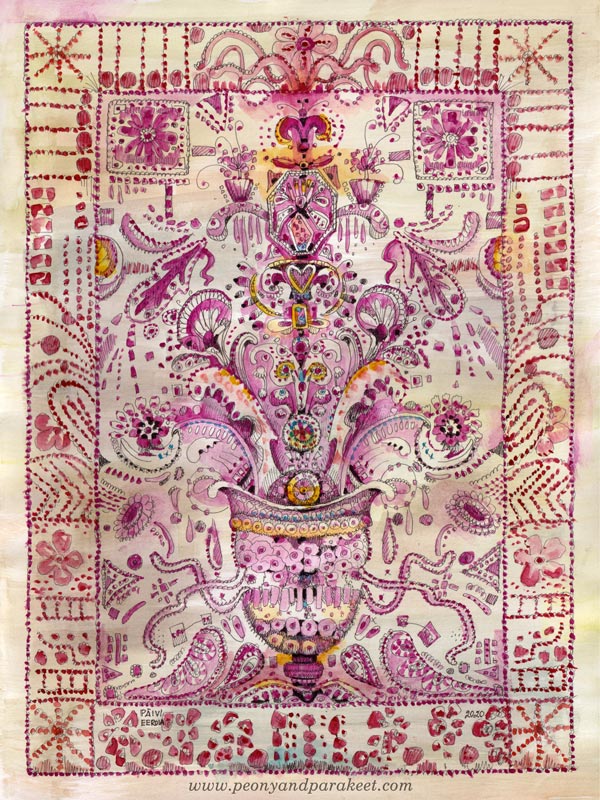
I have always loved antique embroidery, and it inspires my art too. This week, I invite you to treat your pen as a needle and doodle the look of the precious hand-stitched fabric. My drawing – I call this Doodler’s Sampler – is 9 by 12 inches but you can make a smaller or bigger piece with these instructions. The best paper for this is Bristol paper. It’s smooth and nice to color with watercolors.
Step 1 – Draw a Grid
Because we aim for ornamental stiffness, a grid helps to place the elements. Use a pencil so that you can erase the lines before coloring. Start by outlining a space for a frame. Then divide the rest of the paper so that they help to place the main elements.
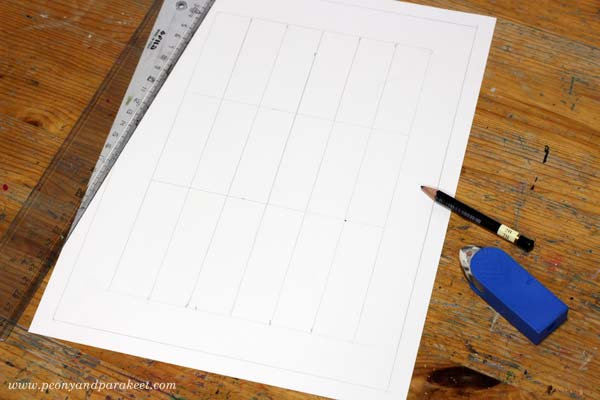
I wanted my Doodler’s Sampler to be symmetrical, so I drew a vertical centerline, and then divided the two halves into three parts. Another idea that I had was to have a vase of flowers. So I drew horizontal lines that mark each third, and the lowest third is reserved for the vase.
Step 2 – Sketch the Structure
Old samplers are filled with decorations but at the beginning, it’s enough to sketch the places for the biggest elements and their shapes.
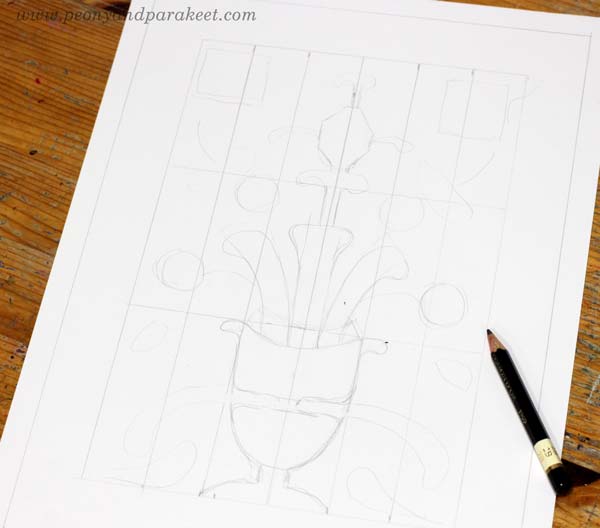
I wanted to have something rectangular on the top corners, the vase on the bottom, plant-like organic shapes coming out of the vase, and then an angular jewel-like thing on the top of the ornament.
Step 3 – Doodle and Decorate
Pick a thin-tipped drawing pen, that has permanent ink, and start doodling! Make more shapes and fill them with circles, rectangles, flowers, hearts, anything you can think of!
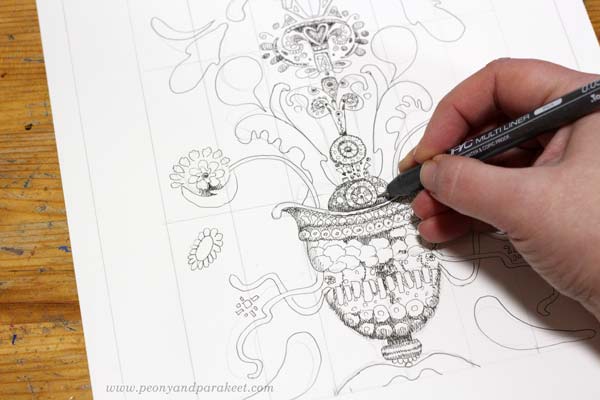
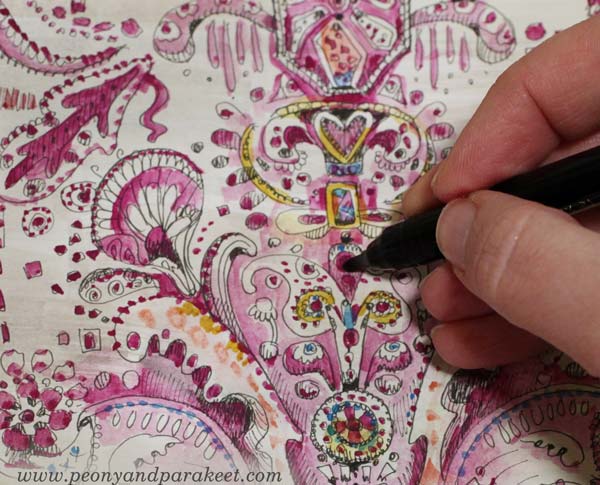
My pen is Copic Multiliner, tip size 0.05. I add shadows to my doodles so that they don’t just outline the shapes but there are darker parts too.
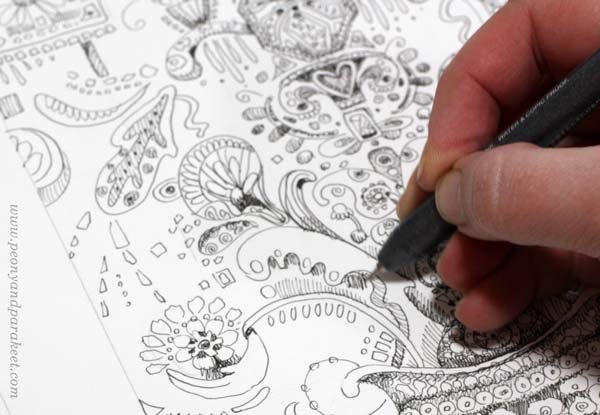
I make the decorative border simpler so that it doesn’t take the power away from the centerpiece. Trembling lines look more decorative than straight ones.
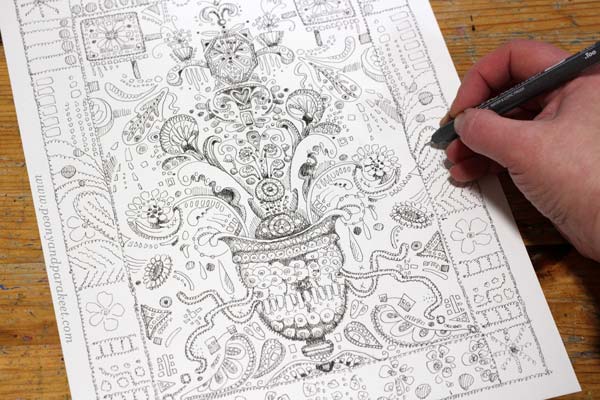
Here’s my Doodler’s Sampler after Step 3, ready for coloring.
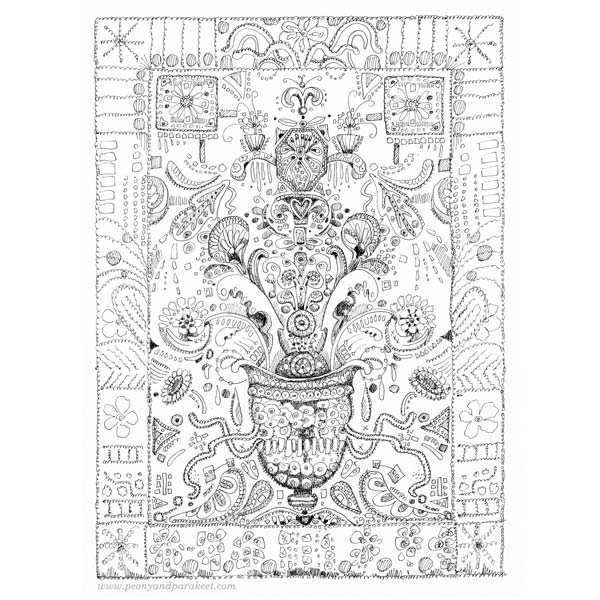
Step 4 – Color the Background
You can use any supplies for coloring, but in my opinion, the softness of watercolors complements the sharp black lines best. Start the coloring by adding some color to the background.
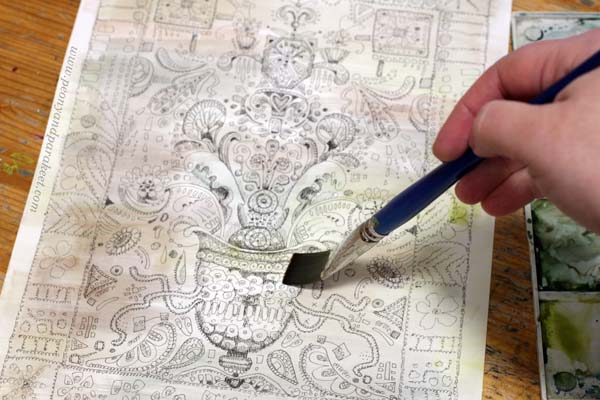
I use very little pigment and many tones so that the background looks like old antique linen.
Step 5 – Color the Doodles
Pick one main color for the sampler. My choice is cool carmine red. When coloring, add more decorations like dots and other decorative shapes. You can also color around a shape instead of inside the shape.
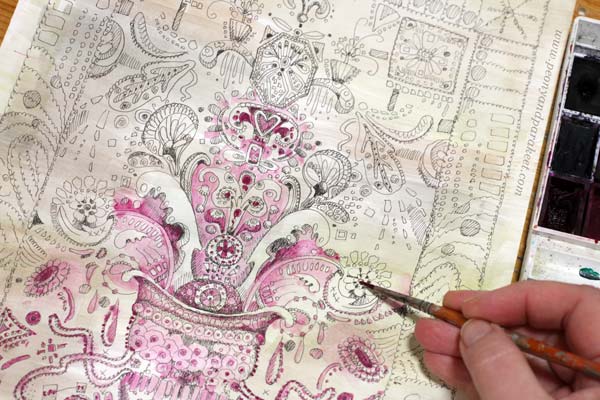
Pick slightly different tones for the frame. I use warmer red and a little bit of orange.
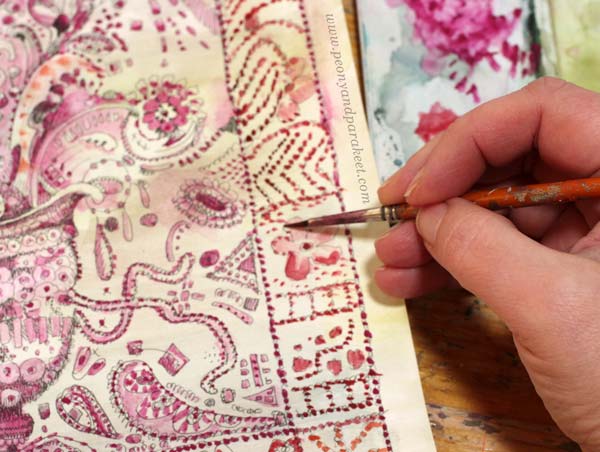
When you have colored the sampler with a very narrow color scheme, make it more lively with some new tones.
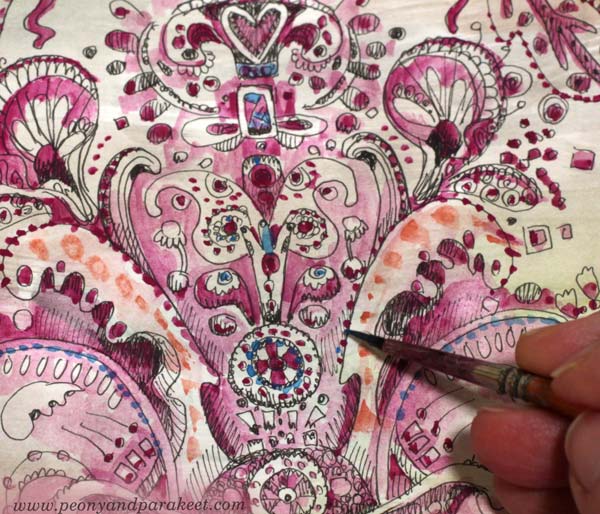
I added blue and yellow, but very sparingly.
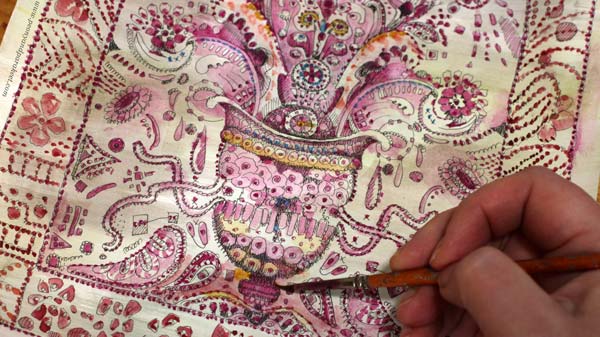
You can also highlight the main elements by making the darkest areas pitch black.
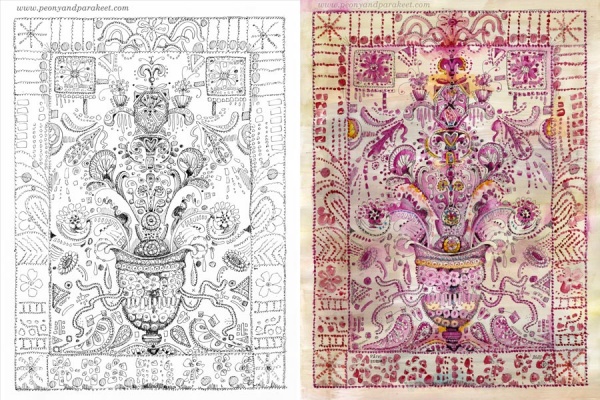
Here are the black and white version and the colored version side by side. Click the image to see it bigger!
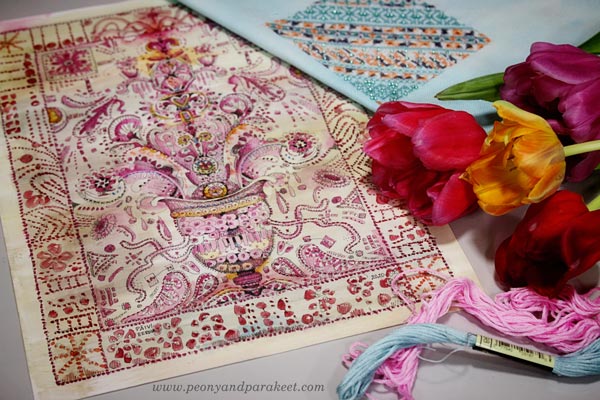
Doodler’s Sampler – For the Love of Flowers and Hand-Stitching
Henri Matisse has said: “I don’t paint things. I only paint the difference between things”. I think that to me, it goes like this: “I don’t paint things. I only paint the similarities between things.” So here’s for the love of flowers and hand-stitching!
Draw more with me – Check the courses Animal Inkdom and Magical Inkdom!
18 thoughts on “Doodler’s Sampler Step by Step”
Comments are closed.
Love this technique! It’s lovely and I love to doodle and do zentangles which are a similar technique to this.
Thank you, Pam! Have fun!
This is so beautiful!
Thank you, Rae Lynn!
Paivi, your Doodler Sampler arrived at just the right time for me. I have been feeling stuck and lost when I think about what type of art to work on. This Sampler was just the right thing to get me inspired. I’m getting started on my own Doodler’s Sampler today!
How wonderful to hear that I was able to help! Have fun!!
Awesomely beautiful! Thank you dear and so talented Paivi!
Thanks, Laura!!
This looks cool! I can’t wait to try this! Love it.
Thank you, Cheryl! Have fun!!
Hi Paivi. I love your art and as my passion is embroidery this post has just inspired me to apply our local folklore traditions in something similar. Thank you for your lovely blog!
Thank you, Celia! I am so glad this post inspired you to dive deeper into your roots and express through folk art!
I love the Doodlers Sample design, what a great idea to make something beautiful, it will look so nice in a frame!
Thank you, Alex!!
Good morning, Paivi…This is such a good idea! Thank you so much for sharing it. I think I’m going to start doodling pages for when I need something to add to a work in progress. I remember making those smaller doodles in a class I took from you awhile back. I have a collection of them that I still use in my artwork. This will just be in a bigger format. As always, you know how much I love your art…it’s perfect in my eyes. You’re one of my favorites, truly. Have a wonderful day…🤗❤️🙋
Thank you, Sue! Doodling is a lot of fun, and doodled papers always “sell” quickly!
I visited your blog years ago (I think) but change of computers, change of life (moving) and all that made me forget about it/you.. glad I bumped upon your blog again, and how inspiring this ’embroidery’ post is, thank you! Hug from the Netherlands!
Thank you, Marit! Welcome to subscribe!!