Mimicking Embroidery with Colored Pencils
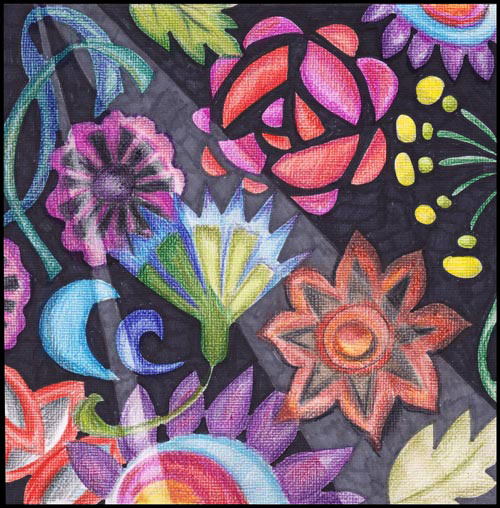
With summer, I have had more time for hand embroidery. After holding a needle in my hand, I got the idea to embroider with the colored pencils too.
Mimicking Embroidery – A Rough Sketch
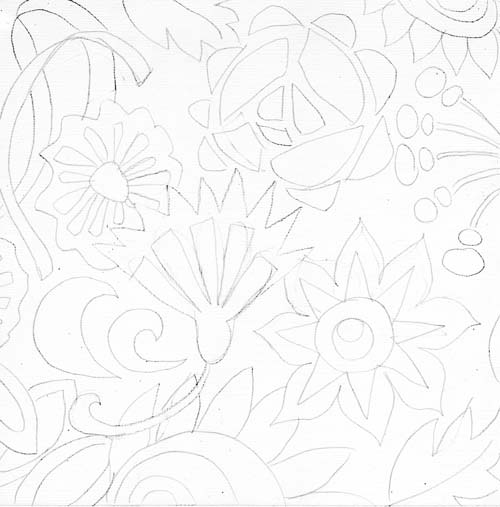
I began with white 8-by-8 inches sized cardstock. If you look closely, you can see some texture on the surface. I used a white weave textured cardstock turned upside down so that the surface is smooth enough for colored pencils. Before picking up the colored pencils, I made a rough sketch of the shapes first.

Coloring the Shapes with Colored Pencils
Remember these when using colored pencils:
1) Keep the direction of the strokes the same. Especially if you want to mimic embroidery as I have done here.
2) Control the color intensity with the number of strokes. When coloring, press lightly and create thin layers of color.
3) Mix colors by adding thin layers of various colors. Mixed colors always look better!
4) Keep your pencils fairly sharp. If you have an electronic pencil sharpener, use it to make your pencils last longer.
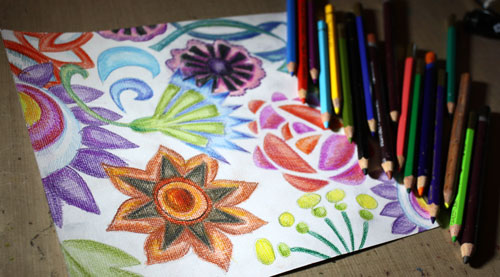
I have tried several brands of colored pencils but here are the ones that I like most at the moment:
1) Garan d’Ache Pablo (soft waxy finish)
2) Derwent Colorsoft (work great on watercolored surface)
3) Derwent Inktense (water soluble)
I have also heard that Prismacolor colored pencils are great.
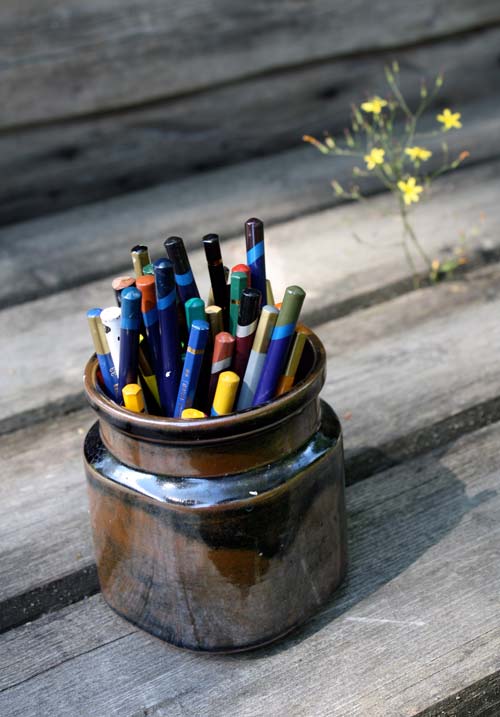
I store my pencils in a jar. Whatever brand they are, they all go into the same jar. This way they take very little space and I can keep them visible all the time. When I see them, I will use them!
Coloring the Background with Markers

After coloring the sketched shapes, the background was colored with black and dark gray markers. To emphasize the fabric look and to make the background interesting too, I created lined areas for the shades. I aimed for an impression of the light shining on the fabric cloth. Using markers created a contrast between the soft colored shapes. (Copic markers used: 100 black and C7 Cool Gray)
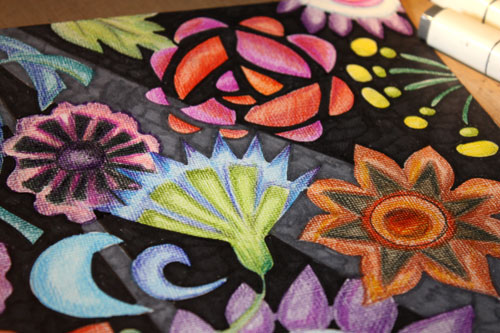
Darkening the Shapes
After creating the background, I began to darken the areas of the shapes that were on the black background. The darkening shows well in this second artwork which I made after the first one.
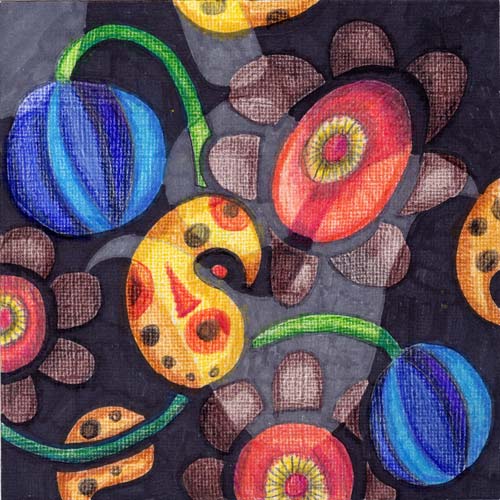
After finishing this, I realized that my recent activity of picking up lily leaf beetles from my garden had lurked into my art. Oh, my! There they are, those orangy yellow swirls!
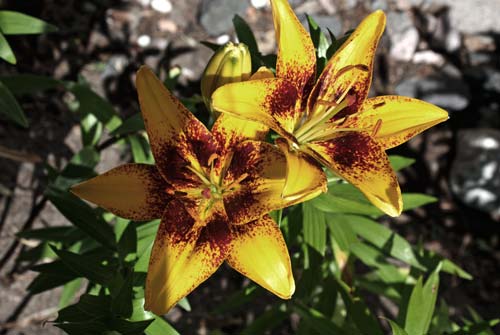
The first lilies have just opened… Hopefully, my subconscious will replace the images of the leaf beetles with the lily flowers!
Express more with colored pencils: Buy my e-book Coloring Freely!
10 thoughts on “Mimicking Embroidery with Colored Pencils”
Comments are closed.
I love this – I will have to try it – I don’t use my colored pencils nearly enough. Thanks for sharing this process!
Thanks, Gina, have fun!
Kiitos Päivi taas upeita kuvia. 🙂 Pidän väriesi käytöstä aivan valtavasti.
Kiitos, Anu-Riikka, thanks!
Looks beautiful Paivi, great work!
Thank you, Lisa!
My first love was embroidery. I went from cross stitch to crewel and loved the way the crewel yarns blended. Make one long stroke than one short stroke. That way the next color blended in perfectly. I am going to try this with colored pencils. As usual your art is so inspiring. I do some, but they never turn out like yours. At least I am trying. Keep up the good work!
Nancy, thanks! I also love to vary stitches when embroidering on fabric. I am currently working with a sampler project which I will show in the blog soon. I find embroidery and drawing very similar practise. So let your embroidery affect your drawing and vice versa!
Thank you, thank you! This sounds like a very creative new exercise. I cant wait to get started!
You are welcome, Femi! Have fun!