When you don’t want to spend too much time on deciding what to create, a portrait is an easy choice. This blog post is for you who struggles with stiffness when drawing faces and feel the lack of imagination when creating mixed media faces.
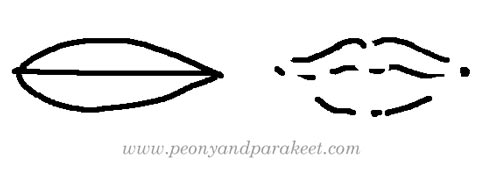
1) Draw Curvier and Shorter Lines
Long straight lines or arcs and fully outlined shapes look stiff no matter what you create. Cut the lines, make them curvier and change their thickness. This way you express light and shadows in a 3-dimensional shape and let the viewer use the imagination to complete the shape.
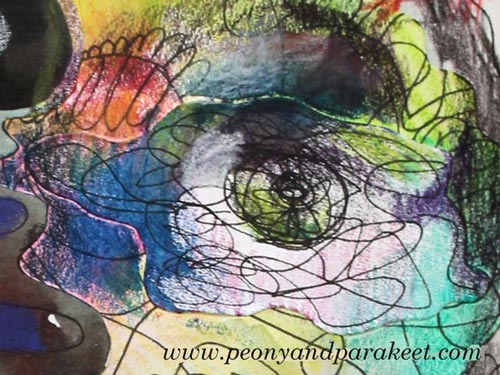
You can also use freely exploring line to create openness and softness as I have done in the eye below.
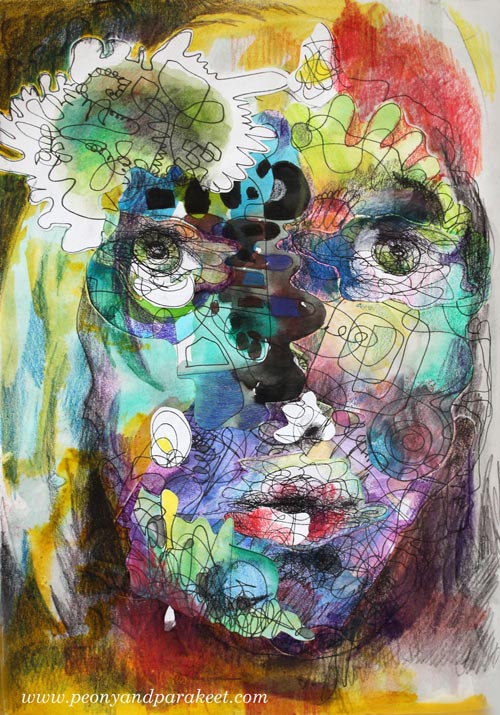
Here’s the full portrait:
2) See the Light and Shadows as Shapes
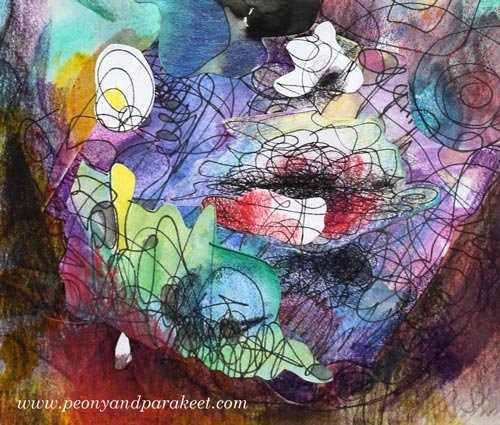
When coloring, instead of filling the closed shape with color, create a composition of flowing shapes. If you are creating mixed media faces, using collage pieces, a tiny detail like lips or a chin can be constructed from several organic pieces.
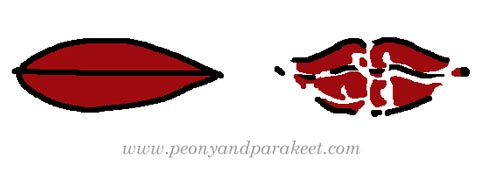
I often think about light as water that is poured on the face.
3) Forget The Stereotypes – Focus on Expression
Stiffness is often a result of the stereotypes we have in our minds. We have a certain preconception how the lips should look like, what is the color of the skin, how the eye is constructed, and so on. Even if we used reference photos, these stereotypes often take over. But we can break the stiff ideas by steering our minds to more creative directions. Instead of thinking about drawing lips, think about drawing a landscape. Instead of trying to control the big picture, think about facial features as miniature abstract art pieces in a larger puzzle.

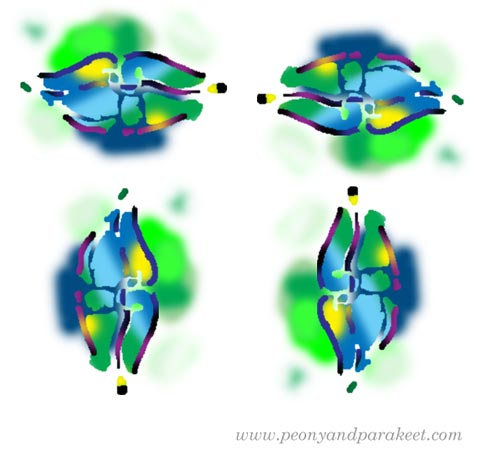
I often change the orientation of my piece while working. It helps me to focus on expression and to check that my miniature art piece looks good from all directions.
These Secrets for Mixed Media Faces Originate from the 16th Century!
These are not new ideas. If you study portraits from 16th century very closely, you’ll see that the painters’ knew how to break the line, leave less important details less defined, use a wide range of colors, and make each area of the painting work on their own in addition to creating a seamlessly flowing stream. Here’s a detail of my recent painting where I have used Boccaccio Boccaccino’s painting about Gypsy Girl as one of the reference images. (I will blog about this painting later!)

So you can apply these secrets to any style!
Liberated Portraits in Practice
Knowing these things is good but when you want to integrate these kinds of formulated ideas into your art, seeing how to get started and getting feedback to notice the blind spots can be ground-breaking. In Lesson 4 of Inspirational Drawing 2.0, I guide you to create liberated self-portraits without reference images. I show you how to create collage pieces and compose mixed media faces and draw portraits by coloring with colored pencils only.
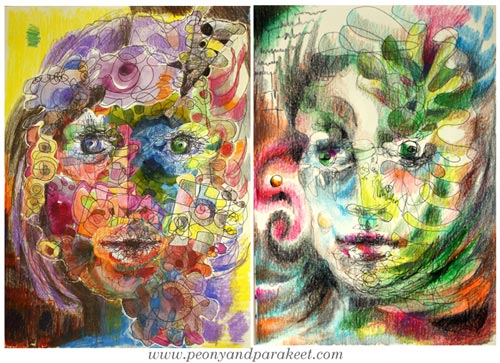
Start creating art that is full of imagination and expression!
>> Buy Inspirational Drawing 2.0!


Your colorful faces are beautiful.
Exotic!! Love em!!
So wonderful. You have filled me with inspiration to have color explosions. Thanks so much. Carol
Can’t get over how beautiful these are! I just began drawing faces and the first time I did it, it was very very similar to how I’d draw them when I was little. But I was able to make a few adjustments and draw better. Would love to take your drawing class and learn more. I have found a life of beautiful peace in drawing and painting and would love to stick with it!
What a novel approach to details – considering the lips as a landscape. Preconceptions interfere with reality so easily that we don’t even notice. Landscaped noses would be fun to draw, also. I can imagine skiing downhill at the same time. You remain the most thought provoking artist I know. Thanks!
Great tips Paivi! Thank you!
An extremely good help . Just what I need making my artwork.
As always a very clear article. Thank you Paivi.
Wonderful blog. Love your work and instruction.
As always, thank you Paivi!
I love this thank u so much Paivi…
Thank you.