How to Make Folk Bags
Since 2008, I have had a dream: teaching how to design and make folk bags. When I invented the idea of the folk bag, I drew a sketch. That sketch was the first piece in the pile of documentation gathered for the workbook.
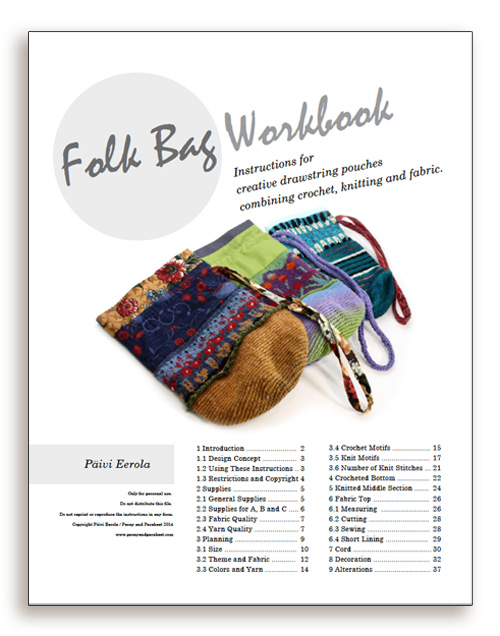
The workbook has 40 pages and about 100 images. You will be guided from the planning to the making of unique folk bags which you can keep, give away or sell.
I feel so happy and relieved at the moment!
The book includes instructions for three folk bags: one small with stripes, another large with solid-colored fabrics and third medium with printed fabrics. But the best thing in the workbook is that it guides you how to create unique bags in various sizes. Starting from choosing the theme and fabric and ending with setting the final decorations in place!

Buy the book for 15 euros (about 18.50 USD) here or from my Ravelry store
Writing a Craft Pattern
At first, I should probably give you a warning: I am in the middle of the chaos, this not so organized as my posts usually are! With this post, I invite you to the process of writing a craft pattern. I have had this idea for 6 years and it has become hugely important to me.
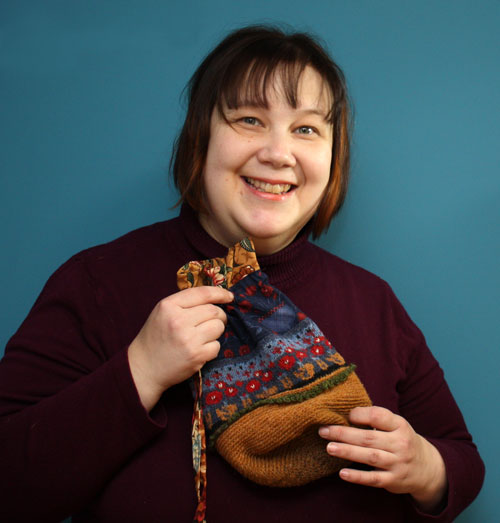
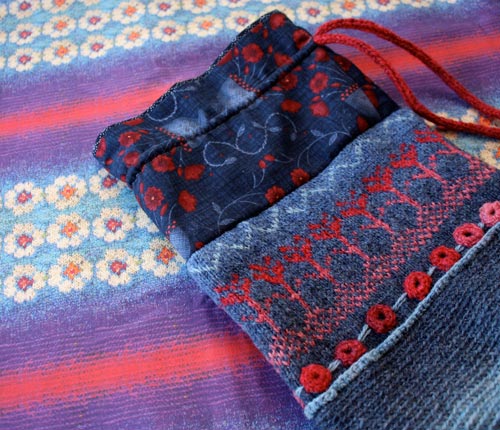
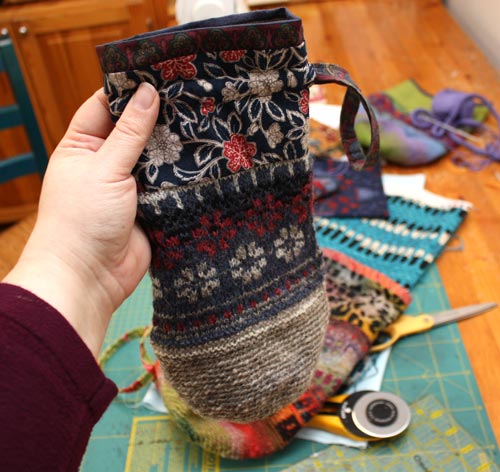
I designed a drawstring pouch which combines yarn and fabric in 2008. I have made tens of those bags, which I call folk bags, during the years and dreamed about writing instructions of how to create them. Within years I have learned a lot of making these bags. What first started a simple idea and simple sketch of a pattern, has become much more. It became clear when I began working with the pattern that I won’t be writing a regular craft pattern. I am writing instructions and formulas about how to design and customize folk bags so that you can make your own unique bags.
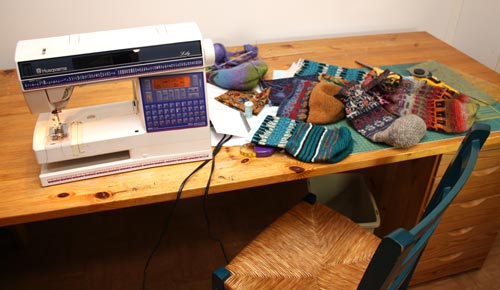
Writing a pattern is not just writing. I have to test each sentence for many times. So I need to actually make more bags while I am writing. Going to the fabric stash in the morning feels as inspiring as grabbing the pens and paints. What I find challenging is to go back and forth from knitting and sewing to writing. I do not know if it was a good idea to make the pattern both in English and in Finnish – and write the both language versions at the same time! Sometimes I get so mxed up that I have to translate the most simple words from English to my mother tongue Finnish! The good thing with working with two languages at the same time is that the instructions get checked much more carefully.
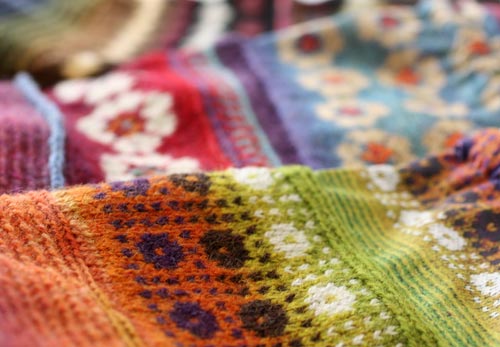
I knew I had taken a lot of photos of my bags during the years. It seemed to be a good thing. All the ideas that I have had and that had been implemented are recorded. Furthermore, I have a special folder in the photo organizing software where they all are. And yes, that’s great. But there are over 500 photos plus the new ones I have took during the writing. I need to pick the best images for each chapter and then process them. There’s still 250 photos to go through and few more to shoot.

After all this, I still have to confess that my heart sings when I am writing the pattern. I hope that with this work I am able to spread more joy than if only I made the bags. I wish that there will be more people experience the joy of both making the bags and receiving them.
I hope to get the pattern published in this month. I already have finished many chapters and soon I will begin to insert the texts and images to the desktop publishing program. The working title of the pattern is Folk Bag Workbook. It will be available for purchase in my web site and at Ravelry.
Next week I have more news, also textile related in a way!
Make Samplers to Save Bits and Pieces

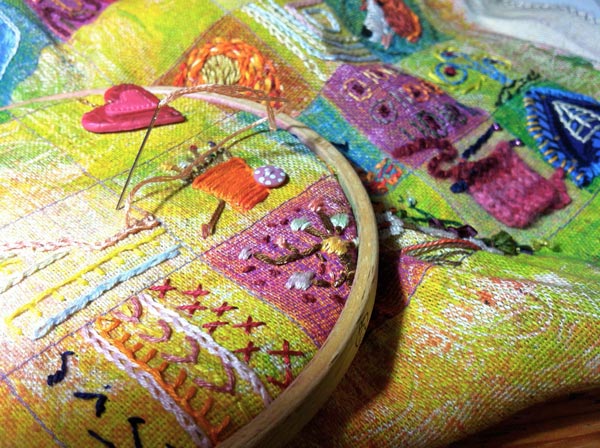
My sampler madness began when I found an unfinished embroidery project. I had started it two years ago on an online course called Happy-Go-Lucky Stitchalong. It was led by Amy Powers and the goal was to embroider a sampler showing all the things that make you happy.
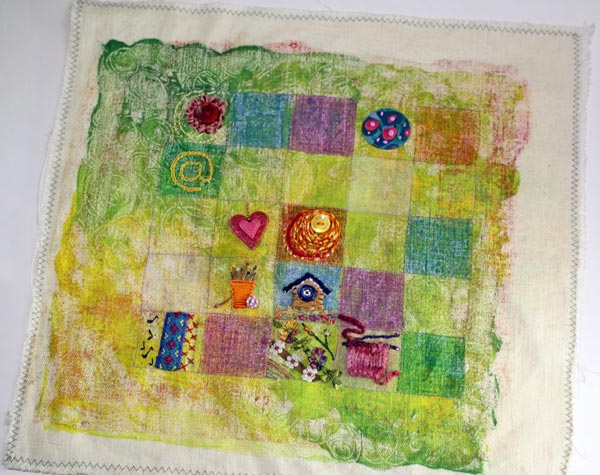
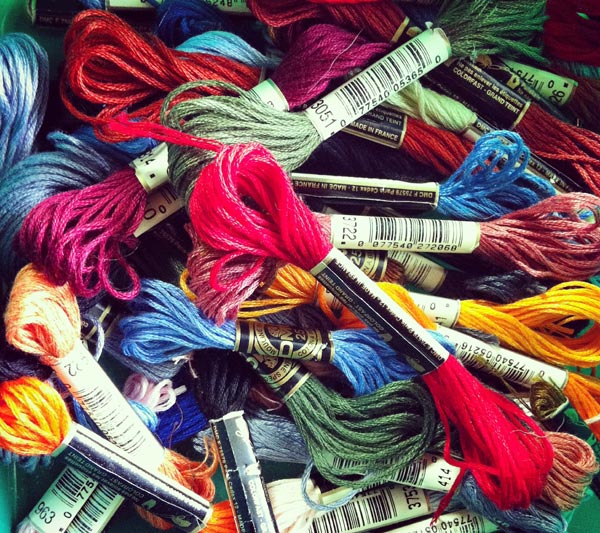
It was only a two-week course and I got some more squares done than what is shown here but there was still plenty to go. I had dyed the fabric with monoprinting method and quite liked it. I was not happy with all the embroidery that I had made but I felt compelled to finish this project. The embroidery floss I had to finish this looked so tempting!
So I began to work little every day for a couple of weeks. Some of the squares were remade and some were complemented with extra stitches.
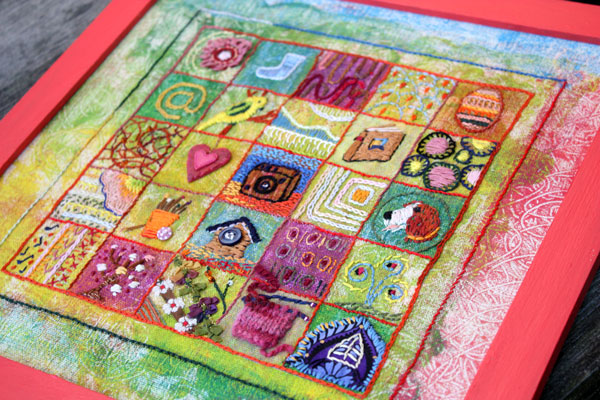
In the end I added some more details to the background fabric using the same method than in the beginning. By using a glass plate and textile dye I was able to prints some more color and doodling to make the result even more interesting.

I painted the frame with bright coral red to create an athmosphere of hot summer days (which I love and which are all too rare in Finland).
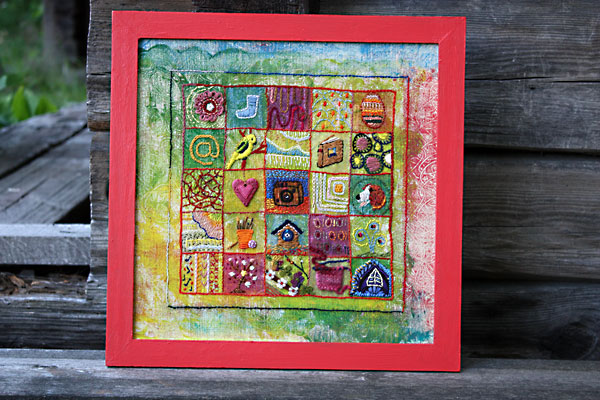
I am pretty happy with the finished piece. Can you spot a peony and a parakeet there?
While stitching the sampler, I was thinking about samplers in general. They can be really handy of saving things. Even virtually! Isn’t Pinterest like a big sampler too?
I chose not to spend an extra hour at Pinterest but make a stamped sampler showcasing some of my favorite stamps.
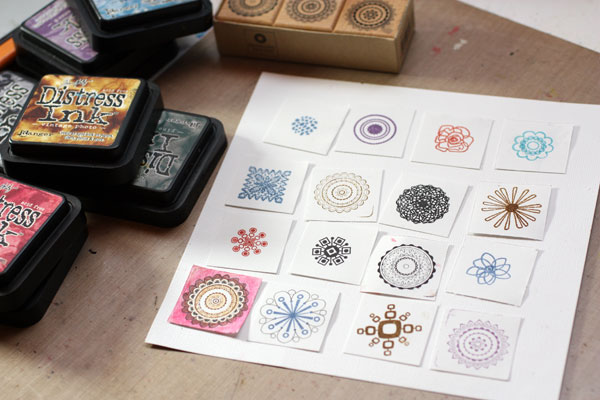
Folk style suits well to samplers so I decided to make a sampler that reminds me of folk costumes. I doodled around the stamped images to get extra details. Then I colored them with colored pencils and markers.

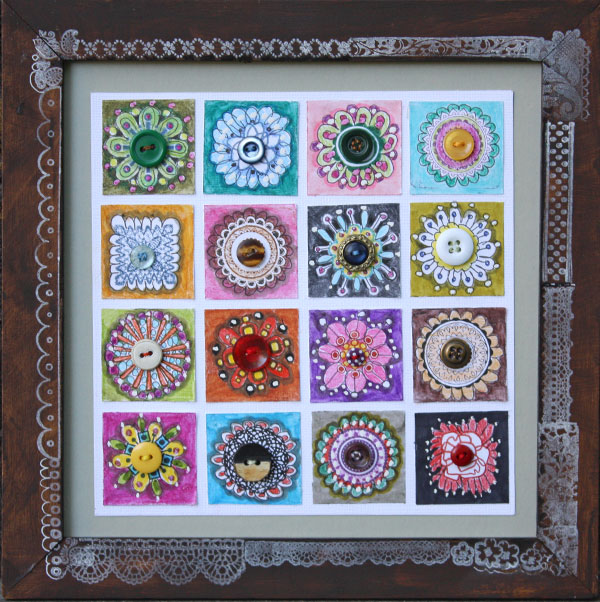
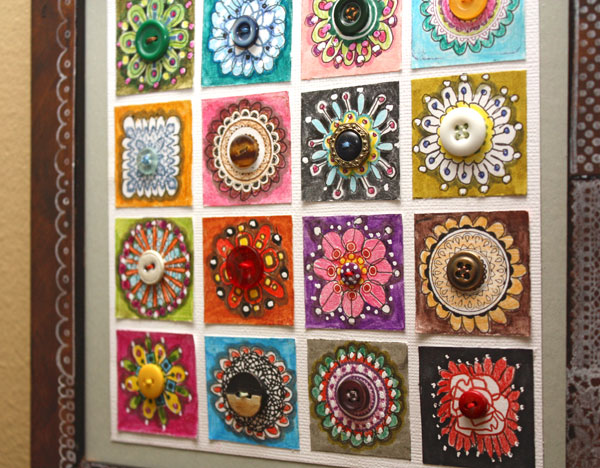
Thinking of folk costumes, I got the idea of adding buttons in the middle of each square. They all had to be different, of course. That way they would repeat the idea of a sampler too.
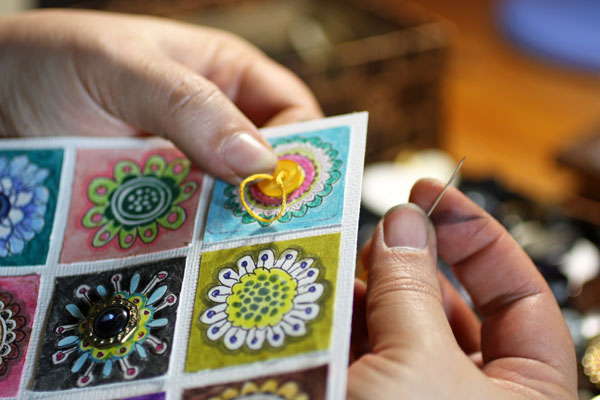
Before sewing the buttons I had painted the frame with faux antique paint. Many folk costumes use a lot of lace and ribbons so I picked all the stamps which were like them. Luckily I had so many that I was able to use each once and get the decoration around the frame.
While making this sampler I got the idea of a sampler made from handdecorated papers. Wouldn’t it be cool to have an art journal page showcasing the scraps of papers? Or just coloring and drawing 9 squares while on vacation, one per day and then gather them into a sampler. Or giving each family member a square … The possibilities are endless!
Let me be your art teacher: Subscribe to my weekly emails!
Fabric Collages

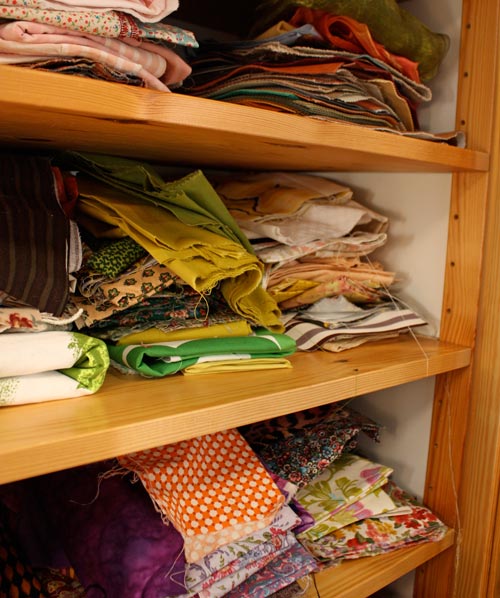
The idea for this card came from the pile of fabric scraps that I have. I began to wonder: could I use these instead of papers to create fabric collages?

Fabric Collages – A School Project from the Past
I also remembered one happy moment from the childhood. I was about 10 years old. A teacher asked us to bring fabric scraps to school. We were asked to cut the fabric into pieces and create a collage from them. My schoolmates were not excited but I was thrilled. I cut the fabrics into tiny pieces and began to glue them on a paper.
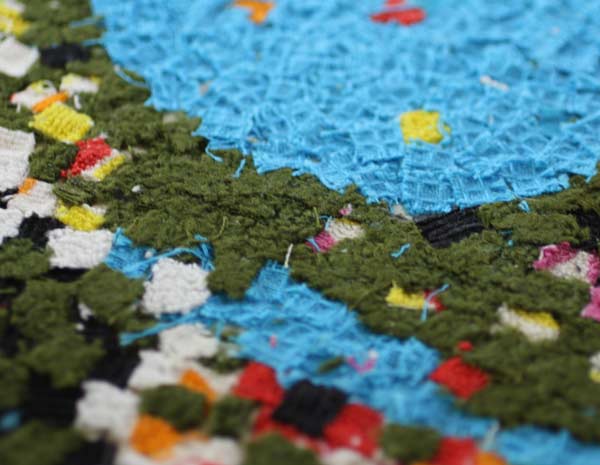
When I had finished the collage, I was very pleased with it. I had also had such a good time. Little did I know that I would be cutting tiny pieces whole my life – that the moment I picked the scissors was to follow me many times afterwards!

1) Cut and Glue the Fabric Pieces
The supplies for fabric collages are simple: scissors, glue, paper, fabrics.

2) Add a Layer of Gel Medium
Because my collage was small, I wanted to add some fine details and extra layering. To be able to do that, I covered the first layer with the gel medium. When dried, I would be able to doodle with markers and create dimensions by adding more layers.
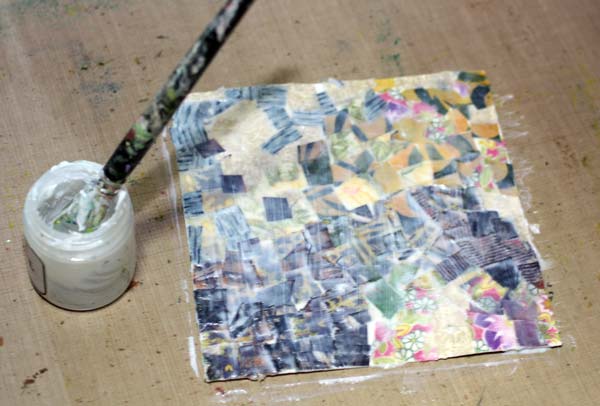
My favorite is Golden Soft Gel Gloss but any gel medium will do. Even if I am not a big fan of buying more stuff, purchasing this is a good investment. You can use gel medium not only to create surfaces but also glueing paper pieces when making paper collages.
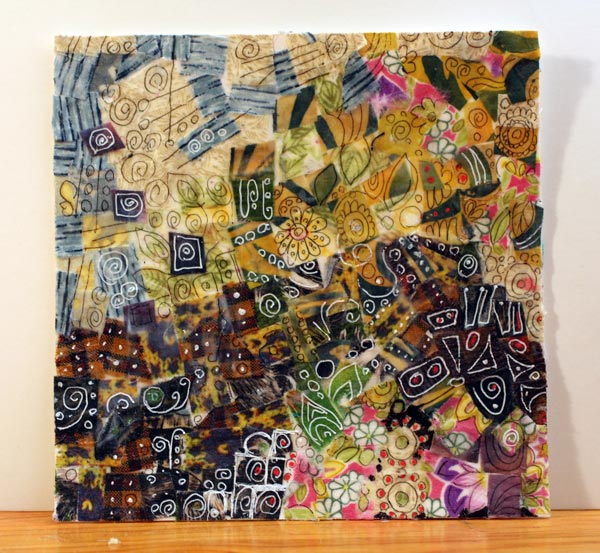
3) Add Doodling
When gel medium dries it becomes transparent and you can doodle with thin markers or gel pens on it. Make sure to dry it first throughly!
4) Add More Details From Fabric Pieces
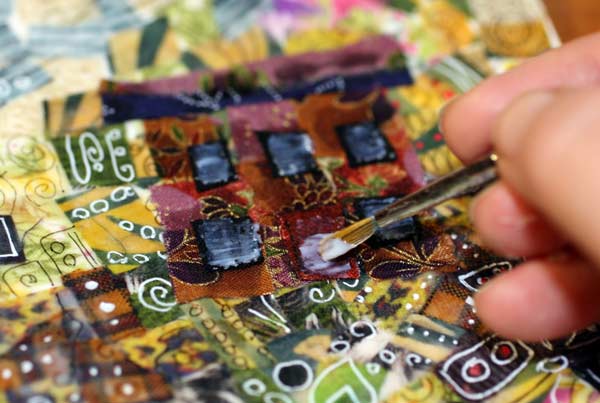
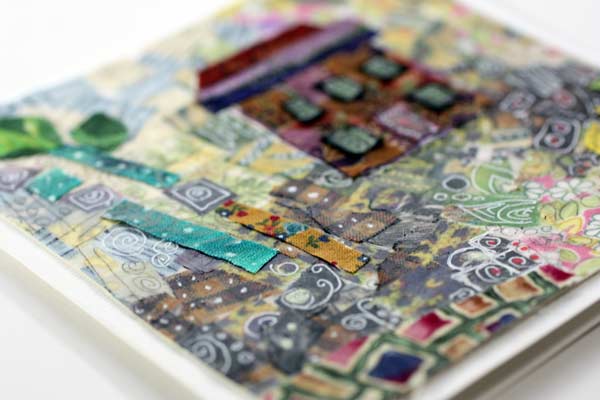
After doodling on the first layer, I wanted to add details like the house in the middle. After constructing the house with fabric pieces and glue, I added gel medium to the details to add some doodling on them.
The photo below shows how the fabric is layered. A part of the card is covered with gel medium and feels like plastic. There are also fabric pieces without any coverage on the top and they feel soft.
You do not need a sewing machine to enjoy working with fabrics!
Let me be your art teacher: Subscribe to my weekly emails!