Art Supplies and Emotions
This week, we ponder what kind of feelings and emotions our art supplies raise in us.
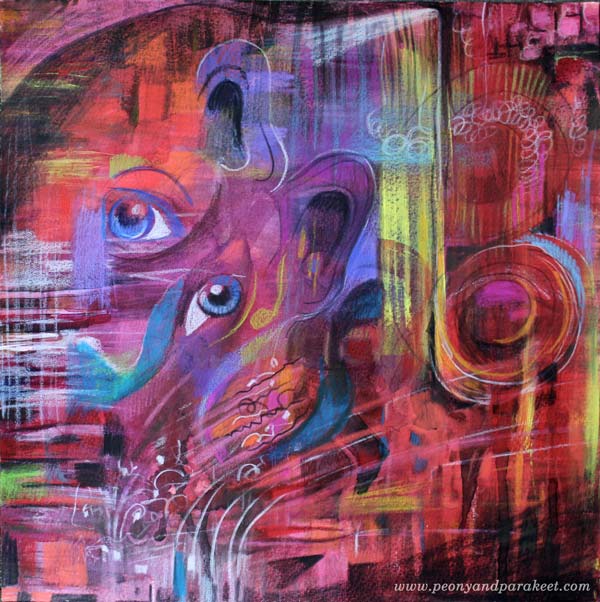
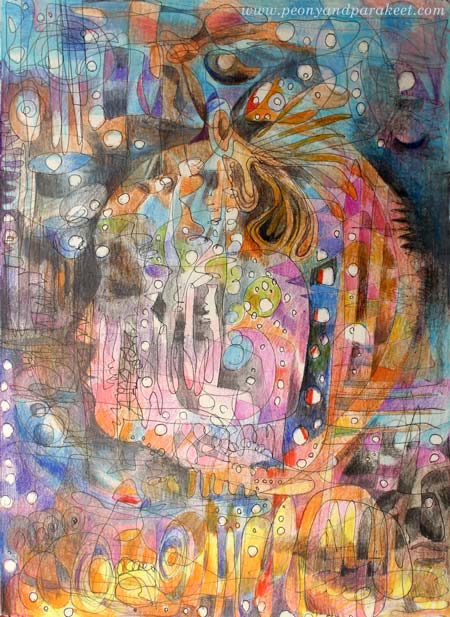
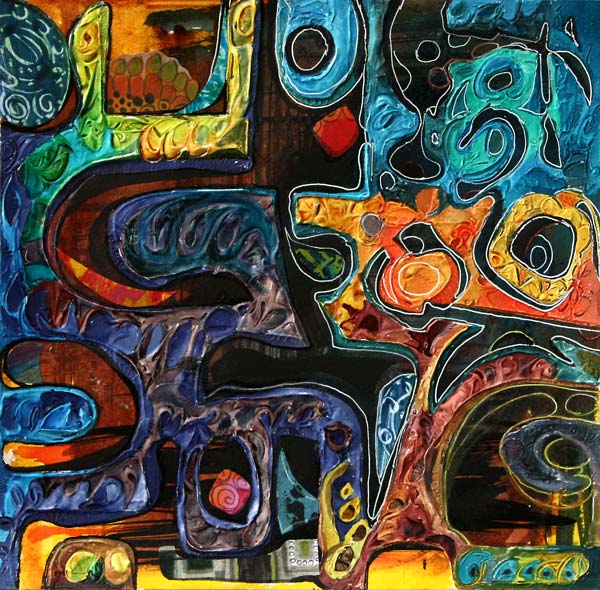
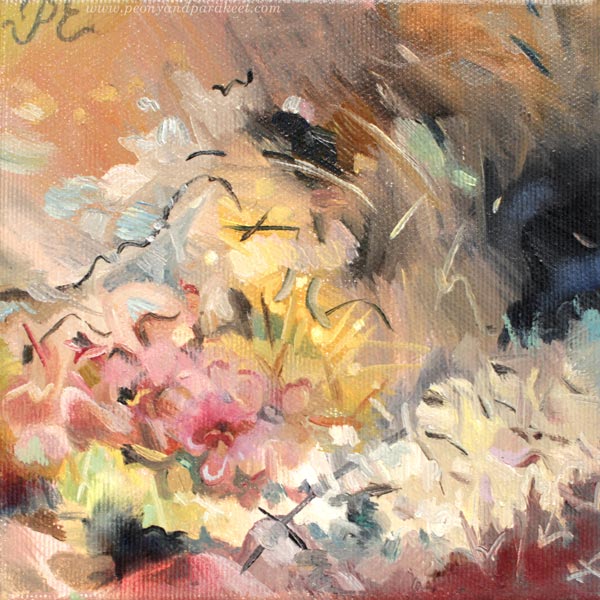
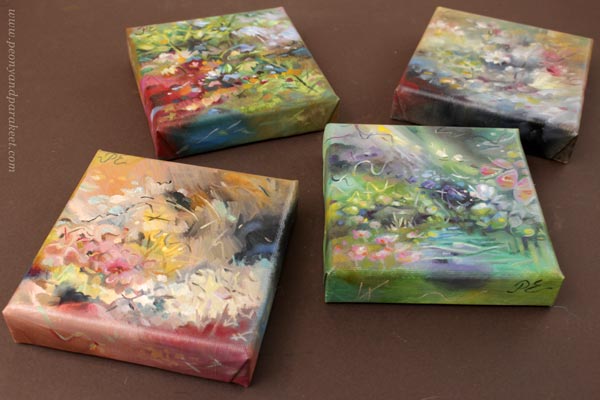
Do you remember these small paintings from a few weeks ago?
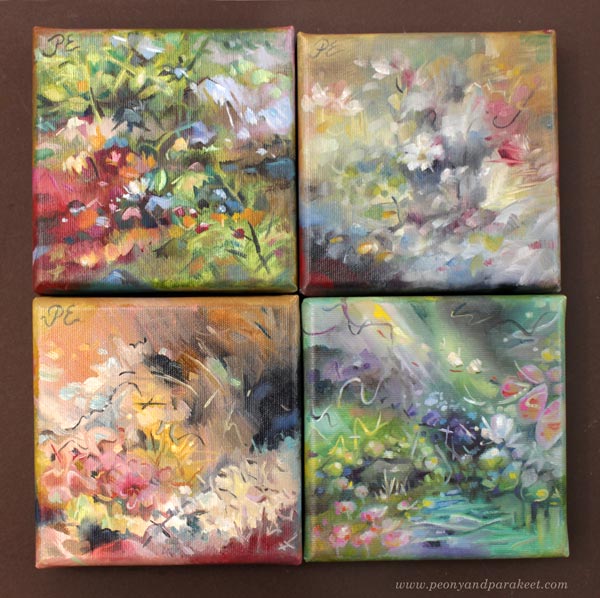
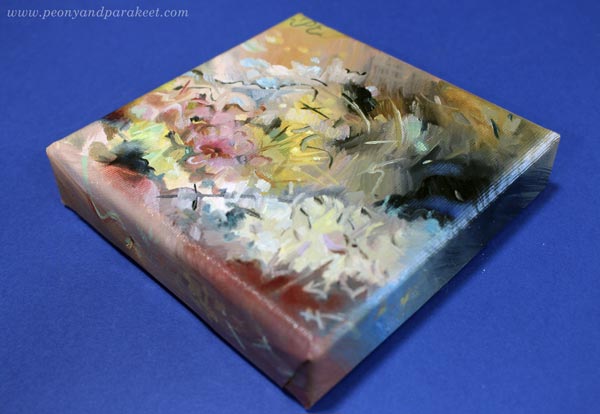
I now got the fourth one finished, and I couldn’t resist taking a photo of them together. These are only 6 by 6 inches, and the small size enables me to study a style or an idea before making a bigger painting. So, in a way, these are like pages in an art journal – small art that is delightful to create and look at but that doesn’t fill a wall. It’s the first time I feel I can create quick experiments directly in oils. And this brings us to the topic of art supplies.
Crayons, Inks, and All the Possibilities
I have now painted on canvas in oil for over two years, and most of the other art supplies don’t inspire me so much anymore. I have all kinds of crayons, inks, and paint tubes that were purchased in a different mindset many years ago.
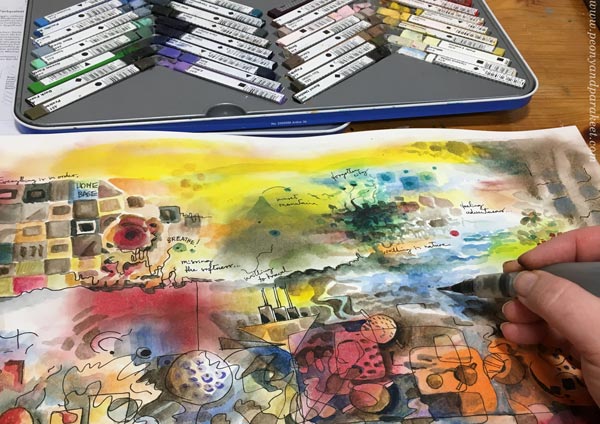
Back then, a new supply meant a new beginning. Purchasing a box of crayons meant that I still believed in myself – that there was still hope that I will become an artist. See a video of me working with crayons – a blog post from 2017.
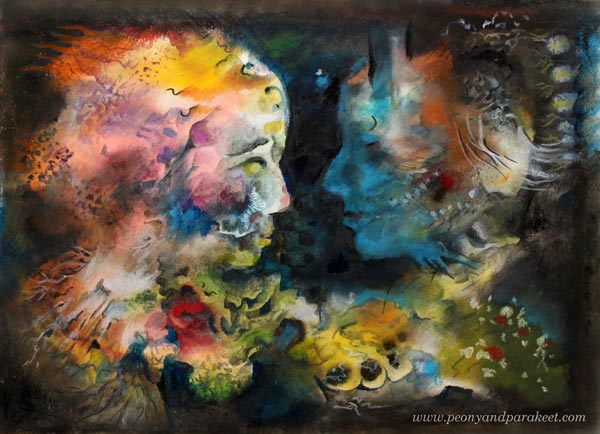
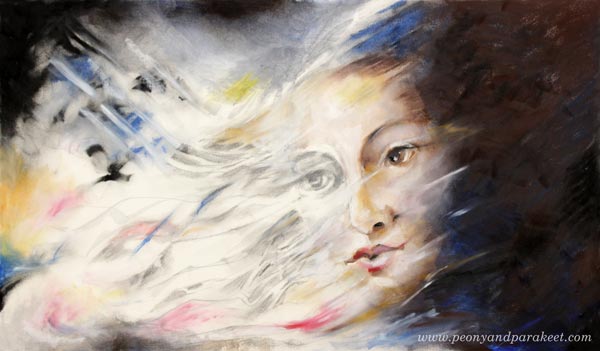
I like many of the pieces that I created back then, but now when I look at those boxes of crayons, the magic has gone away. All I can hear is the calling of my beloved oil paints.
There are two exceptions though.
Colored Pencils Are the Easiest Art Supplies
Colored Pencils bring me back to my childhood when I was drawing with my elder sisters, admiring what they did with them. For me, colored pencils were not just pencils, but dolls that had names. It was sad to see a doll that I loved get shortened and then finally thrown away!
Compared to oil paints, colored pencils have an advantage. There’s no preparation involved. When I paint with oils, I need to build the palette, clean the caps, select the brushes, protect the tabletop, etc. But with colored pencils, I can just grab a piece of paper or open another page in a journal and start coloring freely. When I am tired but still want to create something, it’s really nice.

I have also liked to maintain my illustration skills, and colored pencils are great for that too. For example, see the newest course Doll World!
Watercolors Are a Great Teacher
I am also emotionally connected with my watercolor set. Even if I haven’t used it much lately, I feel that painting in a watercolor set my style. Many techniques that I use in oil were learned when I was painting in watercolor, for example, negative painting and building an image layer by layer.
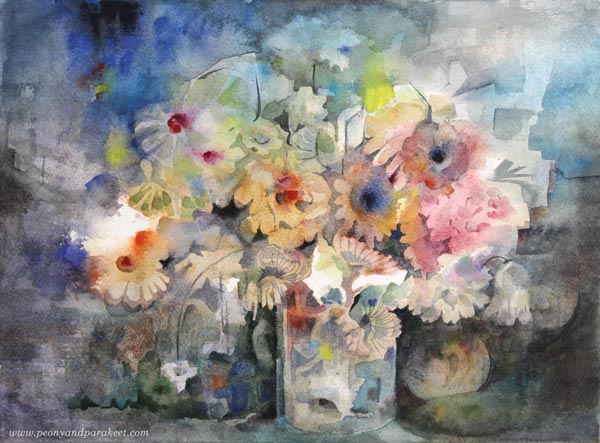
I also learned a lot about pigments and their behavior back then. It was a good learning experience to paint many pieces in a row.
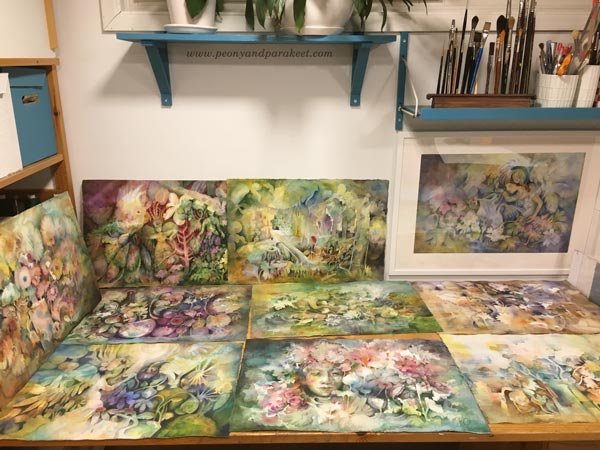
I have several courses on watercolor, for example, Magical Forest for fairies and Floral Fantasies for floral still lives!
What about all those inks, crayons, and such, did I learn anything from them? Yes, of course, but when I look back, it feels like when I started to focus more on one media instead of mixed media, I also took a big leap forward in skills. My art went forward when I no longer tried to find a solution by changing the media but by growing the skill. I was also able to get a more emotional connection with the supplies and somehow that feels very important to me.
Oils vs. Acrylics as Art Supplies
Before oils, I painted in acrylics for some time. They are more practical. They don’t smell like wet oil does. The painting mediums have less odor too. They dry fast so painting is much faster, no need to wait for days before adding a new layer or making the finishing touches. Acrylics don’t require a similar kind of knowledge of pigments and painting mediums as oils do. In oils, you have to be careful with some pigments and the use of mediums because they may cause crackling.
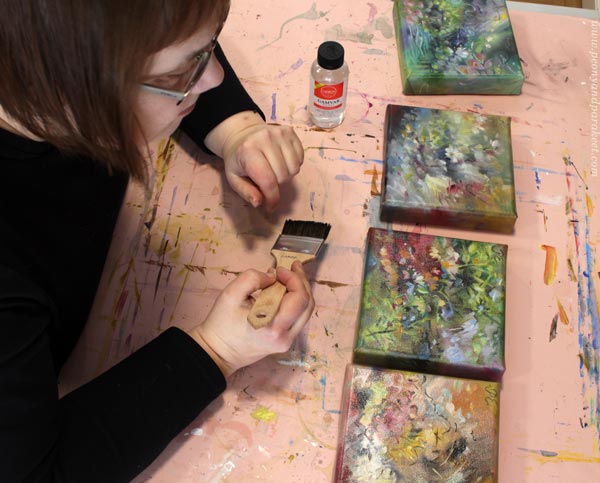
Despite all that worry, when I open my box of oil tubes, I feel different than if I pick acrylics.
The Emotions I Get When Painting in Oil
The oil paints connect me to the past. They take me to the time before I was even born.
Within seconds, I travel back to the beginning of the 20th century, meet the early abstract painters and impressionists, then continue my journey to the 19th century and meet pre-raphaelites, and move from them to those who wanted to capture the realism, and to those who were more romantics. Then again, within seconds, I go to the 18th century and admire all the floral still lives and women in beautiful dresses.
And at best, I continue the journey to the 17th and 16th centuries and see big paintings full of details. Then I also meet the masters that had the patience to make really thin layers and wait for each to dry before adding a new one.
This time traveling enables me to meet long-time friends like Wassily Kandinsky, Peter Paul Rubens, and Leonardo da Vinci and if I do some browsing before I start painting, I always find a new one that I want to meet and learn from.
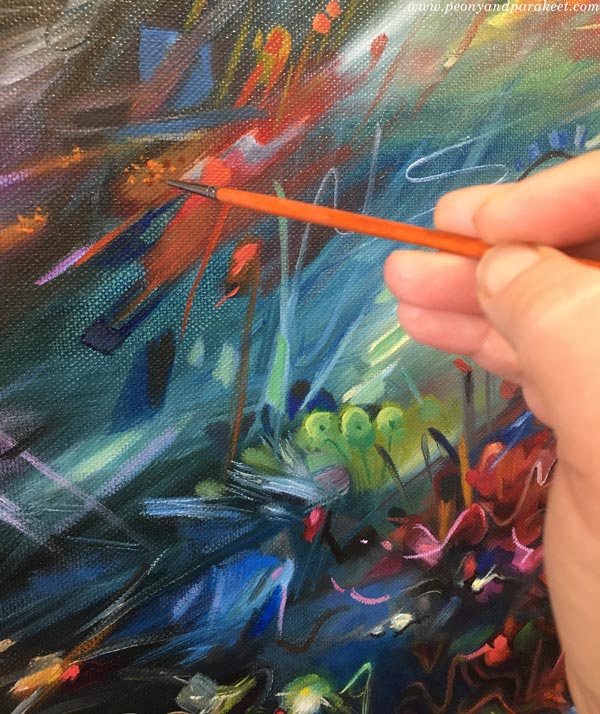
And now when I am painting for the upcoming Albert Edelfelt -themed exhibition, I also learn from him.
There are many great artists today, but I feel that tracing what you love back to history is essential to artistic growth. I also get satisfaction from knowing that I belong to the chain of generations. Artists from the past, still live through me.
Paintings In Progress
I have been painting quite a lot recently, and there are many more paintings in the queue.
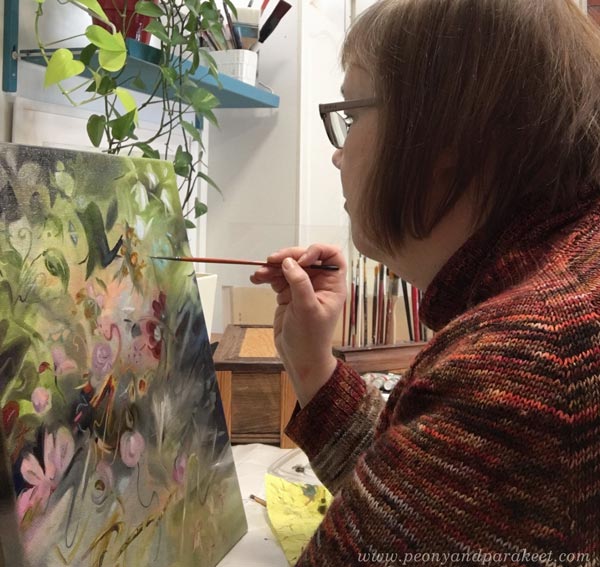
These are in-progress pictures! I will show you the finished ones in the near future!
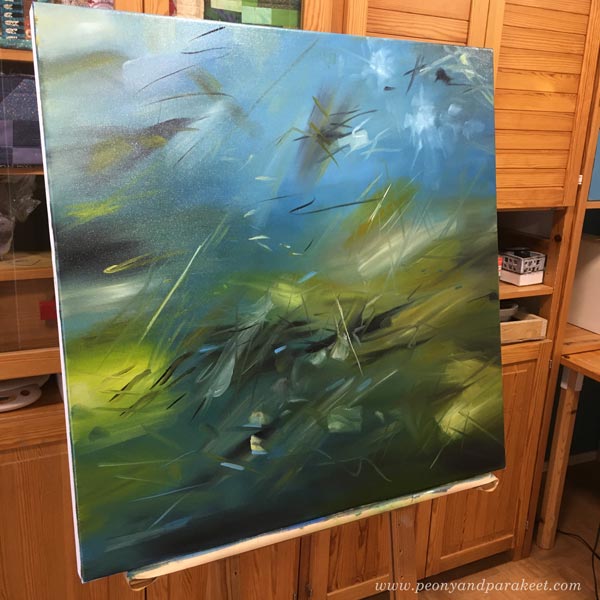
I usually reserve a whole day for painting and try not to do anything else at the same time. If you want to follow a painting day, look for my Instagram stories where I usually post in-progress photos when I am testing the composition and such.
What are Your Favorite Art Supplies?
Tell us what are your favorite art supplies at the moment!
It would also be interesting to know which supplies raise emotions in you.
Intuitive Painting with a Reference Image
Intuitive painting with a reference image – can it be possible? Let me show you how!
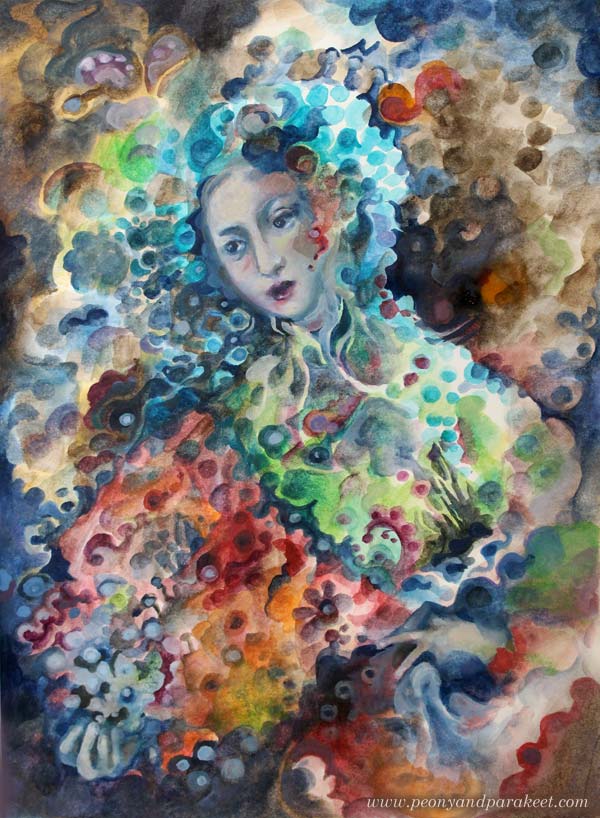
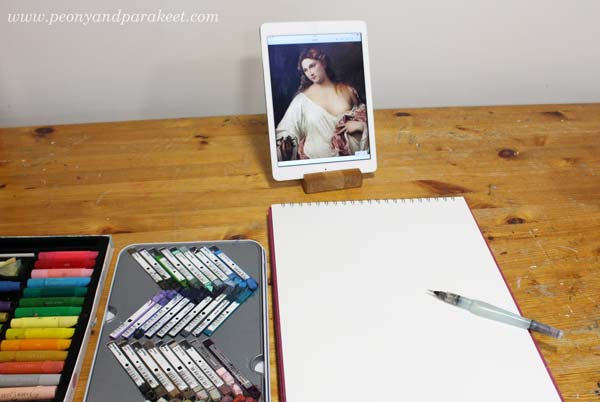
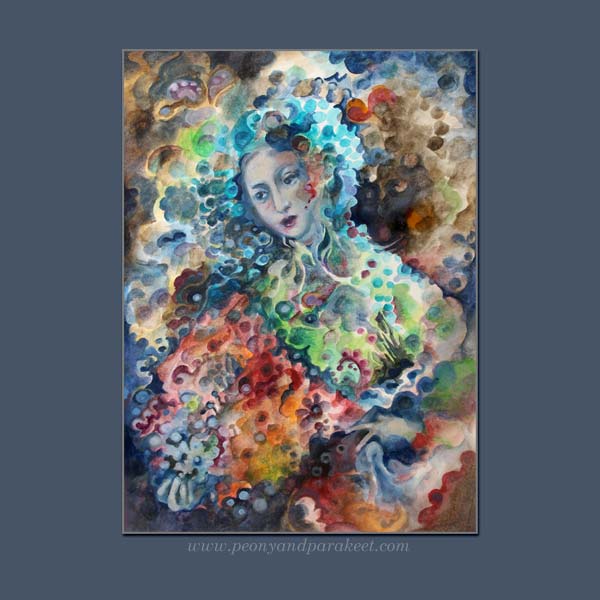
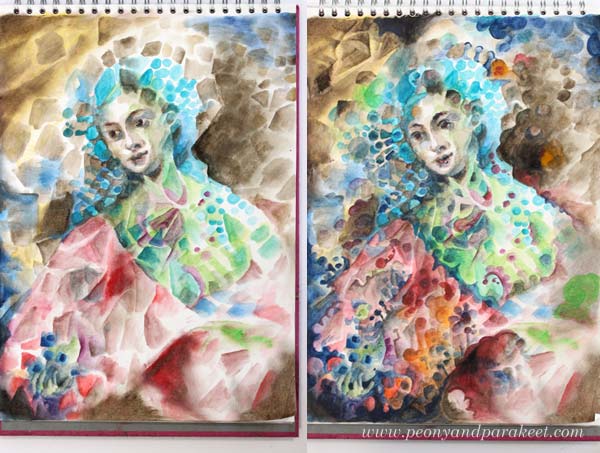
Here’s a painting from my sketchbook. It’s called “Madama Butterfly.” My reference image was this Renaissance painting called “Flora” by Tiziano Vecellio, 1515-1520. I took the photo last summer when visiting Uffizi Gallery, Florence, Italy.
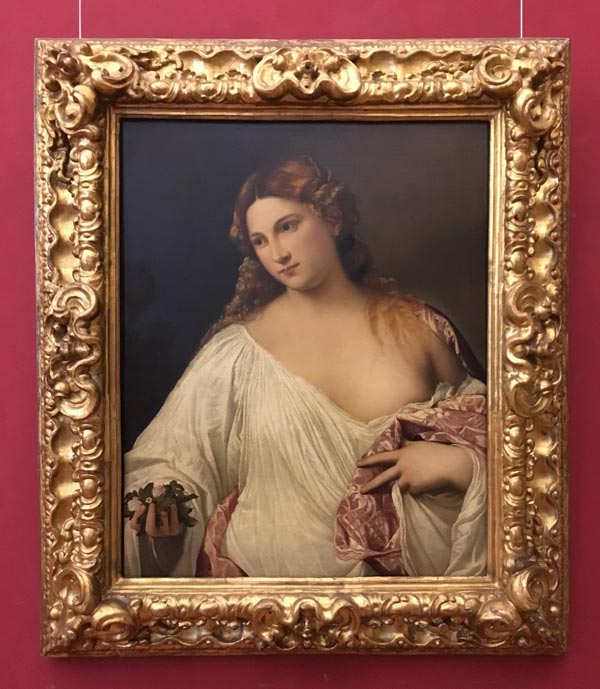
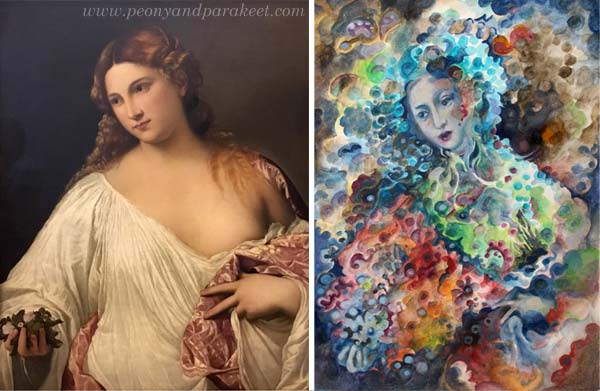
There are very little similarities in these two pieces. The pose is fairly similar, the composition and the facial features have some similarities, but that’s it. The style, the theme, and the technique are all different.
The Supplies And the Setting
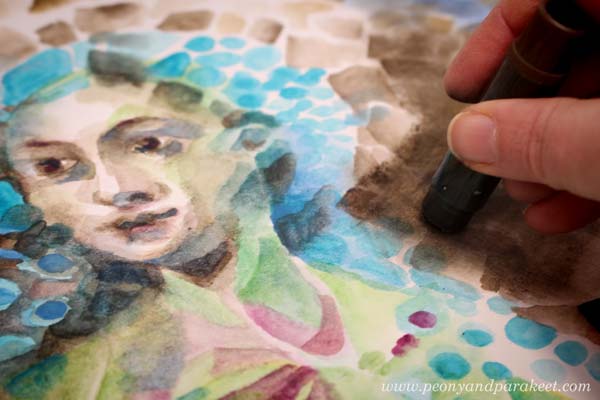
I like to do fairly quick paintings on my big A3-sized sketchbook. For this sketchbook, I often use Derwent Artbars, a water brush, and Faber-Castell Gelatos because they are easy to layer and I am more relaxed than when working with tube paints. I use acrylic or oil paints for canvas paintings, and working with them is more serious. This time I wanted to demonstrate a concept or a method rather than creating a 30-hour painting.
1) From Intentional to Intuitive Painting
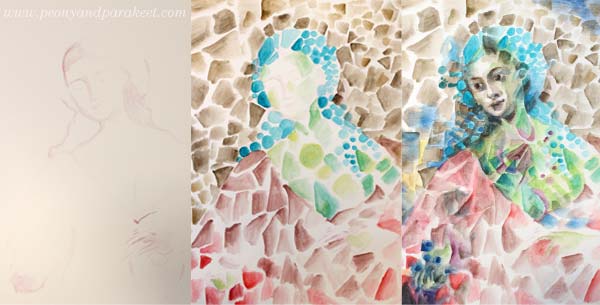
The first idea was to pick the pose and the composition loosely from the reference image and then add geometric shapes to fill the space.
After sketching the foundation of the figure, the triangles, rectangles, and circles were fun to paint without looking at the reference at all. I painted the face roughly, and then I used the reference image as a guide. But because at this early stage, I didn’t know what I want to express and what kind of person the figure could be, I didn’t bother to spend time perfecting the facial features. At this point, my painting resembles cubistic pieces from the early 20th century.
2) Changing the Style
When creating art for the sketchbook, I like my style to be a bit more illustrational than when I make bigger paintings. Even if I love cubism, I wanted my piece to be a bit more current.
Nowadays, illustrations often use geometric shapes but rather than triangles or rectangles, the shapes are often round, and scallop edges seem to be a bit hit. So I started changing the painting by altering the shapes. This routine work gave me plenty of time to connect with my inner world and work intuitively from one association to another. I tend to be both nostalgic and romantic, so I thought how portrait painters often spend time with the clothing even if they are just a shell. Why not use it as a canvas for the memories, the ideas, and the achievements of the person?
3) From Intuitive to Intentional
After rounding hundreds of triangles and rectangles, I realized that I was painting Madama Butterfly, the opera that I just saw last Saturday! I finished the face after this realization and adjusted other elements so that they fit with the theme.
More Intuitive Inspiration from Opera
This is not the first time I have been intuitively inspired by opera!
>> Tosca
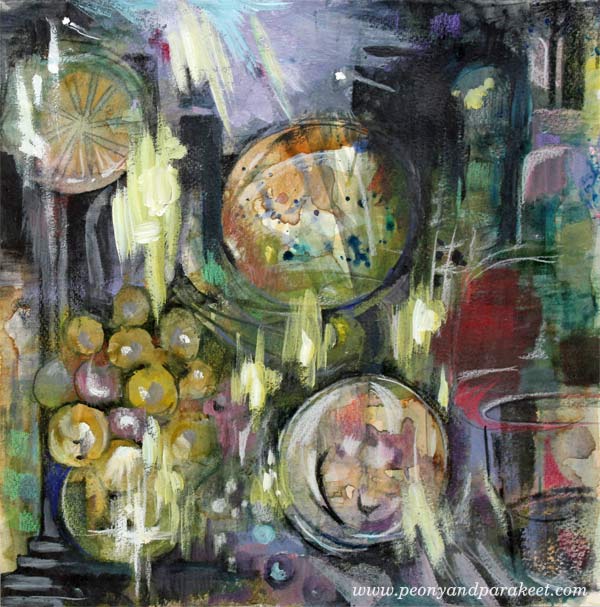
>> La Traviata
And there’s also a video about
>> Kaija Saariaho’s Emilie
More About Simple Shapes
>> What to create from simple shapes – 6 ideas
Self-study classes:
>> Planet Color – release your mind by focusing on color!
>> Modern Mid-Century – put a modern twist to simple shapes!
Let me be your mentor in creating: Subscribe to my weekly emails!
Passion for Color? – Try This Method!
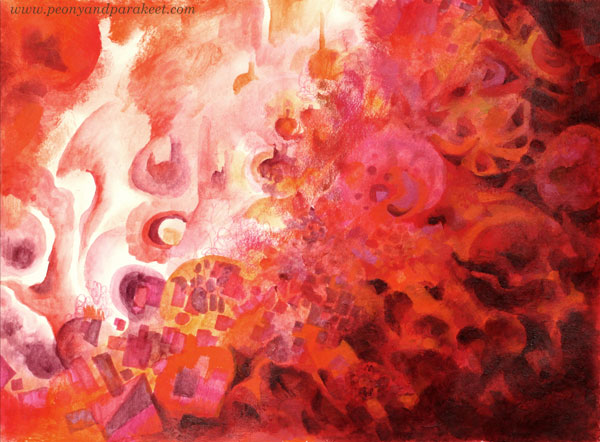
Create a color-focused art journal page! You can choose as many supplies as you want but just one color!
Step 1 – Pick Your Color!
What color speaks to you today? Red, blue, yellow, green, brown, black … Pick any that you feel drawn to! Collect the art supplies that you have in that color!
In most mornings, after taking the dogs out, I go to my studio and start creating sketches, or art journal pages, or continue paintings in progress. I often make a hot beverage called Sunny Grapefruit. I have bought it from a tea shop, but it doesn’t contain any tea, just fruits, and lemongrass. I sit down in an Ikea chair found at a flea market. I have painted it and put a sheep fleece on it, so it’s warm and cozy. All this warmth made me think about red.
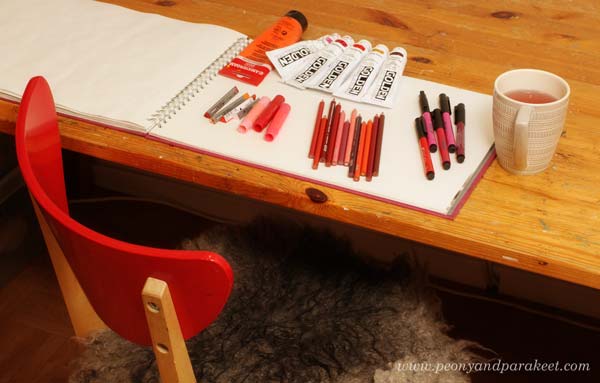
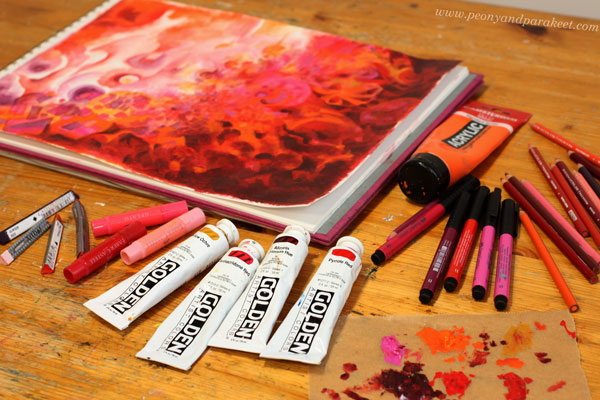
I chose the supplies so that they were all various tones of red ranging from orange to pink.
Step 2 – Source of Energy
Your color is the source of energy. Pick any coloring supply and make a simple circle somewhere on the page! However, don’t begin in the middle! Your work will look more expressive if you don’t make it symmetric.

I colored a soft circle with a couple of Faber-Castell Gelato Sticks.
Step 3 – Radiating Power
Add more color to the circle with different supplies! Imagine that your passion radiates strength. Use your imagination to color shapes and lines that are connected to the circle. Again, keep the design asymmetric.
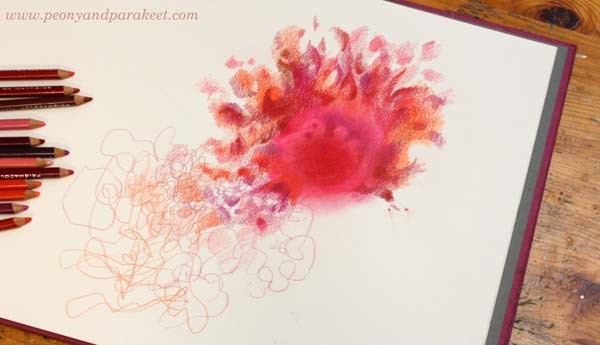
I used colored pencils and thought about the sun and the fire. You can use your imagination based on the ideas that the color evokes. For example, if your color is blue, you can think about waves and the energy and the movement that they contain. Don’t overthink; it’s just a start! Usually, we get conventional ideas in the beginning but then become more inventive as the work progresses.
Step 4 – Explosion and Spin-Off
Change the supplies again, and imagine an explosion of energy. Let your circle grow but also become less solid. Create a spin-off that has a life of its own.
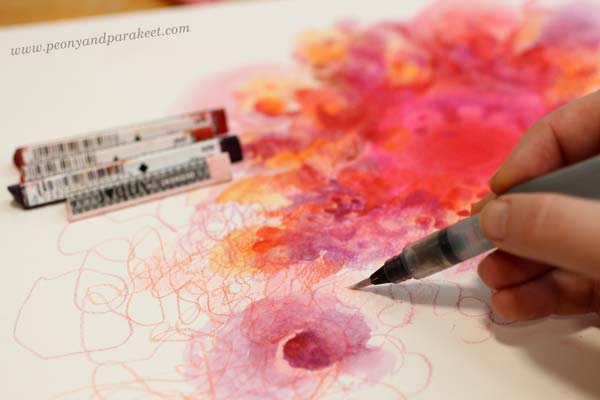
I used Derwent Artbars and water. I could have used watercolors instead, but nowadays, I often find it quicker to grab some Artbars and use a water brush when I am creating a mixed media piece.
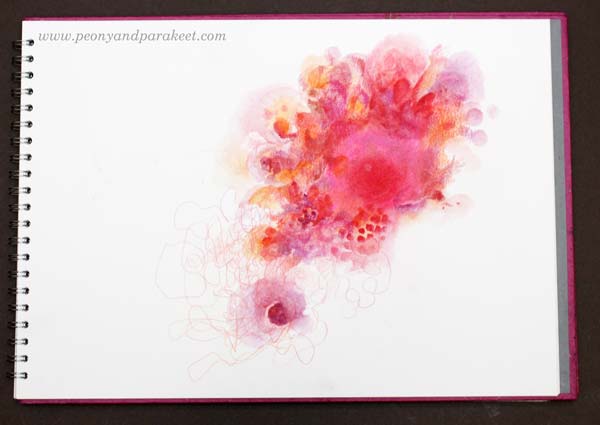
Step 5 – Look Around!
So far you have focused on one area of the page. Now imagine, that the explosion reveals some of the surroundings. Add some pale elements but don’t cover the whole page.
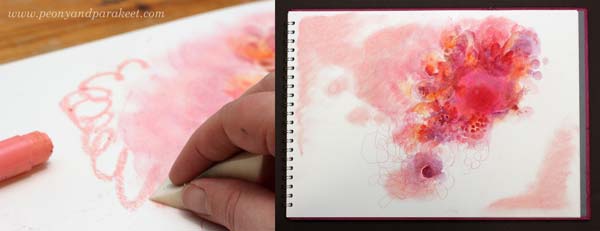
I just made some soft splotches with Faber-Castell Gelatos. Notice how my explosion travels diagonally across the page and reveals areas that are also diagonal but in the reverse direction. Diagonals make the image look dynamic.
Step 6 – Birth
Color clearly-defined shapes that connect the energy source and the spin-off. Imagine that something concrete is born out of the explosion and moves forward.
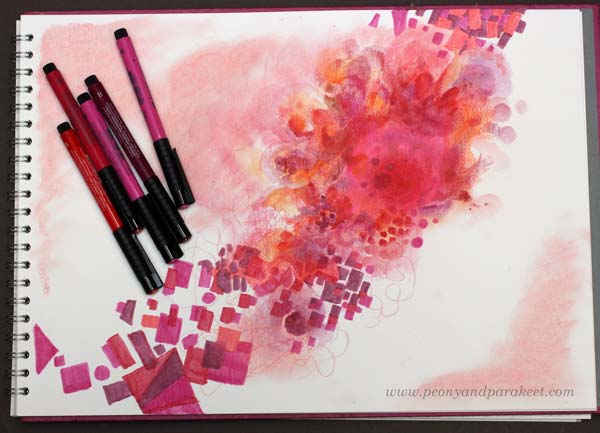
I colored geometric shapes with Fabel Castell PITT Artist Pens. To highlight the movement, I make the shapes cross over each other. I also add bigger shapes that are shown only partly so that it looks like they are flying away.
Step 7 – Mountains
Color a big area of the page so that it’s like mountains have grown to your page. Again, keep one part of the page blank. Add some color to the other side of the blank area too so that the blank area is like a gulley between the mountains.
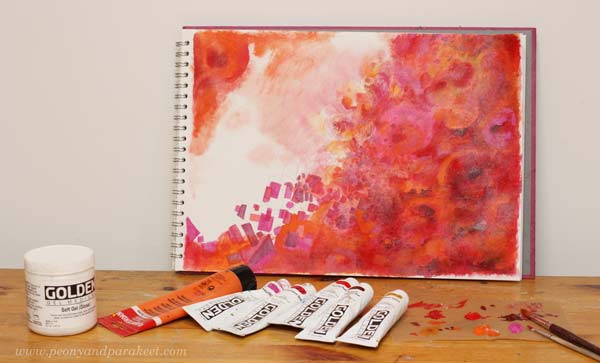
If you have acrylic paints, now it’s a good time to use those. Painting is quicker than coloring with pens, and you can also create layers easily.
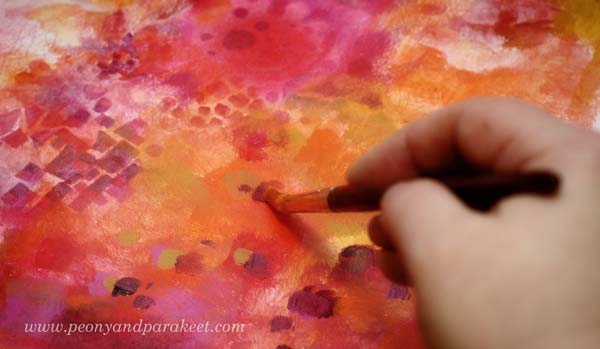
I use gel medium to make the acrylic paint more fluid and translucent. I also use two brushes so that there’s more variation in the brush strokes.
Step 8 – Jump!
Imagine being up in the mountains, looking down to the gulley. When you jump, you begin to see that the blank area also contains wonders. The fall is not so high than what you first expected. Softly color some vague shapes in the blank area.
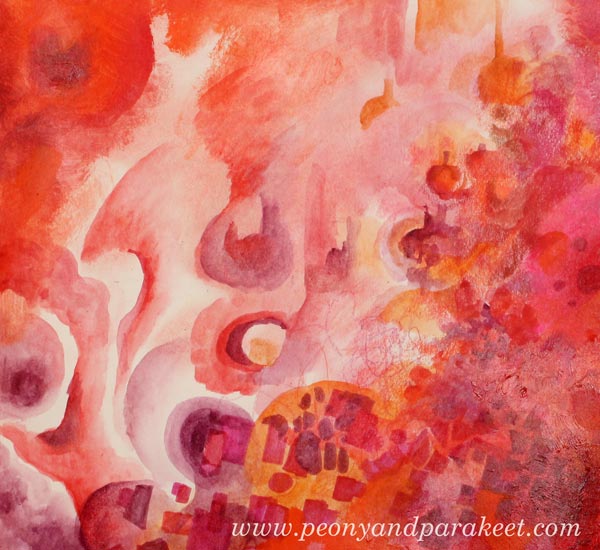
I used Derwent Artbars and water.
Step 9 – Test and Adjust!
When creating abstract art, I find it practical to test it based on how well it fits with other patterns, textures, and shapes. I placed my sketchbook near the fireplace where we have a place to watch the fire. To me, it looks like my page doesn’t have enough contrast.
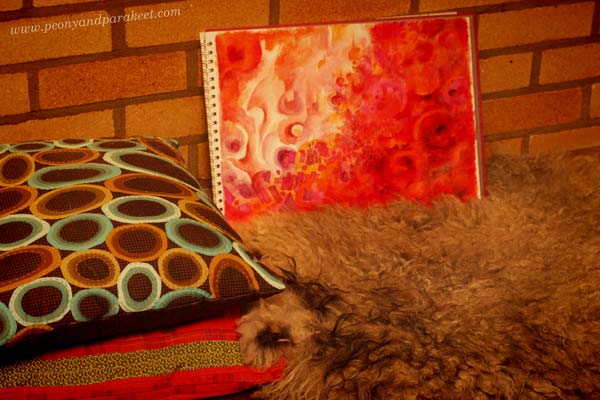
So I add some alizarin red which is very dark and some lighter orange to finish the mountain area.
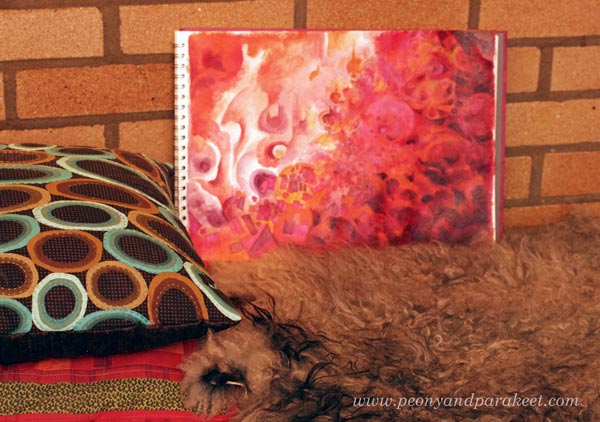
Now the contrast looks better.
Learning to Create – Using a Model, “How To,” or a Method?
There are many ways to learn:
a) Watching someone create and then following it accurately. This way you will create something that you wouldn’t have thought of figuring out yourself. The downside is that your expression and imagination has very little space to come through. You are learning technical skills mostly. Sometimes it can happen that you don’t know why you do what you do.
b) Learning how to use certain supplies in a certain manner. This makes you learn the characteristics of a certain art supply and the techniques that you can use. You can then use the techniques to produce your unique art. The downside is that if you don’t connect with your imagination, you lose the joy of creating. You know why you do what you do but don’t know where else you could use it.
c) Following a method that connects you with your imagination. This gives you preliminary ideas that you can then expand to fit your thoughts and to grow your style. The downside is that if you have no idea how to use the supplies, it will take up your energy.
My Methods
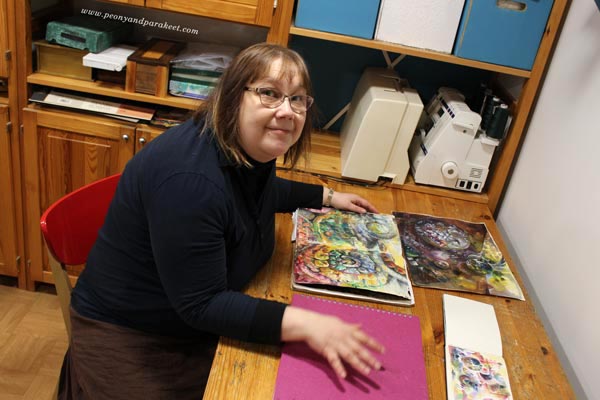
As a teacher and a mentor, I focus on the methods that grow the expression and imagination. Even if I value knowledge and techniques, my strength is in innovating new methods that help you to connect with your creativity. I have heard many say that when they analyze someone’s art, it’s easiest to focus on the technical part. I agree. There are more rights and wrongs to catch. But after creating in a very disciplined manner for the last year, I have come to this conclusion both as an artist and as a mentor: I want to grow my skills to all directions, but if I had to pick one, it would be imagination.
Boost Your Visual Imagination!
Without imagination, we just go around the same circle. We don’t feel free, and we end up believing that there’s one more technical trick around the corner that will change the game. But it’s the imagination that will do that. That’s why I don’t select students based on their supplies, or the technique or style they use. Together, we share our love for making the invisible visible and learning to use the techniques to serve that.
Boost your imagination by joining my community Bloom and Fly! We’ll start with a method for your creative goals, then pick easy ideas from Rococo, explore abstracts together, etc. I will help you to express yourself so that it’s adventurous and imaginative! >> Sign up here!
Mixed Media Sketchbook as a Tool for Self-Discovery
This week, I am talking about using a mixed media sketchbook or an art journal in a new way.
Mixed Media Sketchbook – Watch the video!
Bloom and Fly! – Set Your Goals and Start Creating!
My community Bloom and Fly is for all who want to start and keep on creating. You can get help and encouragement for any art project, and we also have monthly themes.
January’s theme is “Mixed Media Sketchbook as a Tool for Setting Your Goals.” You will get ideas on how to use a sketchbook or an art journal for creative goals. Rather than feeling restricted, you will feel energized by the possibilities behind the goals. An art journal can be a playbook that keeps you moving forward!
Make sure that 2018 is your year of art – Join Bloom and Fly!
