5 Ways Music Can Improve Your Art
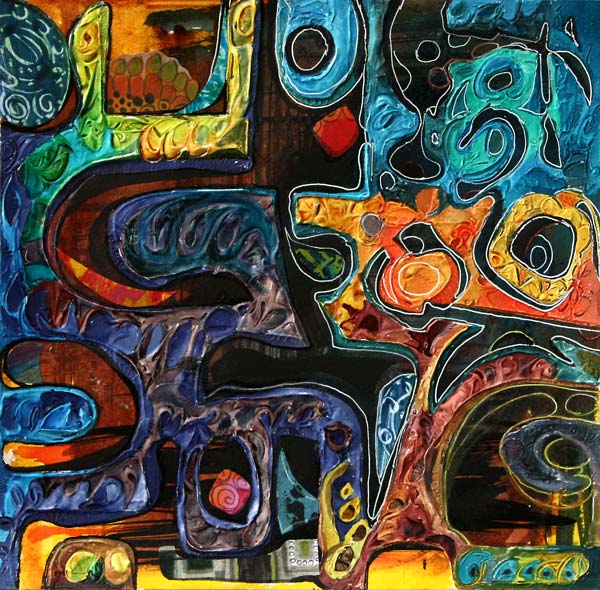
This mixed media collage is called “Opera”. For me, visual images have always been more important than sounds, but I still think that there’s a lot in common and a lot to learn from music.
Tip 1: Let Music Challenge You!
How would jazz look like as a collage? Paint the voice of your favorite artist! Create a rhythm to your artwork!
A week ago was my first time in opera. I had bought the tickets as a birthday present for my husband who is a very cultured person. I was a bit worried about how I would endure the experience as I had disliked opera for all my life. At least the play was one of the easiest pieces, The Marriage of Figaro. While listening to the beautiful sopranos, I saw strong colors and lines in my mind. I began to think how powerful and intellectual music can be. I felt I was challenged! Could I ever express visually what I was experiencing?
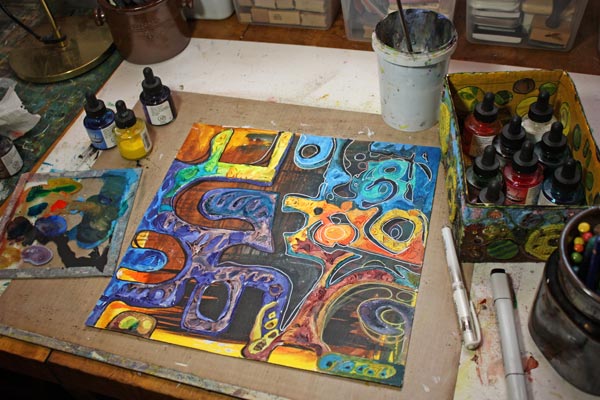
However, when I began to create the collage, I did not think of opera. I knew that it would come out someday or another. Like many times, I just had a compelling idea of the technique I was going to use. I was going to create strong shapes with a molding paste.

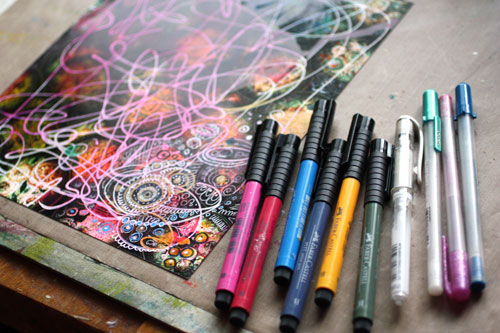
But before opening the paste jar, I grabbed a sheet of heavy-weight watercolor paper and the box of india inks. Painting the background was fast with a thick brush.
Tip 2: Think Your Artwork as a Space for Music!
I read an interesting interview from the newspaper Helsingin Sanomat. They had interviewed a famous Finnish painter Marika Mäkelä. She quoted another Finnish artist, Leena Luostarinen. She had said that you should imagine a lighting inside the painting. Even the colors of the painting should be considered through the lighting. I think it is ingeniously said. It made me think about the space I would create inside my artwork and how the lights, shadows and color contrasts should flow there. My addition to this thinking is: if the music was played in that space, think about how it would sound. Pick the shapes and lines to express that!
With these deep thoughts, I cut both heavy and light cardboard into pieces. They were attached to the background with a masking tape.

See how irregular the handcut shapes are! I love the uniqueness that only handcuts can give! I can’t understand the popularity of machine-cut stencils.

After placing the masks on the background, I added the molding paste, a lot of it! Some swirls were doodled on the paste, so that the surface would look lively.

I removed the masks carefully before the paste was dry. Drying time was really long, almost a day, even if I used a heat gun to fasten the process. I usually like to take breaks from creating, so this extra waiting time did not frustrate me at all. While I was waiting, I was thinking about how I was going to paint the artwork. How would the light flow around these dramatic shapes?
Tip 3: Pick the Colors from the Music
I like to think music as colors. The lower the notes, the darker the colors are. A melancholic song is also darker than the cheerful one. Red and orange are for deep, rich voices. You do not need to overanalyze it: just get into the feeling of the music and pick the colors that come to your mind! The Marriage of Figaro has both bright and dark sounds. I also wanted to express the dramatic nature of the music with colors.
Tip 4: Move to the Rhythm of the Music While Creating
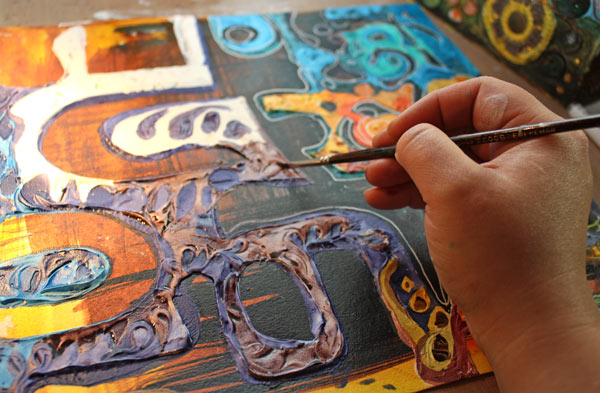
When the painting gets near the end, I often stand up. I need to see my work properly to find the essence of it. This is the stage where I usually put the music on if I have not done it before. I wave my hands and take steps to the rhytm of the music. I try to get as close as possible to the feeling that I want to express. I also try to be as focused as possible.
White gel pen and black markers were in use as I dived into the melodies of the opera.
Tip 5: Focus Your Energy with the Help of Music
It is important not to change the music too much when you want to focus. If you listen to the variety of songs just when you make the final touches, it might not do good for your work. I often play the same song repeatedly when I am finishing the work.

On the other hand, when I am in the earlier stages of the work, I am not that careful. I listen to this and that as long as it gives me the energy to continue. I like to listen to the music that gives me confidence and which doesn’t feel too themed. Here are my recent favorites for boosting the creative process: A Sky Full of Stars (Coldplay), Viva La Vida (Coldplay), This Years Love (David Grey), Change (Tracy Chapman), September (Earth, Wind & Fire), Flower (Kylie Minogue), Thorn in My Side (Eurythmics), I Say a Little Prayer (Aretha Franklin).
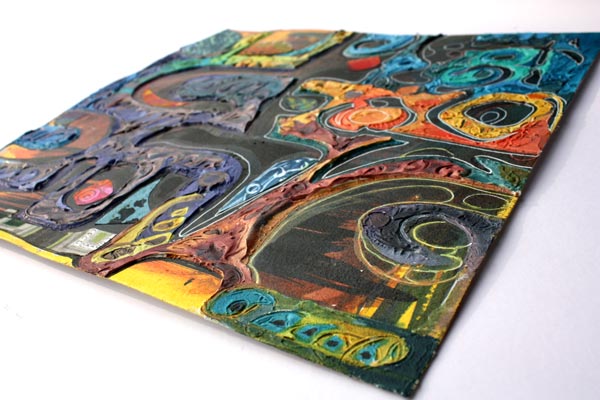
I love how dimensional my artwork became. I am also happy how finished it looks. Hand decorated papers were helpful while finishing the work. With them, it is easy to add details that are interesting and different. Just do not use the same paper too much!
Sometimes I aim for flying lines and relaxed touch, but this time – it was all about opera! My computer was playing The Marriage of Figaro in high volume and I was pushing my boundaries to express the quality of the music. Then finally, after placing the two red pieces, I felt that I have solved it, the riddle of opera music!

What music do you listen to while creating? Try changing the music if you want to fine-tune your art or expand to new areas!
Subscribe to my weekly emails – Get a free mini-course!
When Pens Replace Needles
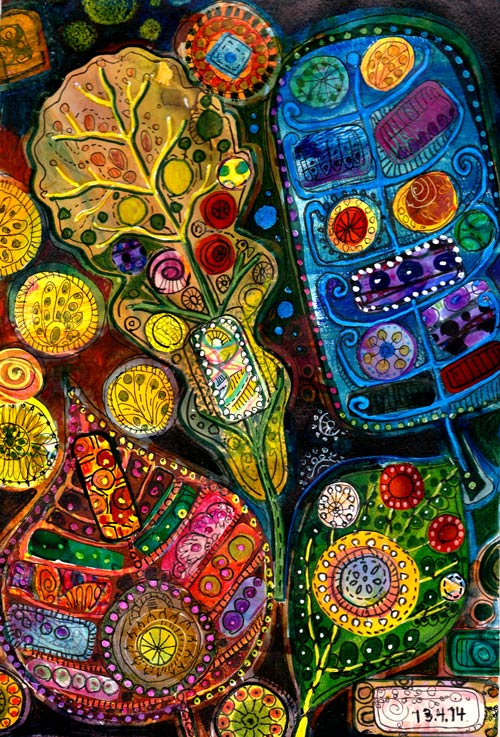
I confess: I am constantly thinking about textiles. I often try to hide my love for fabrics, quilting, sewing, embroidery, knitting, crochet, yarn, and wool. It is like I married paper but have a secret relationship with textiles. If you look at the collage, can you see it?
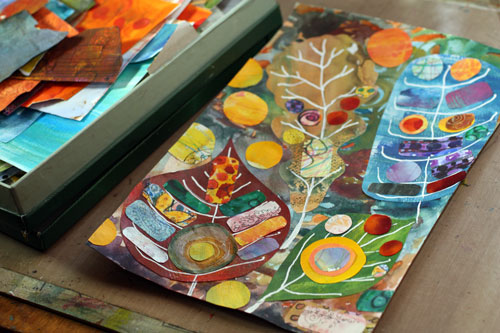
Creating Textile Inspired Art
When attaching the pieces on paper, I feel that whatever glue or medium I use, the pieces still look like that they are floating. Then I pick a pen and add a stitch line here and another there. And soon I am lost in the details!
When people try to find their own style, they often deny what they know best. It is probably too mundane, something they take for granted. Often, it is easier for other people to see where our strengths are. Anything genuine touches people.
I want to thank Denise who pinned the last week’s horse themed collage art to her Pinterest board called “Clever Stitch Artists”. I got curious about what she saw in the collage. She had written in the description: “Embroidery inspiration”. I tried to hide my love for embroidery but she saw it! So this week I decided to create a project that is a celebration of felted fabrics and hand stitching.
The concept is very easy. Just add some shapes on the painted background paper and then: take your markers and stitch your heart out! Here pens really replace the needles!
Let me be your mentor in art: Subscribe to my weekly emails!
Subconscious Goals

Here’s an illustration that came out without any pre-planning. I just added a layer after another and in the end was surprised about the animals, and the scene. What was I thinking about?
Creating Subconscious Art
First I created the background paper in Photoshop. I duplicated my old sticker designs there!
After printing the background I made some random spots with alcohol inks and random lines with white correction pen. Then I added a lot of details with markers and gel pens.
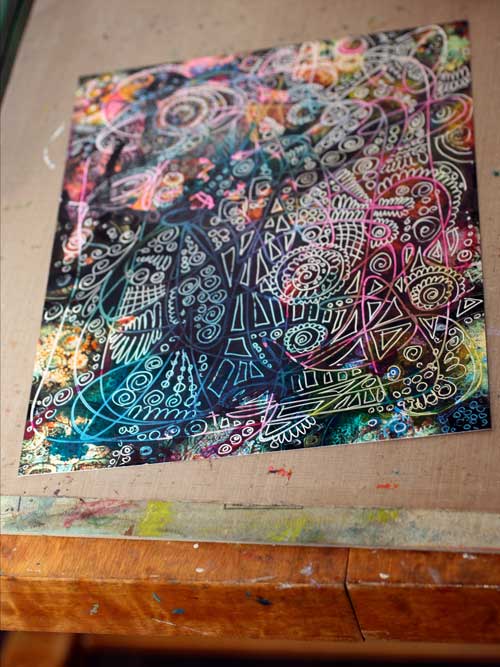
Yes, a lot of details.
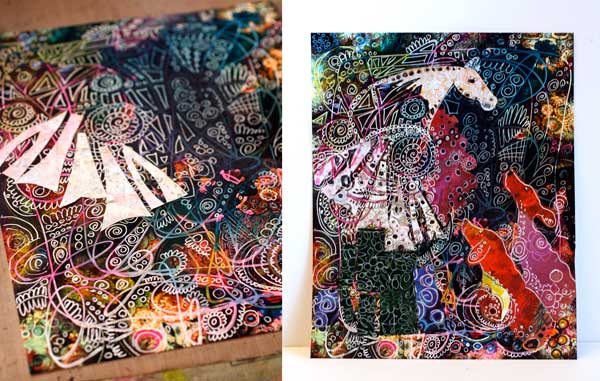
Finally, I constructed the main elements from decorated papers. Then it came: the horse on the pedestal and the dogs. The horse tells a story for the dogs, and the dogs are captivated by listening to it. When finished, I realized that I want to be that white horse! I want to develop skills to tell visual stories. I want to learn how to create images which not only appeal to the eye but the mind as well.
Isn’t it a wonderful thing that with creativity we can reveal our subconscious goals!
Subscribe to my weekly emails – Get a free mini-course!
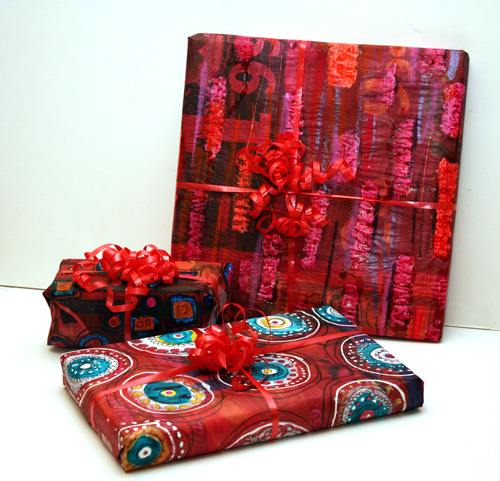
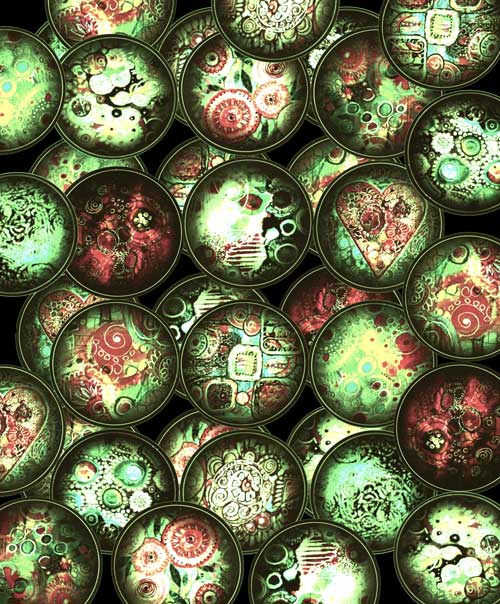
Wrapping Paper from Newspaper
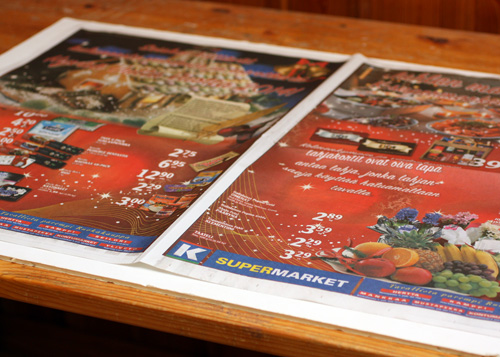
Did you know that newspapers are treasures? Neither did I before I began to wrap Christmas presents and realised that I had ran out of wrapping paper. I solved the problem by creating decorated gift paper from newspaper sheets!
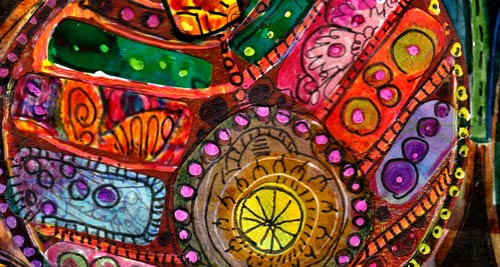
Here’s the sheet in the beginning of the process.
I had three various reds of india inks which I used to color the background. Any ink would be suitable. And if you do not have ink, paint a thin layer using acrylic paints.
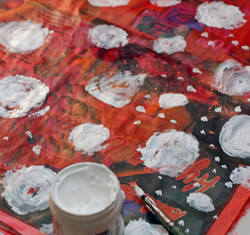 After the background paint was dry, I painted round shapes with gesso. If you do not have gesso, use white acrylic paint. Thin, even layers are better than thick and bumpy ones. Let dry.
Finally I took a correction pen, some markers and india ink to decorate the white areas.
Ironing makes the papers smooth and shiny.
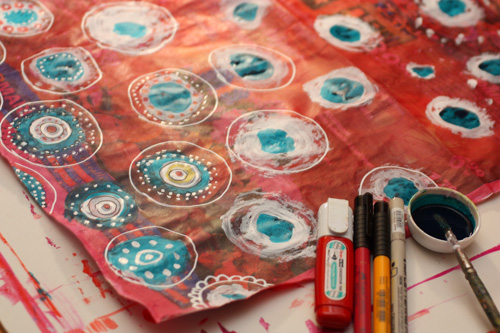
I could not help making some more. I varied the shape of white areas to make different designs.
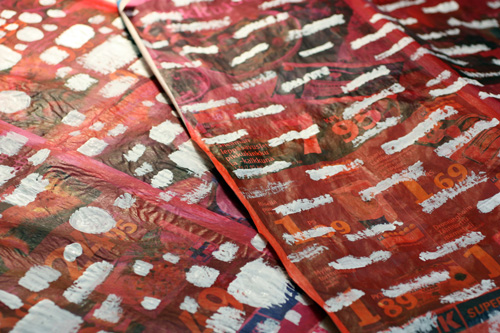
I was pretty pleased with all the three of them!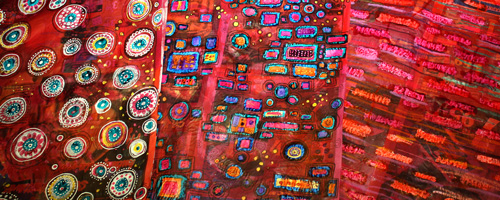
Who would have guessed these were just newspaper sheets in their previous lives!