How to Add Depth when Creating Abstract Mixed Media Florals

When I started drawing and painting as an adult, it took quite a long time for me to understand the power of creating visual depth. Before that, every time I wanted to highlight a particular element, I added more lines to it and it just looked stiffer and stiffer. When you add depth, your art is not like a sentence where every word is underlined.
Instead, your art becomes more like a paragraph that invites the viewer to dig deeper.
How to Add Depth – Create with Me!
In the video, I create a floral painting without any reference photos and give you some basic tips along the way. I use a mixed media approach and combine pens with paints to make the job easier!
Come and Create Unique Floral Treasures!
Level up your skills, find the process you love and let flowers show the way to expressive art! You don’t want to miss this class!
Floral Fantasies in 3 Styles begins on Feb 19th – sign up now!
Flower Art Inspiration from the Students of Floral Fantasies
Today, you will see beautiful art from the students of Floral Fantasies in Three Styles!
In this online workshop, you play with three different approaches and pick the best from each of them.
Week 1 – Designs to Spark the Imagination
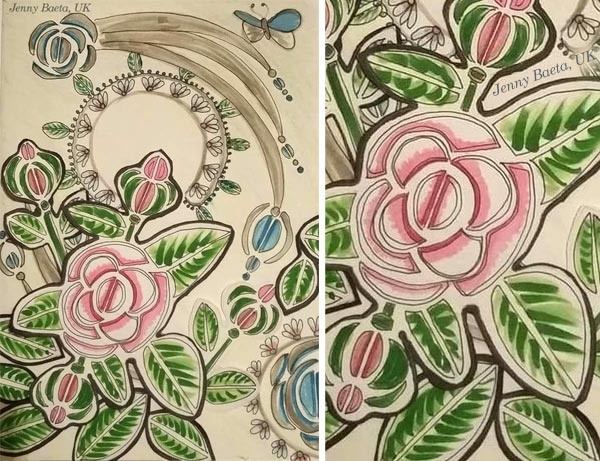
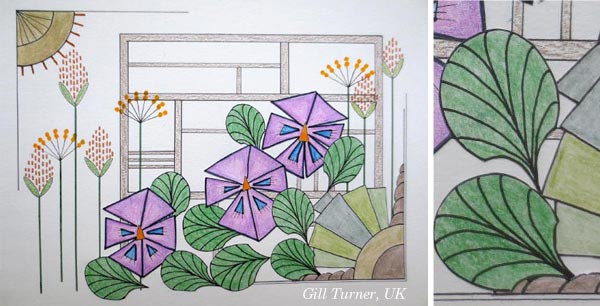
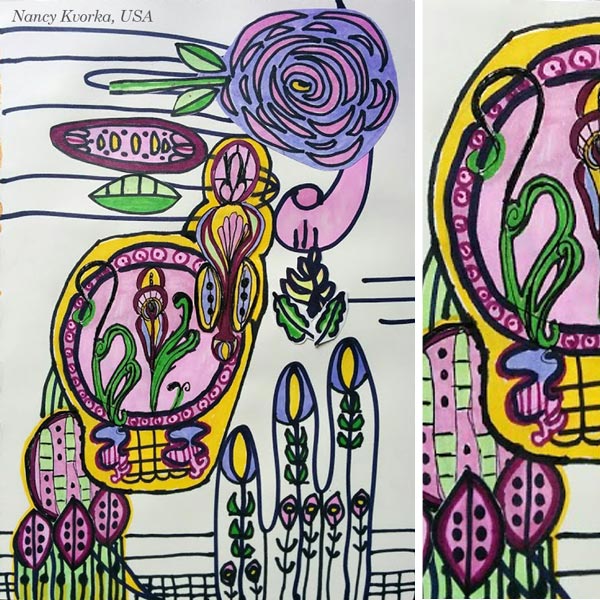
I think we all have browsed Instagram or Pinterest and found inspiring images from illustrators and pattern designers. In the first week, I show how to use flower photos to create simple designs that still look lively and unique. You will build designs from simple shapes and get inspiration from art nouveau, art deco, mid-century modern, and Scandinavian retro.
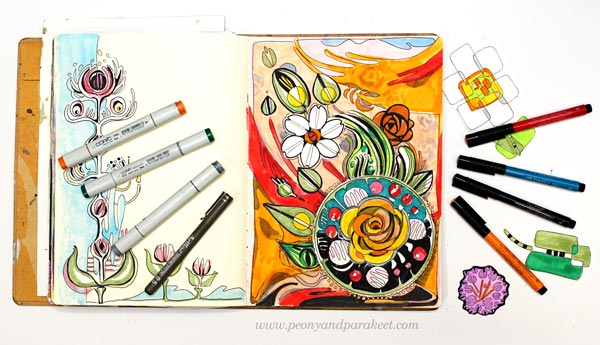
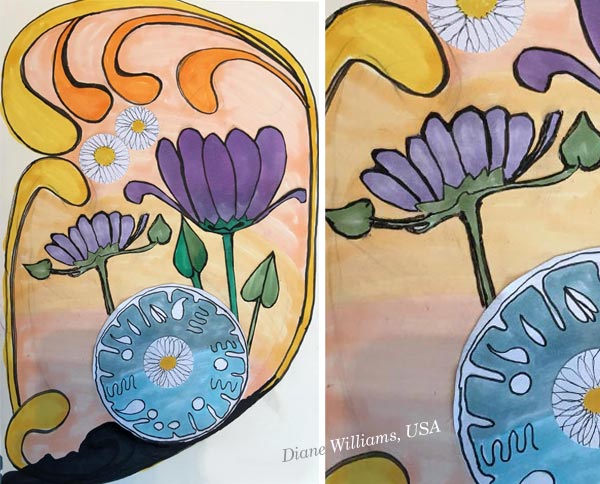
What I love about the students’ designs, is that they are all so original and express personality as well. I have included my favorite detail in the images.
Stephanie Carney:

Cathy Cale:
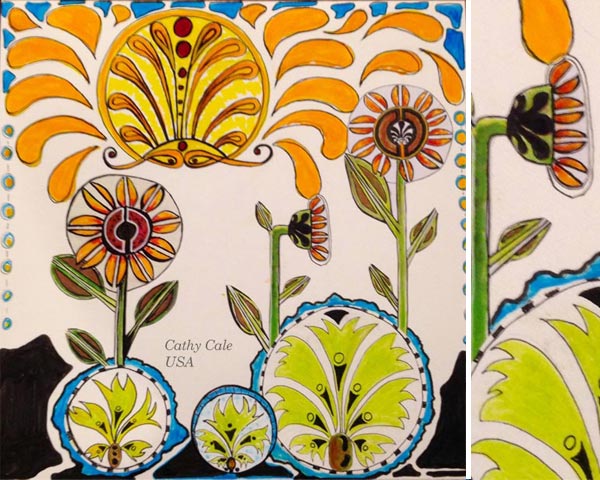
Diane Williams:
Jenny Baeta:
Gill Turner:
Nancy Kvorka:
Week 2 – Watercolors to Bring Up Expression
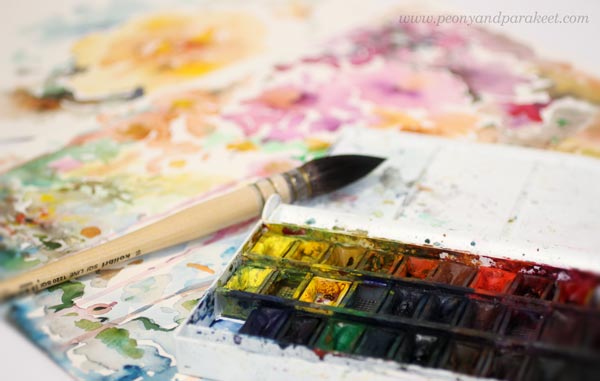
In week 2, we go to a different direction but use the idea of simplifying as a foundation for painting intuitively. The best media for quick, intuitive painting is watercolors, of course!
Tina Mitchell:
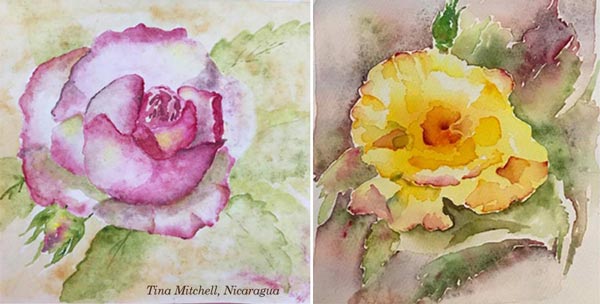
Darci Hayden:

Christy Tattersall:
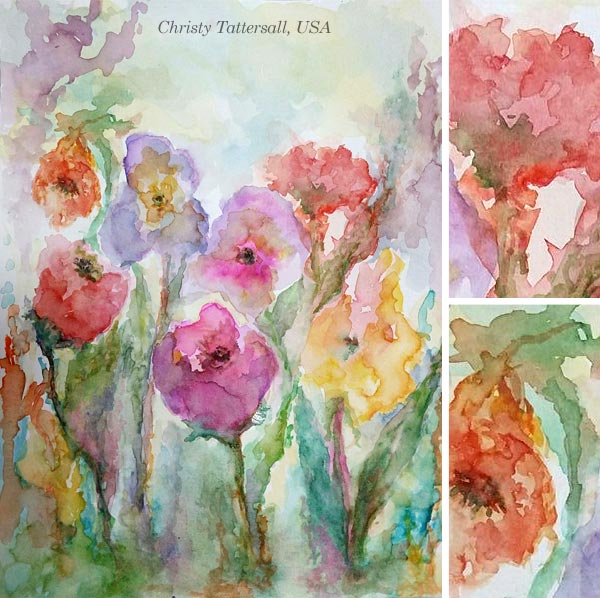
Wendy Holmgren:
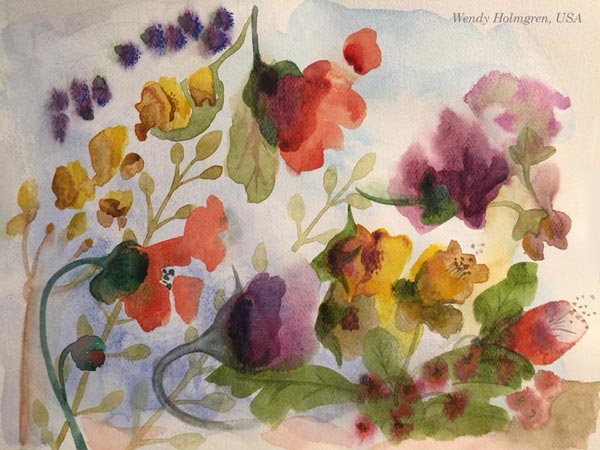
You can be less or more abstract when creating flowers with watercolors. You can adjust the theme to paint a still life, scene or landscape. See how Lisa Wright’s and Pirkko-Liisa Mannoja’s styles are different, yet both have their strengths.

There are so many different kinds of energy that you can express from quiet power to bubbling bursts, or maybe you want to splash boldly as Darci did in her piece.
Weeks 3 & 4 – Acrylics and Glazing Medium to Create Softness
In the next two weeks, we use all the things we have learned from watercolors as a new foundation for painting with acrylics. If you like to create quickly but get frustrated with the result, these weeks can be ground-breaking to you. Instead of rushing, you will calm down. You will see nuances and softness that you hadn’t noticed before. You will learn to use glazing medium so that it will make acrylic paints speak the language of flowers.
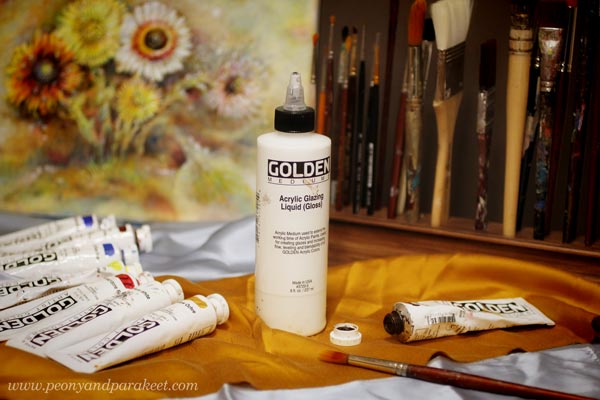
This old technique has many applications. You can use it for intuitive art, and it’s especially good for figurative painting. Practically most of the old pieces from the 16th to the 18th century use the technique with oil paints. I have adapted the technique to acrylic paints. I also have experience in oil painting so I can give you some tips if you prefer oils instead. These pieces created by students are made with acrylics and glazing medium.
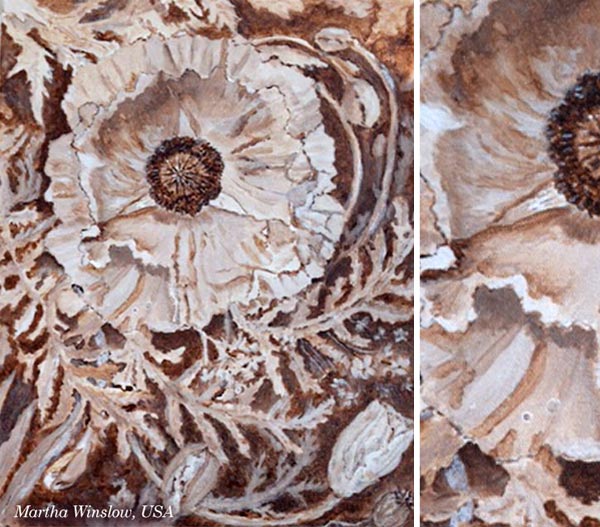
The first layers are painted with umber and white. It’s called underpainting. Martha Winslow shows you an example of that:
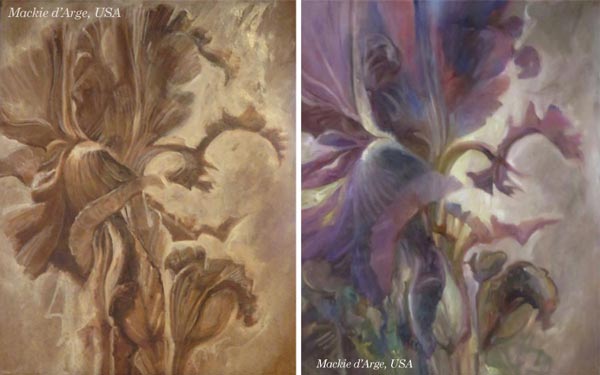
Mackie d’Arge’s underpainting and the painting after some color layers:
Susana Trew shows the softness I talked about earlier:

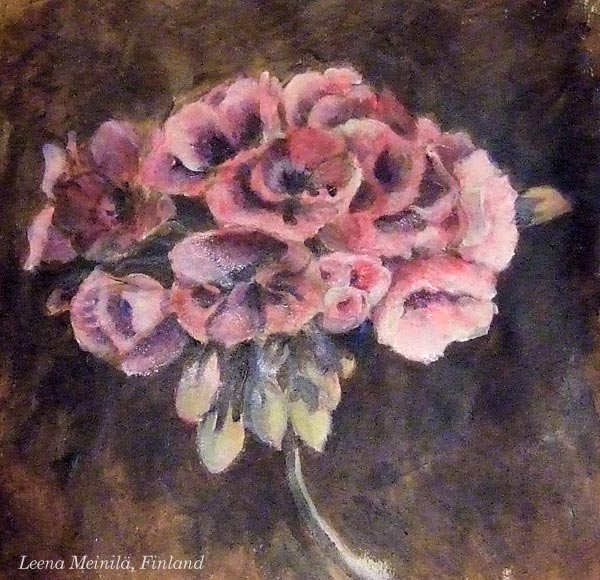
Leena Meinilä’s piece shows the romantic approach with glowing details that was popular in Renaissance:
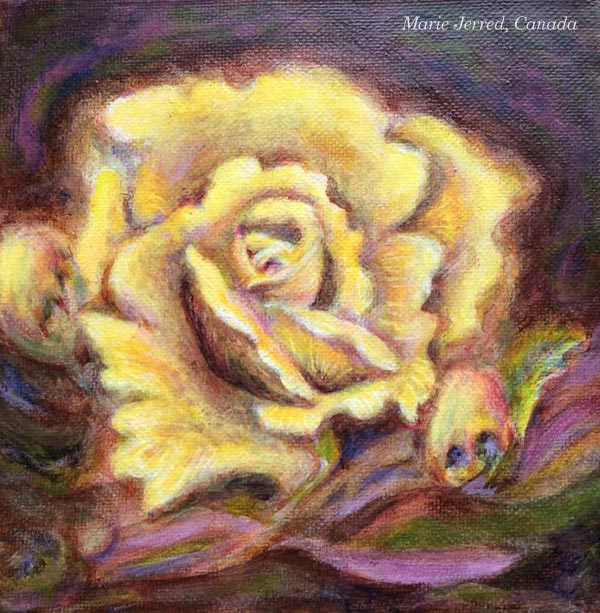
Marie Jerred shows how you can still play with colors even if you are painting like old masters:
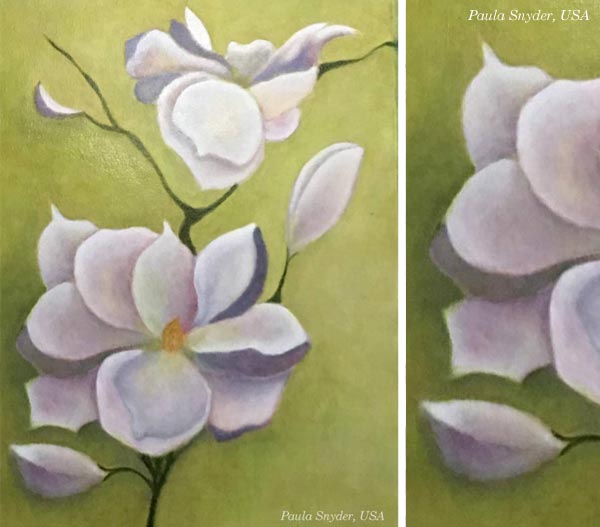
Paula Snyder said about the class: “The old masters portion was earth shaking for me. Really good material I’ll use all my life. I feel like I am turning a corner in my artistic growth.”
See how her painting is full of delicacy in shapes and colors, and still so captivating in simplicity.
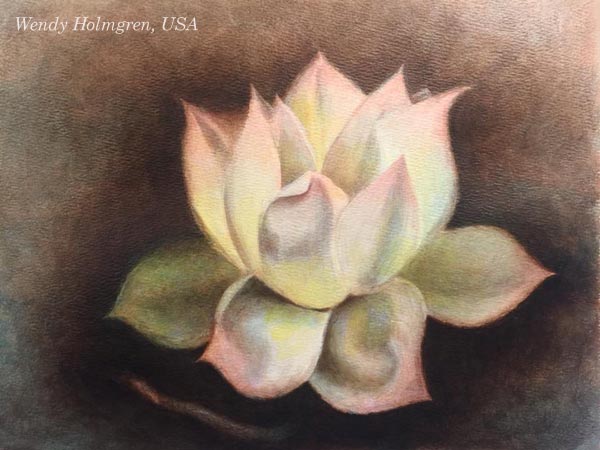
Many contemporary painters use this old technique, especially the underpainting part. It helps you to get away from the flat look, and bring depth and 3-dimensional impression to your work. Wendy Holmgren’s flower is a beautiful example:
Marion Berkhout said: “I found a way of working which I didn’t expect at all. And it gave me the confidence to trust myself in art. The class gave me the opportunity to develop myself as an artist and learn new skills.”
Marion’s painting takes the old technique to the contemporary era:

Come and Create Your Floral Treasures!
Floral Fantasies in 3 Styles begins on Feb 19th, and the early-bird registration closes this week. Get the reduced price – sign up now!
More Art Inspiration – Join the Free Webinar too!
Tomorrow, I will broadcast live from my studio in Finland and talk about finding your visual voice. Welcome to the webinar! >> Save your spot here
The webinar will be recorded. If you save your spot, you can also watch the replay later!
Passion for Color? – Try This Method!
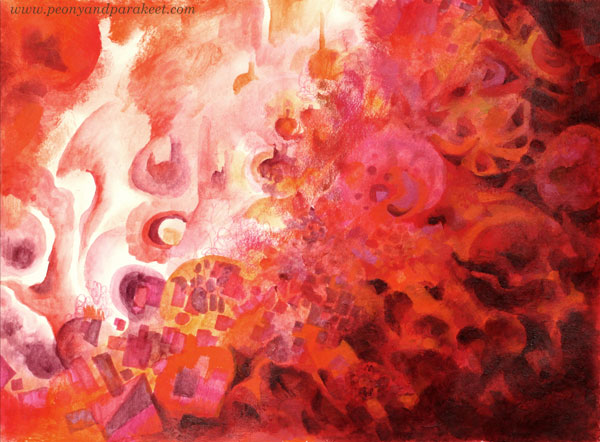
Create a color-focused art journal page! You can choose as many supplies as you want but just one color!
Step 1 – Pick Your Color!
What color speaks to you today? Red, blue, yellow, green, brown, black … Pick any that you feel drawn to! Collect the art supplies that you have in that color!
In most mornings, after taking the dogs out, I go to my studio and start creating sketches, or art journal pages, or continue paintings in progress. I often make a hot beverage called Sunny Grapefruit. I have bought it from a tea shop, but it doesn’t contain any tea, just fruits, and lemongrass. I sit down in an Ikea chair found at a flea market. I have painted it and put a sheep fleece on it, so it’s warm and cozy. All this warmth made me think about red.
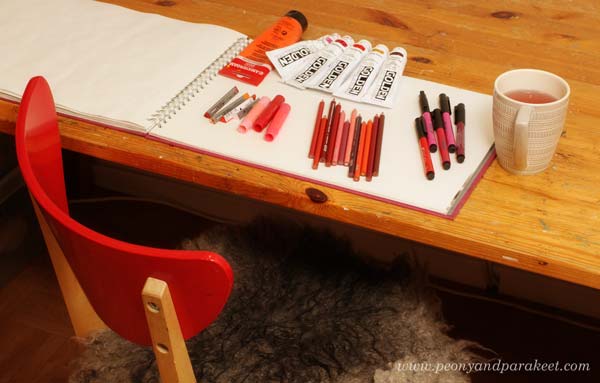
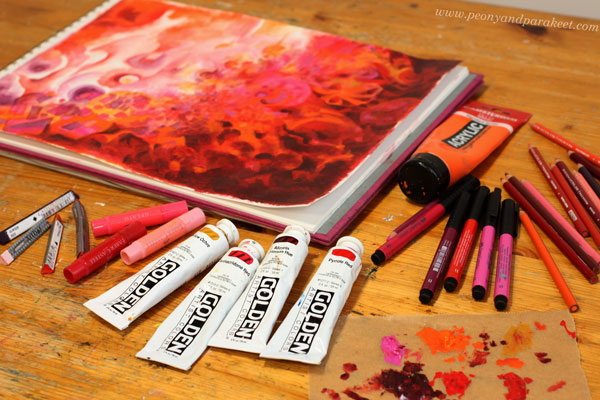
I chose the supplies so that they were all various tones of red ranging from orange to pink.
Step 2 – Source of Energy
Your color is the source of energy. Pick any coloring supply and make a simple circle somewhere on the page! However, don’t begin in the middle! Your work will look more expressive if you don’t make it symmetric.

I colored a soft circle with a couple of Faber-Castell Gelato Sticks.
Step 3 – Radiating Power
Add more color to the circle with different supplies! Imagine that your passion radiates strength. Use your imagination to color shapes and lines that are connected to the circle. Again, keep the design asymmetric.
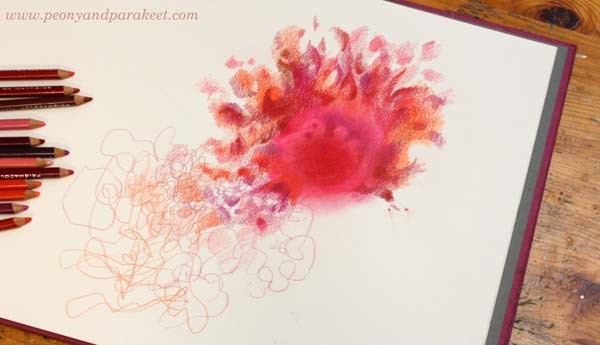
I used colored pencils and thought about the sun and the fire. You can use your imagination based on the ideas that the color evokes. For example, if your color is blue, you can think about waves and the energy and the movement that they contain. Don’t overthink; it’s just a start! Usually, we get conventional ideas in the beginning but then become more inventive as the work progresses.
Step 4 – Explosion and Spin-Off
Change the supplies again, and imagine an explosion of energy. Let your circle grow but also become less solid. Create a spin-off that has a life of its own.
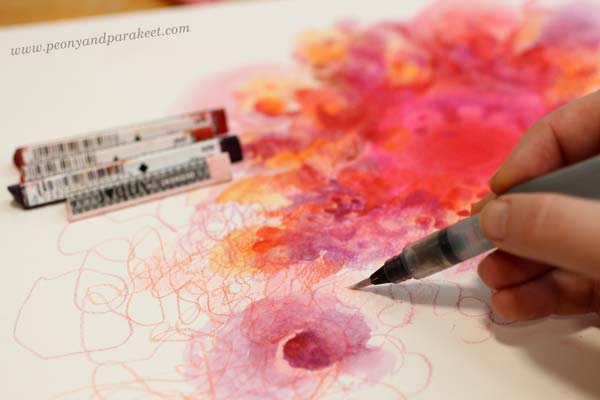
I used Derwent Artbars and water. I could have used watercolors instead, but nowadays, I often find it quicker to grab some Artbars and use a water brush when I am creating a mixed media piece.
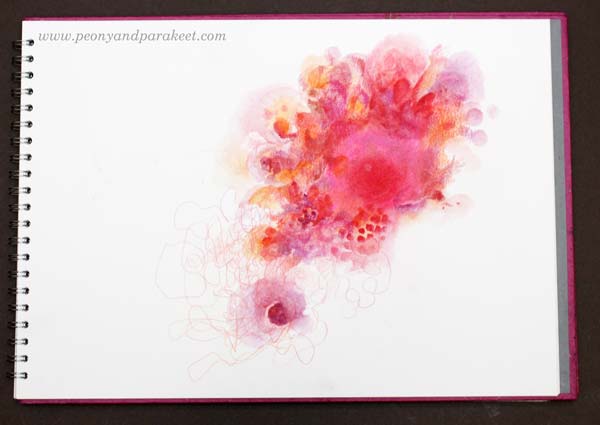
Step 5 – Look Around!
So far you have focused on one area of the page. Now imagine, that the explosion reveals some of the surroundings. Add some pale elements but don’t cover the whole page.
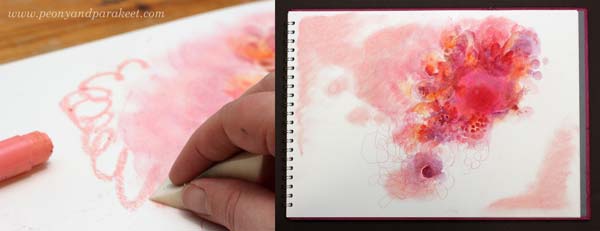
I just made some soft splotches with Faber-Castell Gelatos. Notice how my explosion travels diagonally across the page and reveals areas that are also diagonal but in the reverse direction. Diagonals make the image look dynamic.
Step 6 – Birth
Color clearly-defined shapes that connect the energy source and the spin-off. Imagine that something concrete is born out of the explosion and moves forward.
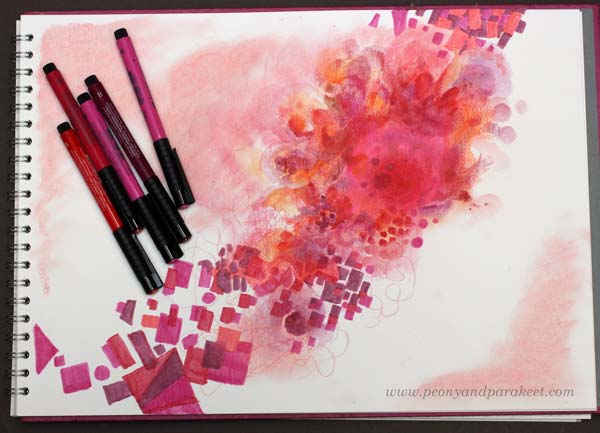
I colored geometric shapes with Fabel Castell PITT Artist Pens. To highlight the movement, I make the shapes cross over each other. I also add bigger shapes that are shown only partly so that it looks like they are flying away.
Step 7 – Mountains
Color a big area of the page so that it’s like mountains have grown to your page. Again, keep one part of the page blank. Add some color to the other side of the blank area too so that the blank area is like a gulley between the mountains.
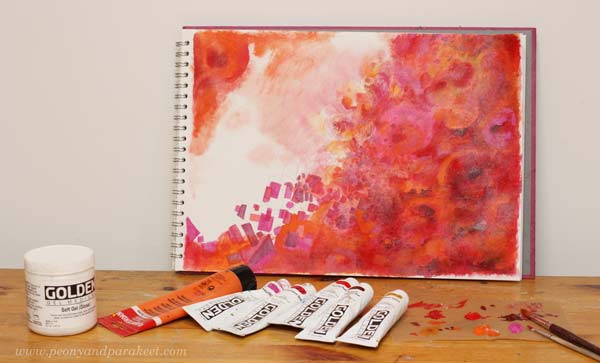
If you have acrylic paints, now it’s a good time to use those. Painting is quicker than coloring with pens, and you can also create layers easily.
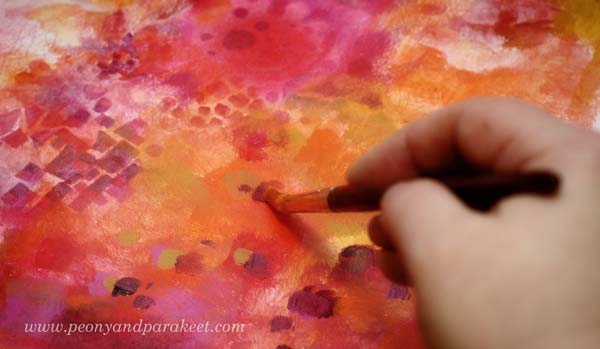
I use gel medium to make the acrylic paint more fluid and translucent. I also use two brushes so that there’s more variation in the brush strokes.
Step 8 – Jump!
Imagine being up in the mountains, looking down to the gulley. When you jump, you begin to see that the blank area also contains wonders. The fall is not so high than what you first expected. Softly color some vague shapes in the blank area.
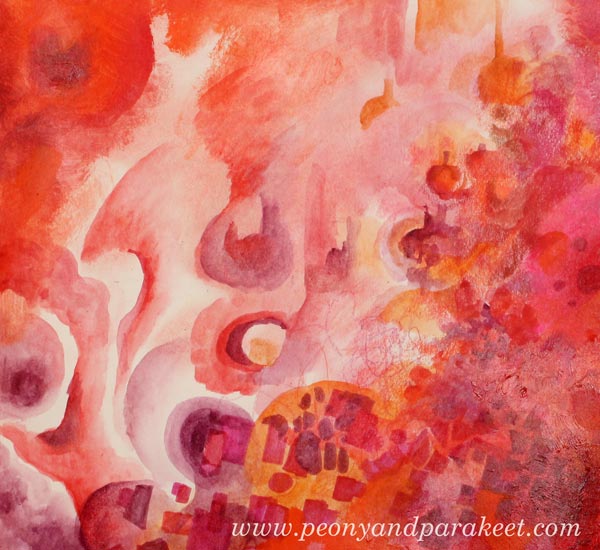
I used Derwent Artbars and water.
Step 9 – Test and Adjust!
When creating abstract art, I find it practical to test it based on how well it fits with other patterns, textures, and shapes. I placed my sketchbook near the fireplace where we have a place to watch the fire. To me, it looks like my page doesn’t have enough contrast.
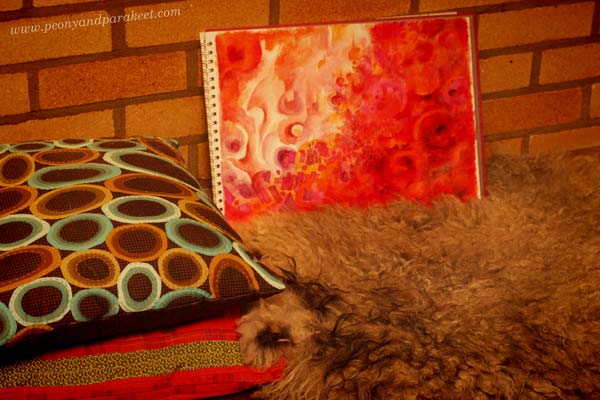
So I add some alizarin red which is very dark and some lighter orange to finish the mountain area.
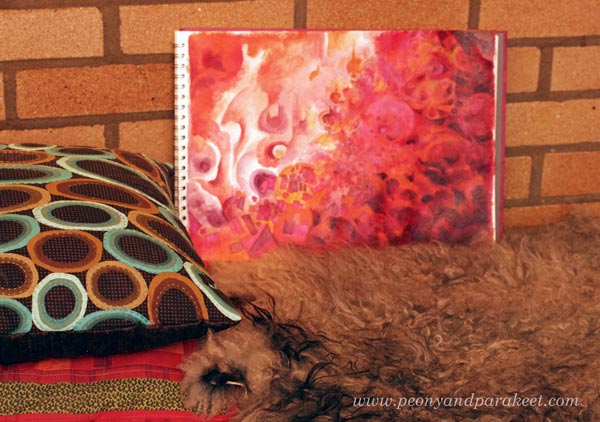
Now the contrast looks better.
Learning to Create – Using a Model, “How To,” or a Method?
There are many ways to learn:
a) Watching someone create and then following it accurately. This way you will create something that you wouldn’t have thought of figuring out yourself. The downside is that your expression and imagination has very little space to come through. You are learning technical skills mostly. Sometimes it can happen that you don’t know why you do what you do.
b) Learning how to use certain supplies in a certain manner. This makes you learn the characteristics of a certain art supply and the techniques that you can use. You can then use the techniques to produce your unique art. The downside is that if you don’t connect with your imagination, you lose the joy of creating. You know why you do what you do but don’t know where else you could use it.
c) Following a method that connects you with your imagination. This gives you preliminary ideas that you can then expand to fit your thoughts and to grow your style. The downside is that if you have no idea how to use the supplies, it will take up your energy.
My Methods
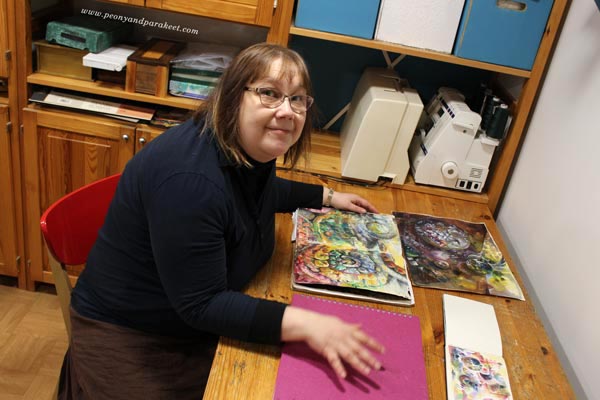
As a teacher and a mentor, I focus on the methods that grow the expression and imagination. Even if I value knowledge and techniques, my strength is in innovating new methods that help you to connect with your creativity. I have heard many say that when they analyze someone’s art, it’s easiest to focus on the technical part. I agree. There are more rights and wrongs to catch. But after creating in a very disciplined manner for the last year, I have come to this conclusion both as an artist and as a mentor: I want to grow my skills to all directions, but if I had to pick one, it would be imagination.
Boost Your Visual Imagination!
Without imagination, we just go around the same circle. We don’t feel free, and we end up believing that there’s one more technical trick around the corner that will change the game. But it’s the imagination that will do that. That’s why I don’t select students based on their supplies, or the technique or style they use. Together, we share our love for making the invisible visible and learning to use the techniques to serve that.
Boost your imagination by joining my community Bloom and Fly! We’ll start with a method for your creative goals, then pick easy ideas from Rococo, explore abstracts together, etc. I will help you to express yourself so that it’s adventurous and imaginative! >> Sign up here!
Creating a Floral Art Class
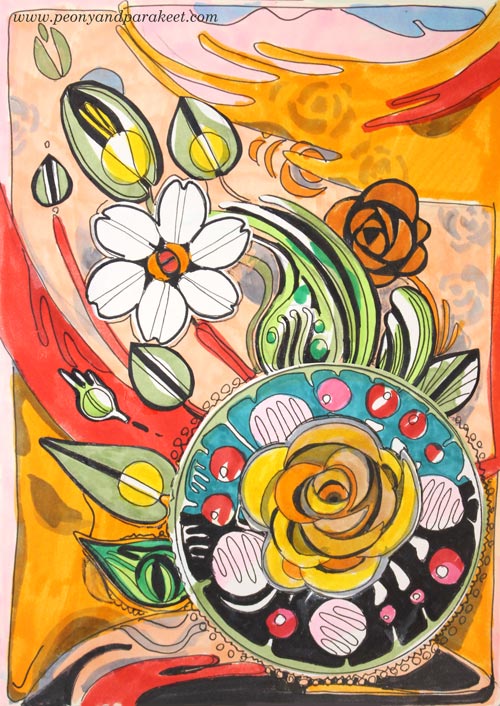
This hand-drawn collage is one of the projects that I have made for the upcoming floral art class Floral Fantasies in Three Styles. It begins on Monday, 16th October and lasts for five weeks. Because developing a new class is a big thing and requires a lot of thoughts, I wanted to share some in this blog too. Now it’s also the best time to sign up because I close the registration once the class begins!
Do You Do Flowers?
The idea for the class came to my mind last spring and honestly, I have been processing it almost every day ever since. I wanted to create an event where we learn from flowers and express our love for flowers.
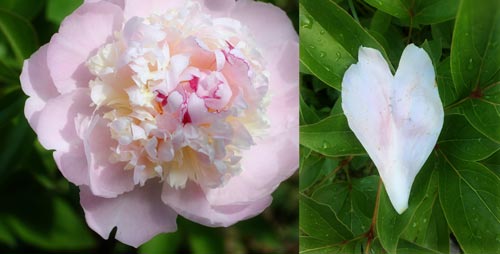
Some artists declare: “I don’t do flowers!” But I think that in art, flowers are never just colorful plants. When you draw and paint florals, it’s your imagination that’s blooming there. It’s your emotion that grows and fills the blank space. Flowers are perfect ambassadors for the messages that you want to deliver through art.
Are You Still Moving Towards Your Kind of Art?
Yesterday, I read about a famous female composer Unsuk Chin from the local newspaper “Helsingin Sanomat.” She had just won the Wihuri Sibelius Prize of 150 000 EUR.
The journalist asked her:
“When did you find out what you want to express through art and how?”
She answered: “There’s no such moment. I am still moving towards my kind of music, and it’s a continuous struggle.”
I could relate with the reply so well. Aren’t we all there – continuously working towards something that feels more us, that’s more our kind of art!
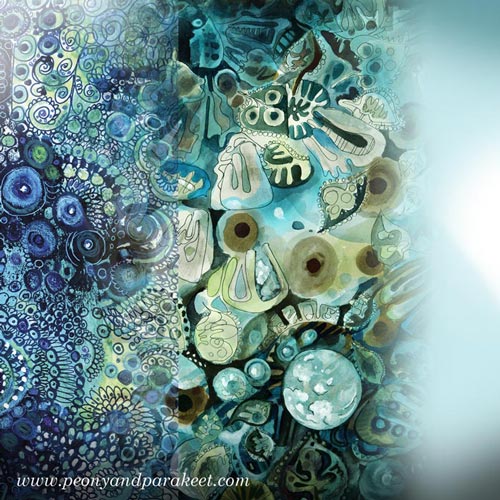
That’s why when building classes, I aim for delivering methods that connect with the imagination. It’s challenging, but when succeeding, the results that I see in the participants, are heart-warming. I believe that we all want to learn new perspectives, but they also have to be designed so that everyone can make unique art out of them. In the end, you don’t create to copy but to express, and that’s always a personal thing.
Let Flowers Make You an Imaginative Artist!
So when developing Floral Fantasies in Three Styles, I wanted to find ways that connect us to the beauty and diversity of flowers. I wanted flowers to be food for the imagination, and I wanted you to feel and work as a floral artist in this art class.
Floral Illustrator
Some of you feel the Week 1 most inspiring as it’s about creating floral designs and illustrative work. If you love any of the 20th century’s styles or have been working with textiles or other crafts for some time, it will be inspiring.
Intuitive Watercolorist
Some of you make the most of Week 2 when we get looser and play with watercolors. If you see or feel stiffness in your art, this will be valuable.
Renaissance Painter
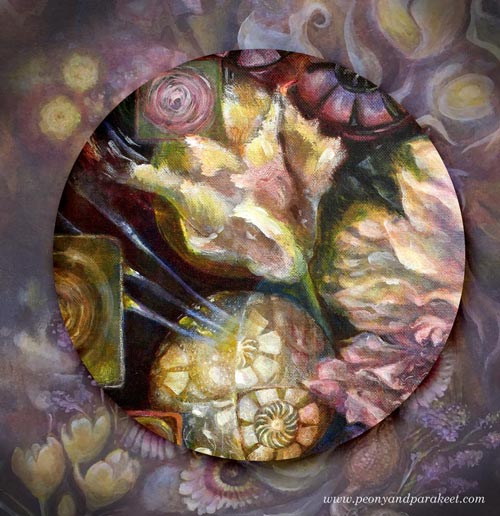
I think that for the most of you, the technique that I teach in Weeks 3 and 4 is a new one. It’s a really old painting technique, but I show how you can use it for today’s art. I have built the class so that the everything you learn from Weeks 1 and 2, set the foundation for the technique. We dive deeper into old art and learn to look at the paintings of the old masters in a new way. These two weeks will be especially enjoyable for you who want to find gentleness towards yourself and soft luxury to your expression.
Giving the Attention to Your Art
In Week 5, we will gather together for a live session and look at the art created during the first four weeks. We will share tips and encouragement, and enjoy your beautiful floral art. For all the five weeks, we will also have a Facebook group dedicated to sharing and discussions. This connecting part is one of the main reasons why I love teaching art so much. I love to see your work and also, dig a bit deeper – see the potential for moving to new directions or fine-tuning what’s already there.
So, I hope to see you in Floral Fantasies – Reserve your spot before the class begins!
Floral Fantasies in Three Styles – Reserve Your Spot Now!
